Have you ever dreamed of bringing the lush beauty of the rainforest into your home? Now you can, without the need for a jungle-sized apartment! Creating a miniature rainforest diorama is a rewarding and surprisingly accessible project, perfect for budding nature enthusiasts, crafting aficionados, or anyone looking for a unique and engaging activity. This immersive project allows for creativity and personalization, enabling you to design a vibrant ecosystem reflecting your own artistic vision. You'll be amazed at the intricate detail you can achieve with readily available materials.
From crafting the base to populating it with realistic flora and fauna, building your own rainforest diorama is an educational and enjoyable experience. This step-by-step guide will walk you through the entire process, from selecting the right materials to adding the finishing touches, ensuring a stunning and accurate representation of this vital ecosystem. Get ready to embark on your miniature rainforest adventure!
Preparation and Safety Guidelines
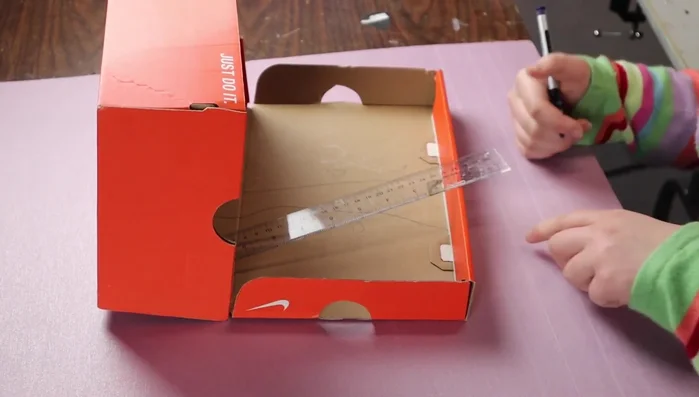
- Shoebox
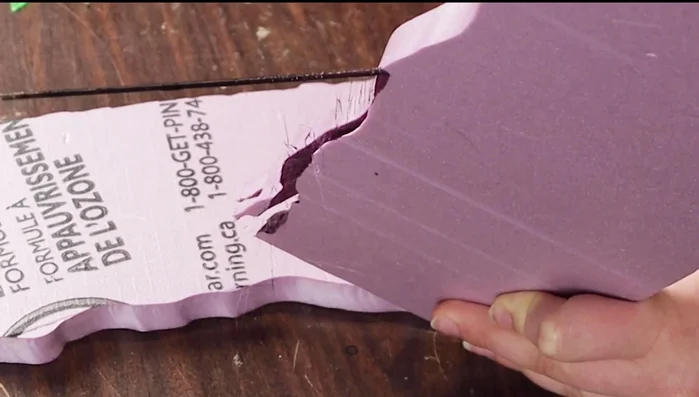
- Pink styrofoam
- Hot wire cutter
- Hot foam knife
- Ruler
- Glue (hot glue, Mod Podge, super glue)
- Sand
- Kitty litter
- Masking tape
- Spray bottle with rubbing alcohol
- Black acrylic paint
- Water
- Brushes (large and small)
- Airbrush
- Earth tone paints
- Static grass applicator
- Static grass
- Plants
- Bushes
- Trees
- 3D printed animals
- Matte varnish
- Gloss Mod Podge
- Adult supervision is required, especially when using sharp tools like craft knives or scissors, and potentially hazardous materials like hot glue.
- Ensure adequate ventilation when using paints, sprays, or other potentially harmful materials. Work in a well-ventilated area or outdoors.
- Handle any natural elements like wood, moss, or branches responsibly. Avoid using materials that might be endangered or harming the environment.
Step-by-Step Instructions
Creating the Diorama Base
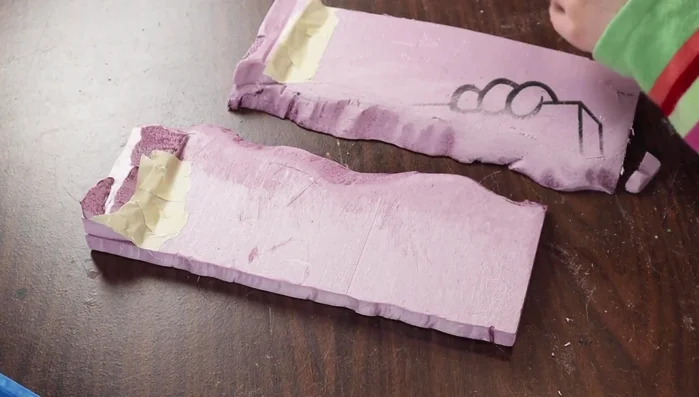
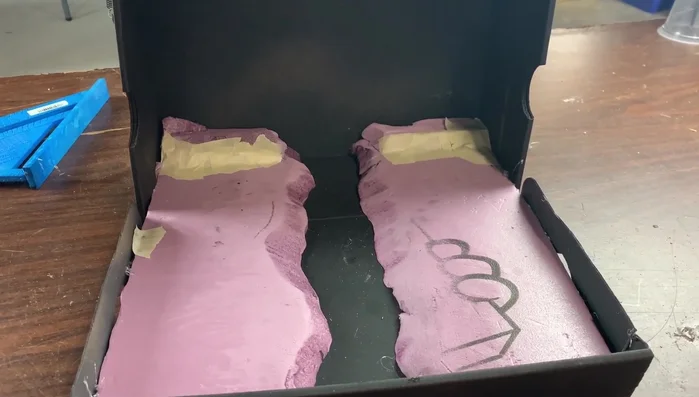
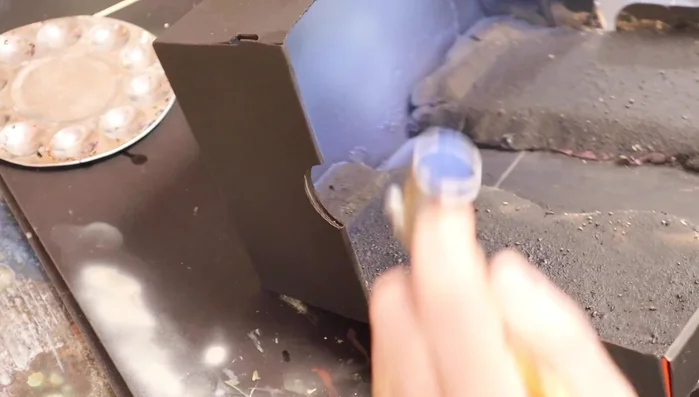
- Measure and cut styrofoam to create the base landscape.
- Shape the riverbanks using a hot foam knife, creating a wavy pattern for depth.
- Create height variations at the back of the diorama using additional styrofoam pieces.
- Glue the styrofoam base into the shoebox.

Creating the Diorama Base Preparing the Landscape
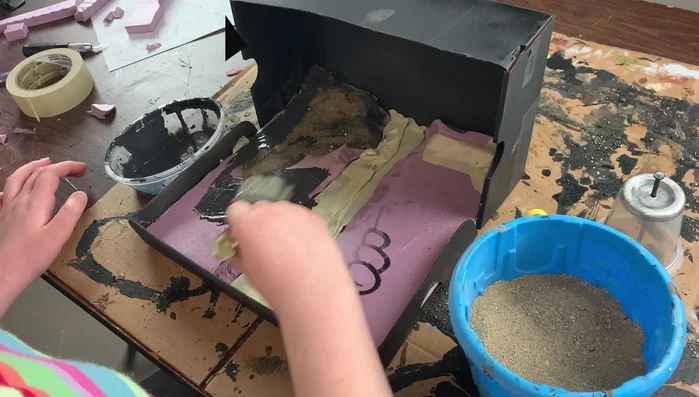
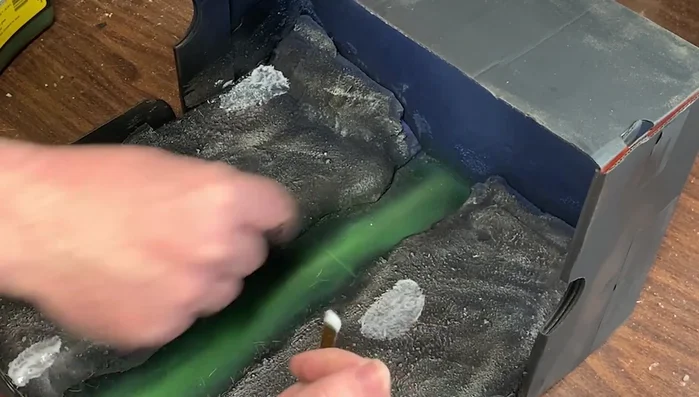
- Apply masking tape to the river area.
- Apply Mod Podge to the riverbanks and areas where dirt and mud will be.
- Sprinkle sand and kitty litter mixture liberally onto the Mod Podge.
- Mist with rubbing alcohol to help set the grit.
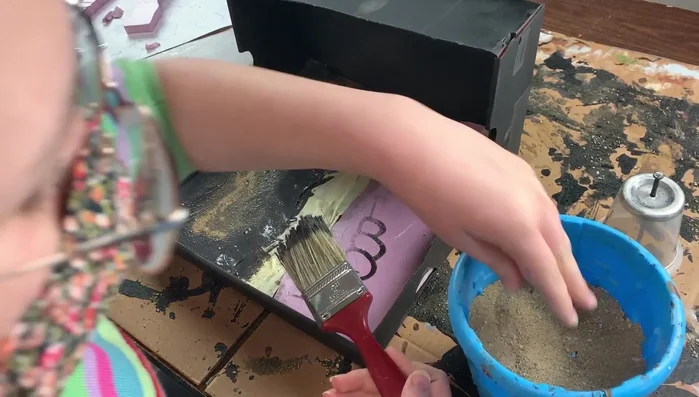
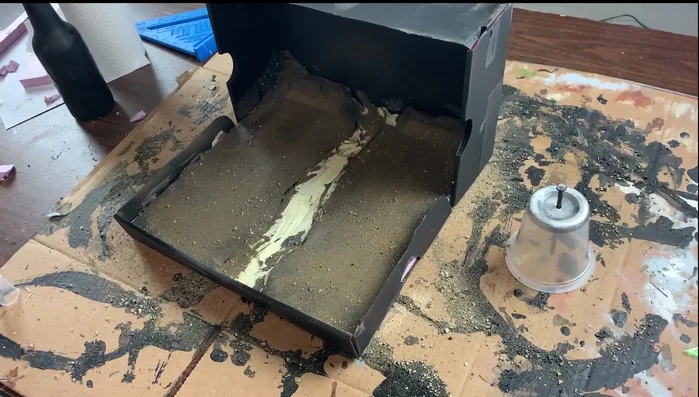
Preparing the Landscape - Apply a mixture of black acrylic paint, water, and Mod Podge to create a dark, earthy tone.
- Let everything dry completely.
Preparing the Landscape Painting the Background and River
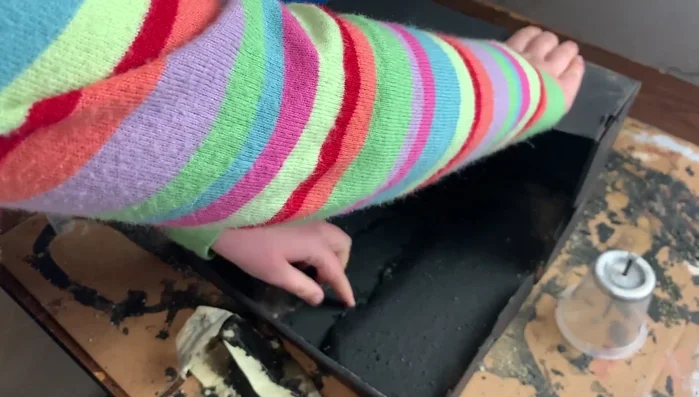
- Remove the masking tape to reveal the riverbed.
- Airbrush the sky with shades of blue and add clouds.
- Airbrush the river with shades of green and yellow.
Painting the Background and River Adding Texture and Color
- Dry brush earth tone paints onto the land areas to lighten the color and add texture.
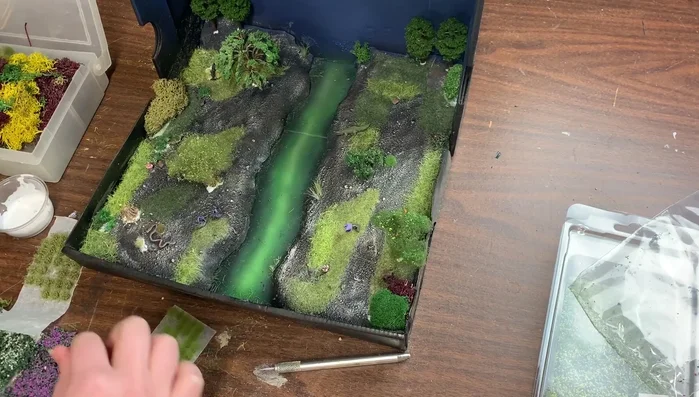
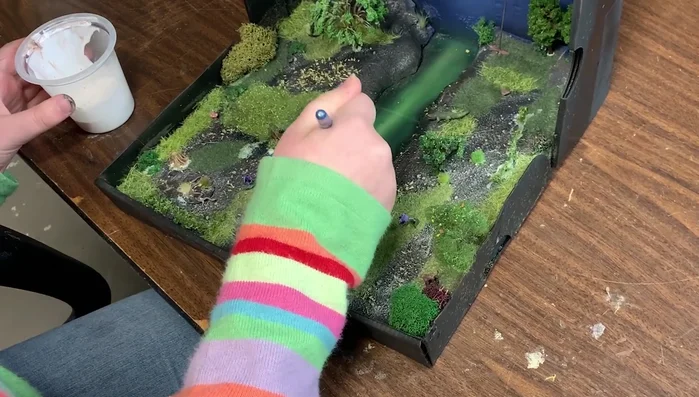
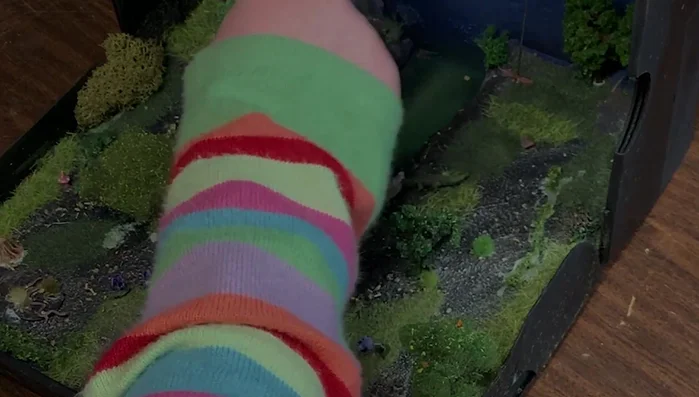
Adding Texture and Color Adding Vegetation
- Apply static grass to create grassy patches using a static grass applicator and Mod Podge.
- Glue down the painted animal models and add plants and bushes.
- Add trees to create a forest canopy.
Adding Vegetation Finishing Touches
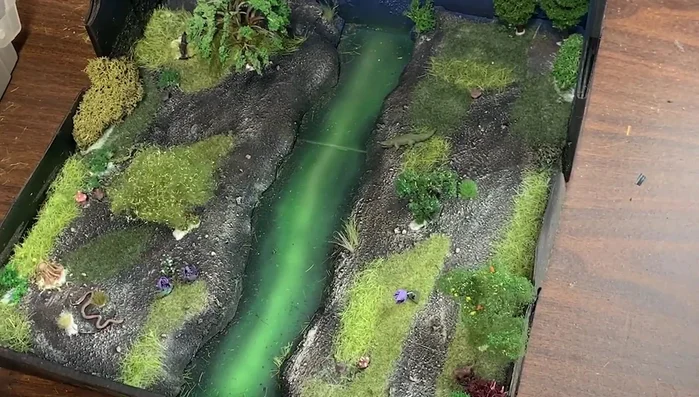
- Apply a layer of matte varnish to protect the diorama.
- Finish the water feature by applying gloss Mod Podge to the river.
- Allow everything to dry completely.
Finishing Touches


Read more: DIY Story Stones: Budget-Friendly Sensory Play for Kids
Tips
- Using a hot wire cutter provides precise cuts in styrofoam.
- Dry brushing adds subtle texture and highlights.
- A static grass applicator helps in creating realistic grassy areas.
- Matte and gloss Mod Podge provide protection and a realistic water effect.