Journey back in time and unleash your inner caveperson with this exciting DIY project! Create your very own authentic-looking Stone Age necklace, a stunning piece of prehistoric jewelry that's surprisingly simple to make. Forget expensive beads and modern materials; this guide uses readily available natural elements to craft a necklace that's both beautiful and historically inspired. Imagine the pride you'll feel wearing a piece of history around your neck, a conversation starter that blends ancient craftsmanship with modern creativity.
This project is perfect for anyone interested in history, crafting, or simply adding a unique touch to their style. Whether you're a seasoned crafter or a complete beginner, you'll find this guide easy to follow, providing clear instructions and helpful tips along the way. Ready to embark on this thrilling crafting adventure? Let's dive into the step-by-step process and create your own Stone Age masterpiece!
Preparation and Safety Guidelines
- Flour
- Salt
- Water
- Straw
- Chocolate Seashell Trays (optional)
- Paint
- String
- Small Brush
- Never ingest any found materials. Some stones and plants can be poisonous.
- Wash your hands thoroughly before and after handling materials to avoid infection.
- Be mindful of sharp edges on stones. Use appropriate tools and handle with care to avoid cuts.
Step-by-Step Instructions
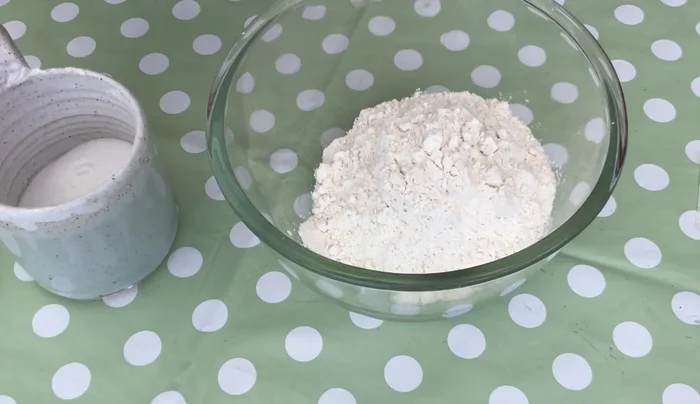
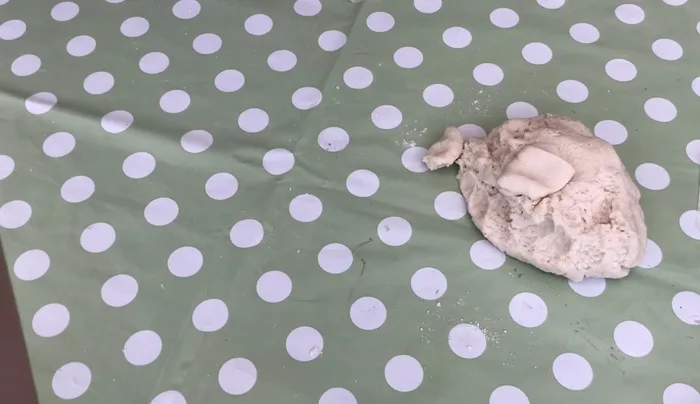
Prepare the Salt Dough
- Mix flour and salt (approximately 1 cup flour to under ½ cup salt). Gradually add water, mixing until a dough forms. Adjust consistency with more flour if needed.

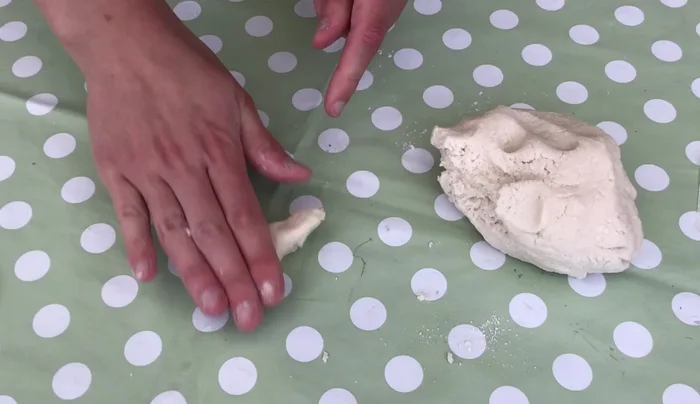
Prepare the Salt Dough Create the Jewelry Pieces
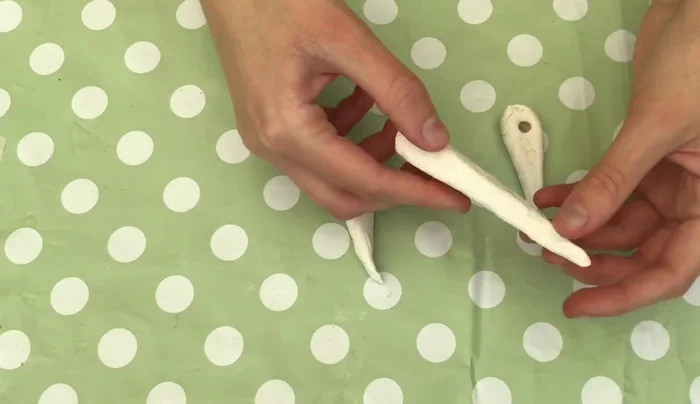
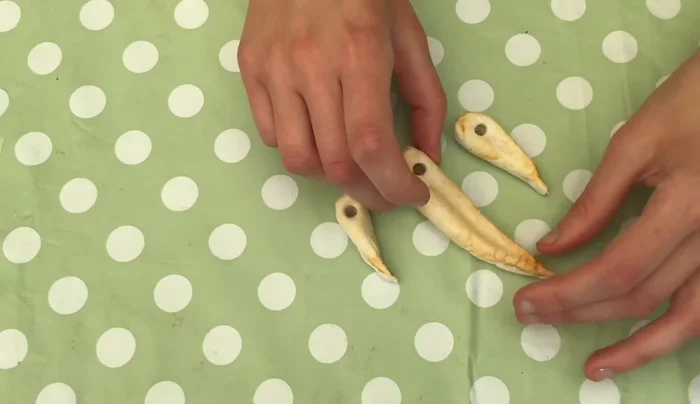
- Roll out portions of dough to create fangs, bones, and stones. Use a straw to create holes in each piece.
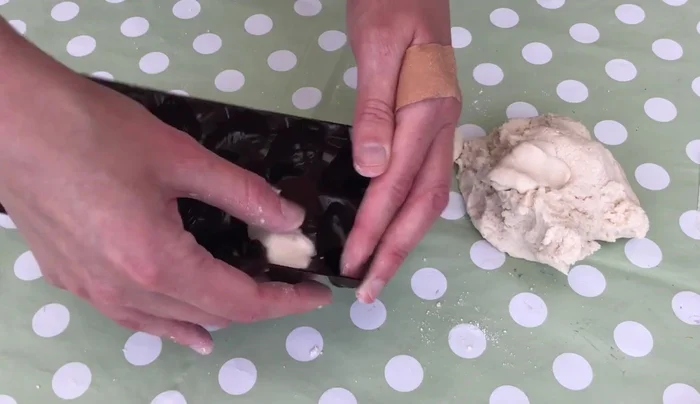
- Create shell molds: Use chocolate seashell trays as molds to create shell-shaped pieces. Let them dry thoroughly.
Create the Jewelry Pieces Dry the Pieces
- Allow the salt dough pieces to air dry completely (several days). Baking at a low temperature is an alternative but carries the risk of cracking.
Dry the Pieces Paint the Pieces
- Use various colors of paint to create realistic-looking Stone Age jewelry. The narrator suggests a mix of brown, yellow, white, pink and blue.
Paint the Pieces Assemble the Necklace
- Thread the painted pieces onto string, using double knots to secure each piece. Ensure the pieces face forward and are spaced evenly.
Assemble the Necklace
Read more: DIY Story Stones: Budget-Friendly Sensory Play for Kids
Tips
- Avoid adding too much water to the salt dough. It's easily fixed with extra flour.
- Be careful when working with salt dough if you have cuts, as it can sting.
- Double knot the string to securely fasten the jewelry pieces and prevent sliding.