Unleash your inner artist and transform ordinary marble stones into miniature works of art with this fun and easy DIY tutorial! Marble's sleek, cool surface provides the perfect canvas for vibrant colours and intricate designs, making these "Kindness Rocks" a delightful craft project for all ages and skill levels. Imagine the joy of creating beautiful, personalized stones to hide in your community, bringing a smile to someone's face, or keeping them as charming decorations for your home. These little gems are surprisingly versatile, lending themselves to both simple and complex designs, limited only by your imagination.
From simple polka dots to elaborate landscapes, the possibilities are endless. Whether you're looking for a relaxing creative outlet, a unique gift idea, or a fun activity for a family gathering, this project promises hours of enjoyable crafting. Ready to get started and turn those plain marbles into stunning works of kindness? Let's dive into the step-by-step process!
Preparation and Safety Guidelines
- Acrylic paints
- Water
- Rocks
- Wooden skewers
- Small container (e.g., yogurt container)
- Hole punch
- Scissors
- Parchment paper
- Paint markers/pens
- Damp paper towel
- Always supervise children when using tools like hammers or paintbrushes. Marble can break and sharp edges can cause injury.
- Work in a well-ventilated area when using paints and sealants as fumes can be harmful. Ensure proper ventilation and consider wearing a mask.
- Use non-toxic paints and sealants designed for outdoor use if you plan to leave your kindness rocks outside, to protect both the environment and the people who find them.
Step-by-Step Instructions
Prepare Materials
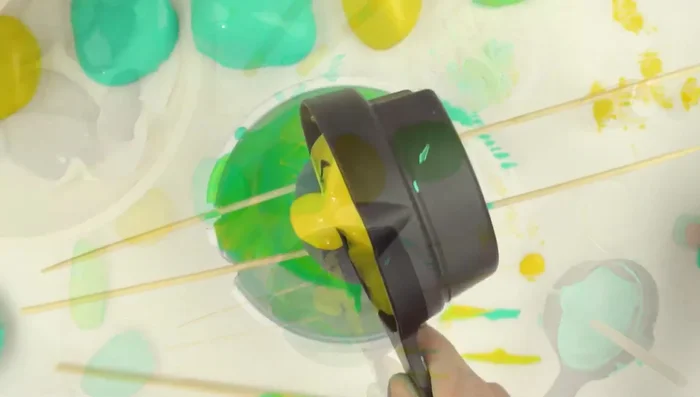
- Water down acrylic paints to a pourable consistency.
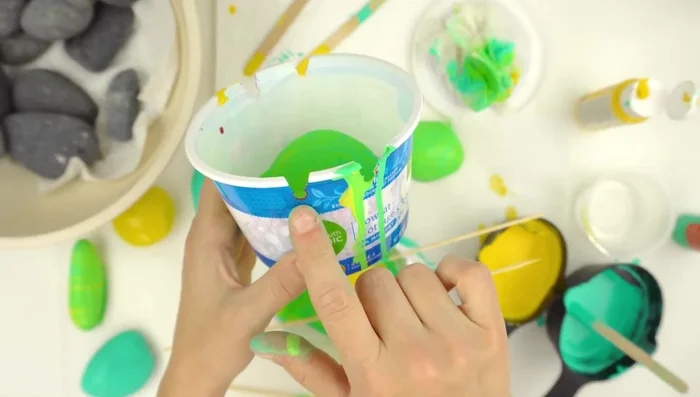
- Use a small container (like a yogurt cup), punch holes for skewers, and cut the slots.

Prepare Materials Base Coat Rocks
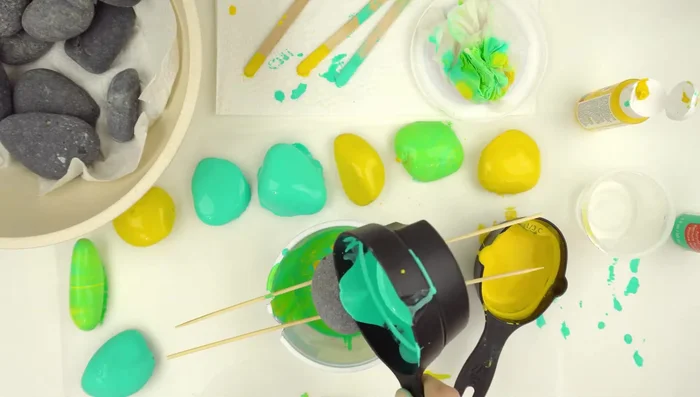
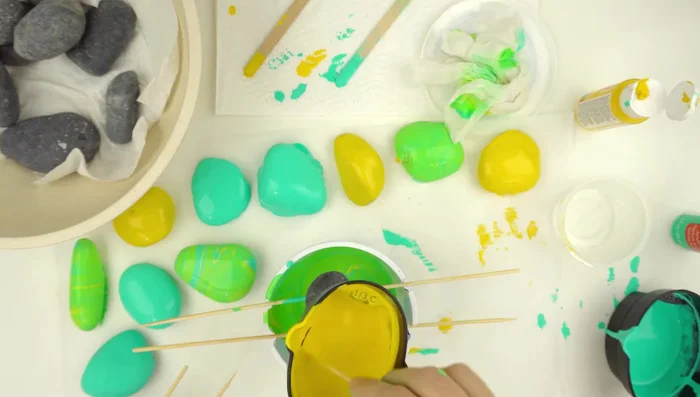
- Choose two colors that blend well (e.g., yellow and teal). Pour paint onto rocks placed in the tray.
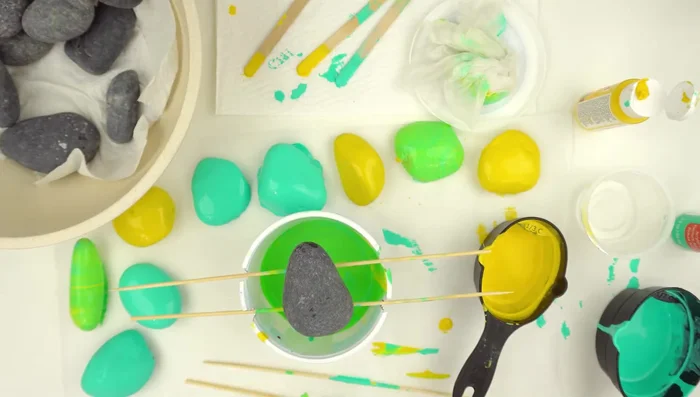
Base Coat Rocks Create Marble Effect
- Place a base-coated rock on a flat surface. Pour additional colors onto the rock, letting them blend naturally. Use a craft stick to encourage blending and spread if needed.
Create Marble Effect Dry and Optional Second Coat
- Let the rocks dry completely. You can add a second coat if desired once the rocks are dry.
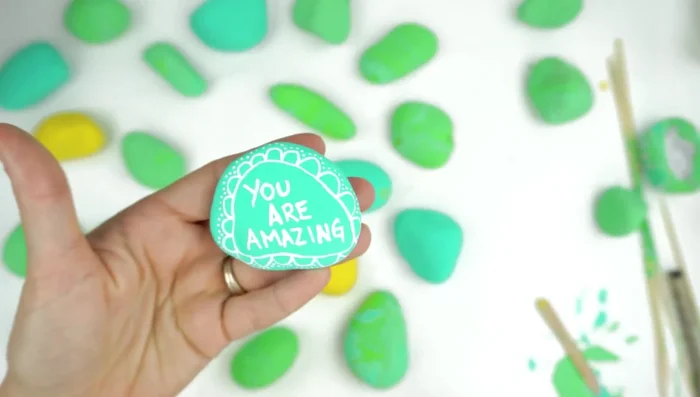
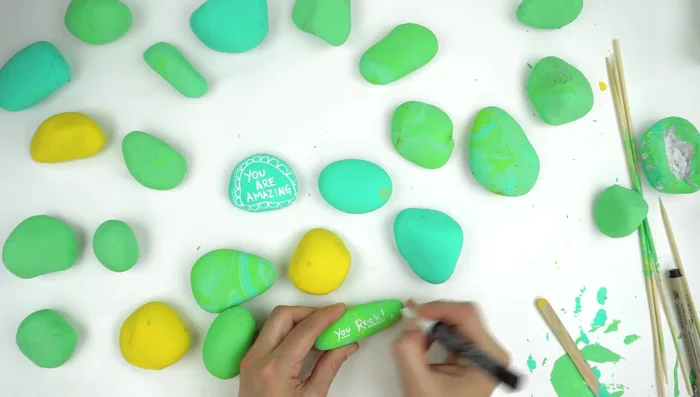
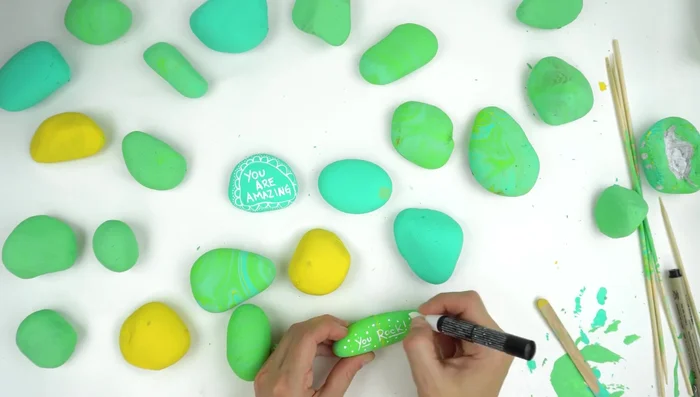
Dry and Optional Second Coat Decorate with Messages
- Once dry, use paint markers or pens to write positive messages on your rocks.
- Add decorative elements such as dots around the edges for a whimsical touch.
Decorate with Messages Hide and Share
- Place your finished rocks in public areas to spread joy!
Hide and Share
Read more: DIY Story Stones: Budget-Friendly Sensory Play for Kids
Tips
- Use parchment paper to prevent sticking.
- Dab excess paint with your fingers to prevent finger spots.
- Add water to thicken paint if needed, but do so sparingly to maintain the paint consistency.
- Choose colors that create a pleasing blend when mixed (e.g., colors near each other on the color wheel).
- For a flat marble effect, use a flatter rock. This will help the paint designs sit on top and prevent excess running over the edges.