Unleash your child's creativity and imagination with the magic of DIY story stones! Sensory play is crucial for a child's development, fostering cognitive growth, language skills, and fine motor dexterity. However, expensive commercial toys often limit the scope of this vital playtime. This is where our budget-friendly DIY story stones project comes in, offering a fantastic alternative that's both affordable and endlessly adaptable to your child's interests and evolving storytelling abilities. Using readily available materials, you can transform plain stones into captivating characters, objects, and settings, igniting imaginative narratives and hours of engaging play.
These charming story prompts provide a fantastic platform for open-ended play, encouraging narrative development, vocabulary expansion, and problem-solving skills. Prepare to be amazed at the inventive stories your child creates! Ready to embark on this simple yet rewarding craft project? Let's dive into the step-by-step instructions to create your own set of captivating DIY story stones.
Preparation and Safety Guidelines
- Polished pebbles
- Printer
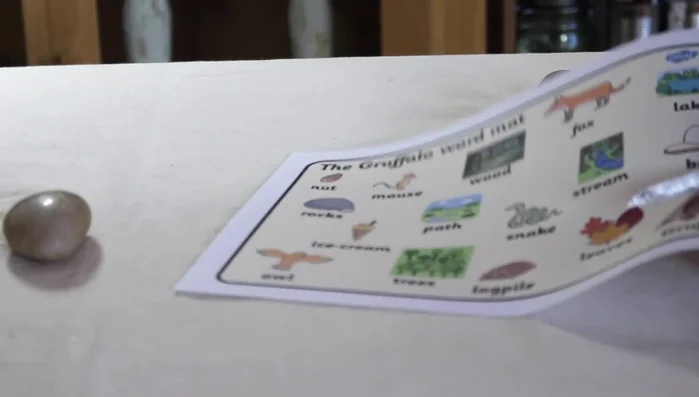
- Gruffalo word mat template (or similar image template)
- Mod Podge
- Always supervise young children during playtime with story stones to prevent choking hazards from small parts or swallowing painted stones.
- Use non-toxic paints and sealants specifically designed for children's toys. Ensure they are completely dry and cured before allowing children to handle the stones.
- Choose smooth, rounded stones to minimize the risk of cuts or scrapes. Avoid stones with sharp edges or points.
Step-by-Step Instructions
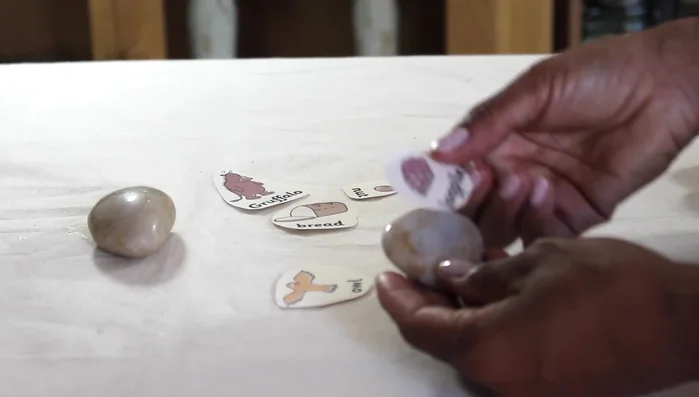
Prepare Images and Pebbles
- Print story images or other learning materials (letters, numbers, etc.) from a website such as Twinkl. Cut out the images.
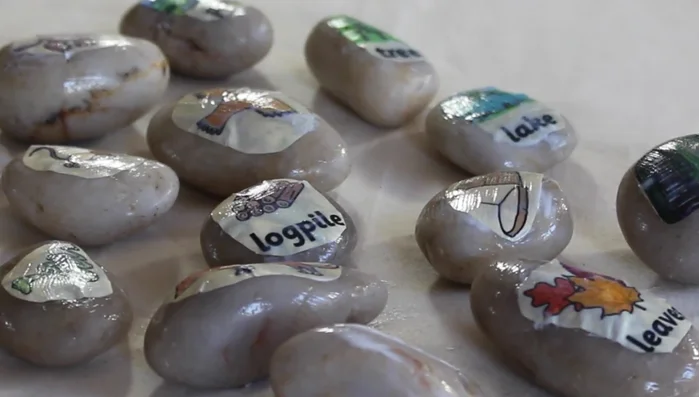
- Select polished pebbles of suitable size for your chosen images.

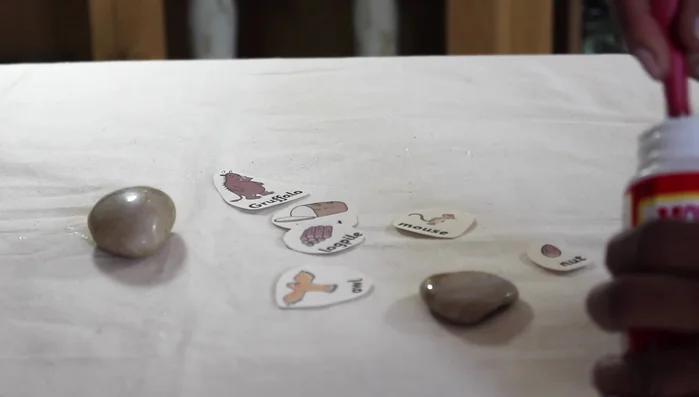
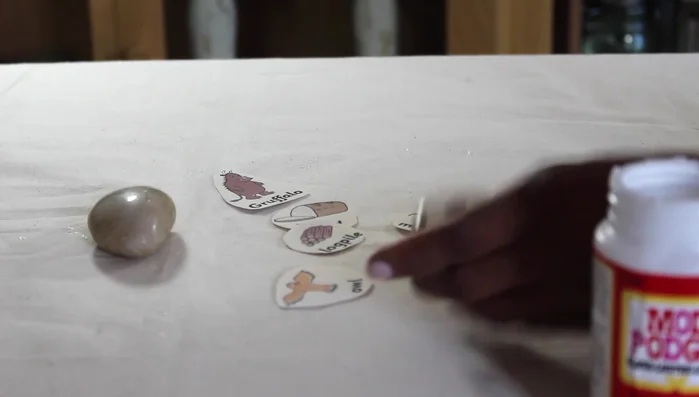
Prepare Images and Pebbles Apply Mod Podge and Attach Images
- Apply Mod Podge to the back of the image or the pebble.
- Carefully place the image onto the pebble, centering it.
- Apply a layer of Mod Podge over the image to seal it.
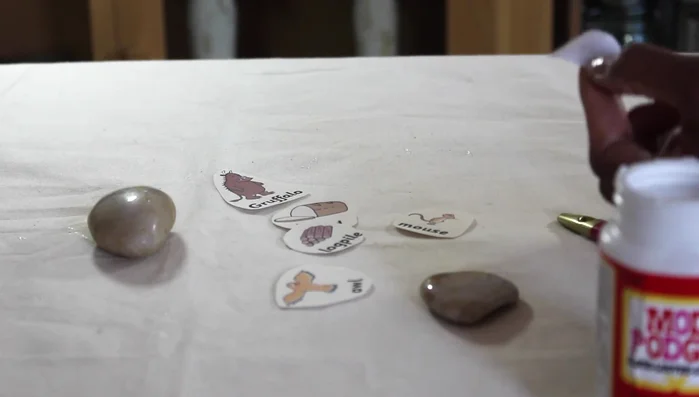
Apply Mod Podge and Attach Images Dry the Story Stones
- Allow the stones to dry completely for about an hour.
Dry the Story Stones
Read more: DIY Stone Age Necklace: A Step-by-Step Guide
Tips
- Use a website like Twinkl for free printable templates. The speaker mentions Twinkl as a source of images.
- Choose images that fit well on the pebbles for a neat appearance.
- Mod Podge helps seal the images and provides a smooth, shiny finish.