Tired of unsightly coasters marring your stylish coffee table? Or perhaps your hot dishes are leaving scorch marks on your cherished furniture? Then prepare to elevate your home décor and protect your surfaces with this simple DIY rock trivet! This project combines rustic charm with essential functionality, creating a unique and heat-resistant coaster that's both beautiful and practical. Forget flimsy, mass-produced alternatives; this project allows you to personalize your home with a handcrafted piece that reflects your individual style. You can choose from a variety of readily available materials to perfectly complement your existing décor.
This step-by-step guide will show you exactly how to create your own stunning rock trivet, transforming ordinary stones into a chic and functional addition to your kitchen or living room. With just a few easy steps and readily accessible materials, you'll be amazed at how quickly you can craft a beautiful and protective coaster that adds a touch of natural elegance to your home. Let's get started!
Preparation and Safety Guidelines
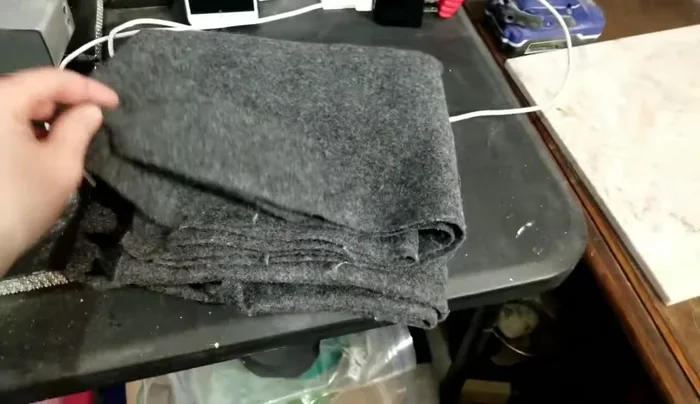
- Felt
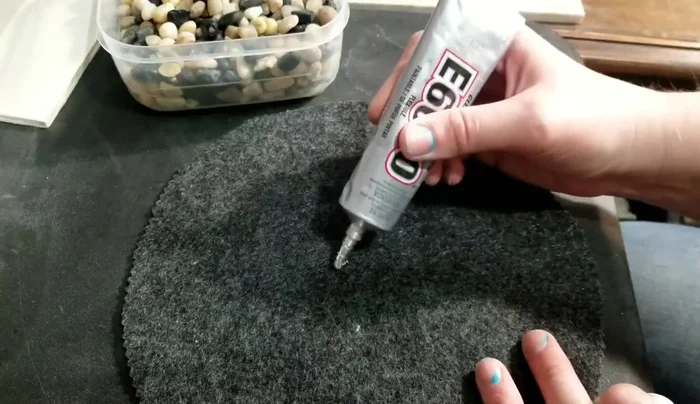
- Industrial Strength Glue (e.g., E6000)
- Rocks (various sizes and colors)
- Scissors
- Lacquer Spray (optional)
- Always allow rocks to cool completely before handling. Retained heat can cause burns.
- Use oven mitts or tongs when handling hot rocks, even after they appear cool.
- Select rocks carefully; avoid porous or cracked stones that may absorb moisture and potentially break or crack under heat.
Step-by-Step Instructions
Prepare Materials
- Cut felt to desired trivet size. The size determines the amount of felt needed.

Prepare Materials Apply Glue and Add Rocks (First Section)
- Apply glue in circles to the felt, focusing on areas where rocks will be placed. Don't cover the entire felt with glue.
- Place rocks onto the glued areas, pressing firmly to ensure adhesion. Arrange rocks to create a desired pattern or design. Aim for roughly the same size rocks for even coverage.
Apply Glue and Add Rocks (First Section) Apply Glue and Add Rocks (Remaining Sections)
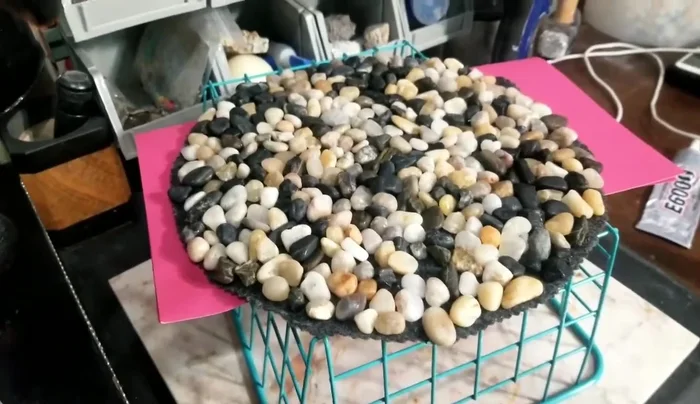
- Continue applying glue and adding rocks in sections until the entire felt is covered. Work quickly as the glue dries fast.
Apply Glue and Add Rocks (Remaining Sections) Dry and Inspect
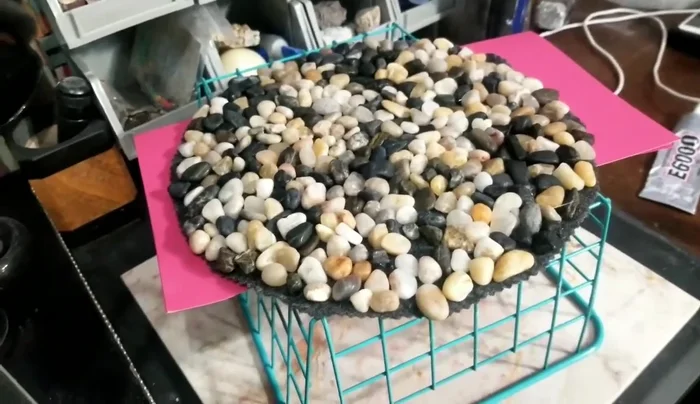
- Allow the glue to dry completely (approximately 24 hours, ensuring airflow).
- Fill in any gaps or missing rocks after the glue has dried. Apply a lacquer spray for a shiny, wet look (optional).
Dry and Inspect


Read more: DIY Story Stones: Budget-Friendly Sensory Play for Kids
Tips
- Use rocks of similar size for a more uniform look.
- Work in sections to prevent the glue from drying before placing all the rocks.
- If uncertain about rock quantity, test the placement before fully gluing.
- Ensure good contact between the glue, felt, and rocks for strong adhesion.
- Elevate the trivet on a surface for better airflow while drying.