The world of fantasy art often thrives on the whimsical and the unexpected, and what better medium to capture this essence than the seemingly ordinary tree? This article delves into the fascinating process of creating enchanting fantasy tree sculptures, transforming humble polystyrene blocks into breathtaking, otherworldly creations. We will explore the transformative journey from raw material to finished piece, showcasing the unique techniques involved in crafting intricate details and achieving a polished, durable final product. The power of illusion, combined with the strength and versatility of fiberglass, allows for the creation of truly magical forms.
From the initial carving of the polystyrene core to the meticulous application of fiberglass resin, we'll guide you through each stage of this rewarding project. This detailed step-by-step guide will empower you to bring your own imaginative tree sculptures to life, regardless of your experience level. Prepare to unlock your creativity and discover the magic hidden within a simple block of polystyrene.
Preparation and Safety Guidelines
- Handheld hot wires
- Nail and wire brushes
- Stone mason rifflers
- Sandpapers
- Sticky back tin foil
- Resin
- Paints
- Lacquer
- Always wear a respirator when carving polystyrene and working with fiberglass resin. Polystyrene dust is harmful if inhaled, and fiberglass resin fumes are irritating and potentially toxic.
- Use appropriate eye protection (safety glasses or a face shield) throughout the entire process to prevent eye injuries from flying debris during carving and chemical splashes during fiberglass work.
- Work in a well-ventilated area. Both polystyrene dust and fiberglass resin fumes require good air circulation to minimize health risks. Consider working outdoors or in a well-equipped workshop with exhaust fans.
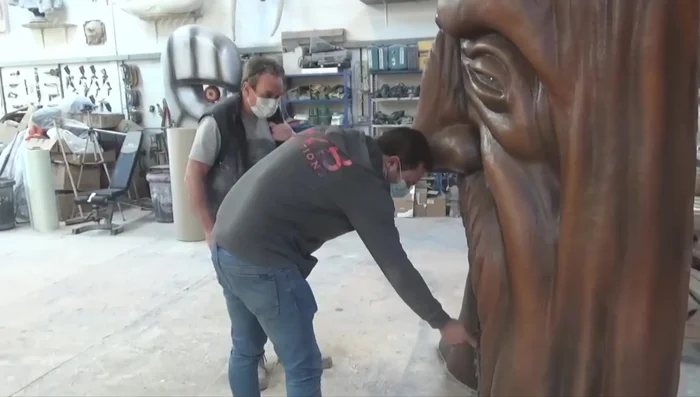
Step-by-Step Instructions
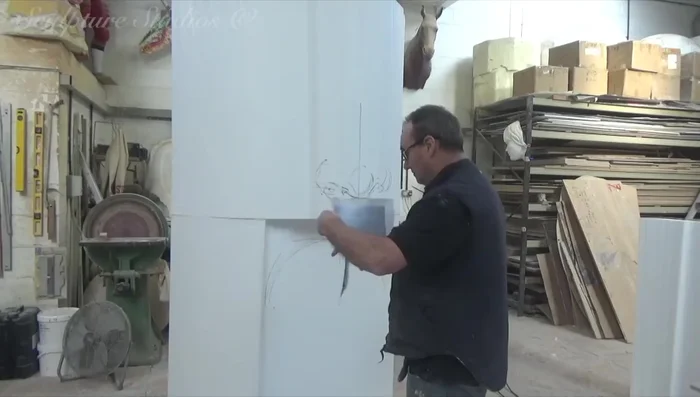
Initial Design and Carving
- Sketching facial features onto the raw tree trunk.
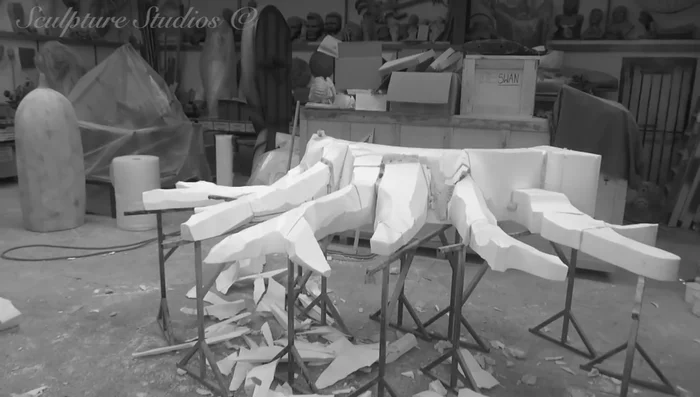
- Carving the polystyrene using handheld hot wires, nail and wire brushes, stone mason rifflers, and sandpapers.
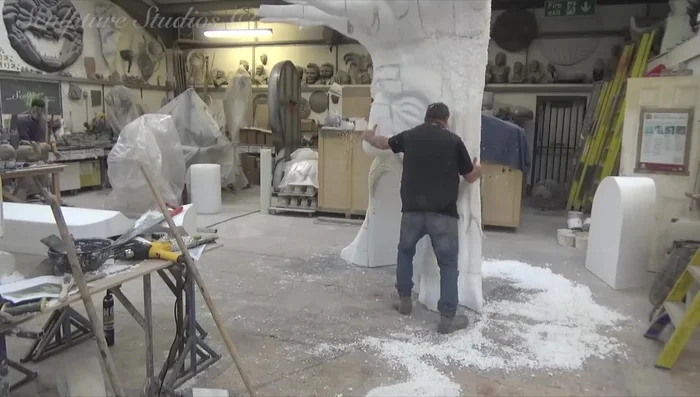
- Standing up the sculpture and sending photographs to the client for approval.

Initial Design and Carving Preparing for Fiberglass
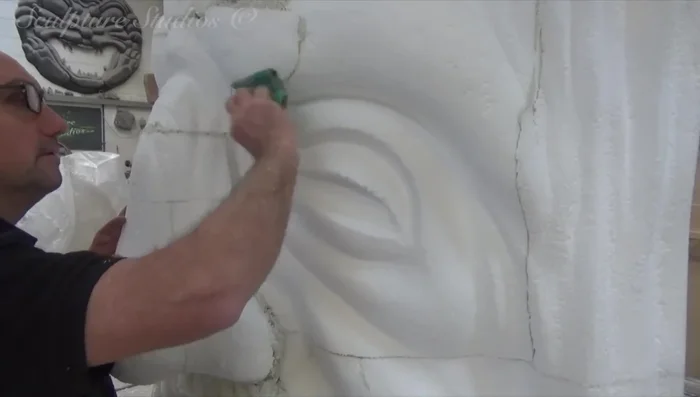
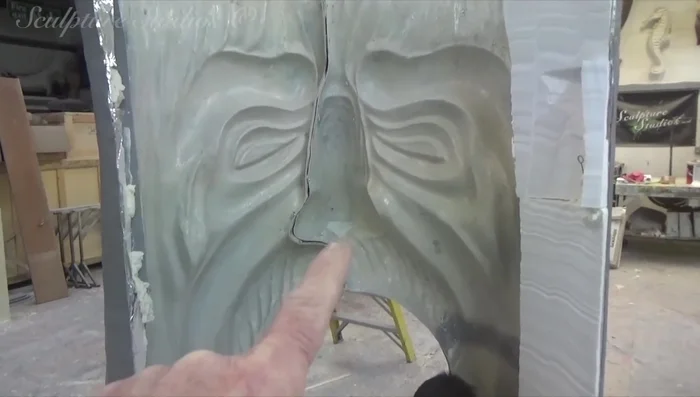
- Sanding down the sculpture to a smoother finish.
- Creating a split line in the polystyrene for easier installation.
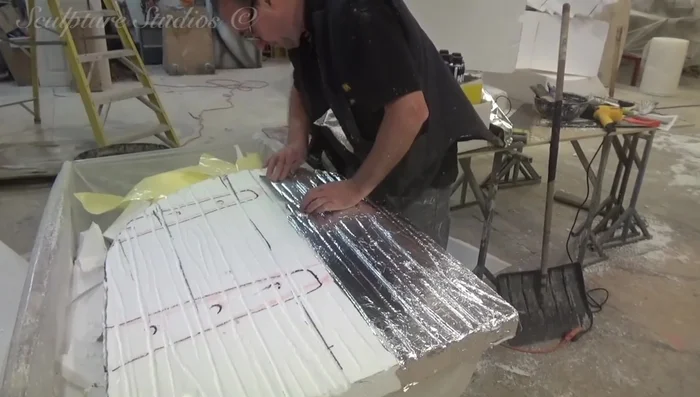
- Applying a protective layer of sticky back tin foil to the polystyrene.
Preparing for Fiberglass Fiberglass Application and Refinement
- Applying fiberglass and resin to the sculpture, ensuring complete coverage with the tin foil.
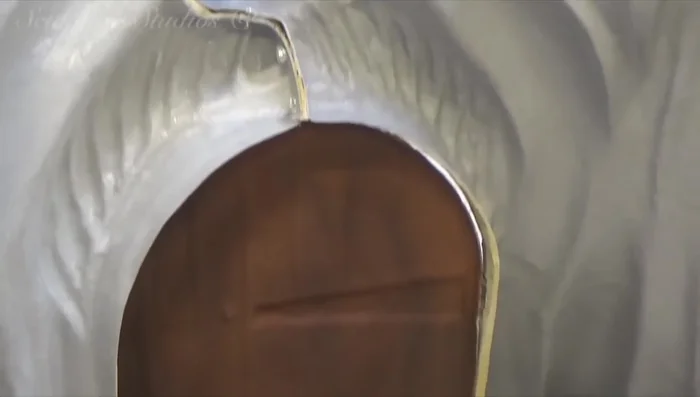
- Removing the majority of polystyrene from the reverse side of the sculpture, leaving some for strength.
- Creating a flange for bolting the two fiberglass halves together.
- Adding a gel coat layer of resin inside and outside the fiberglass for a smoother finish.
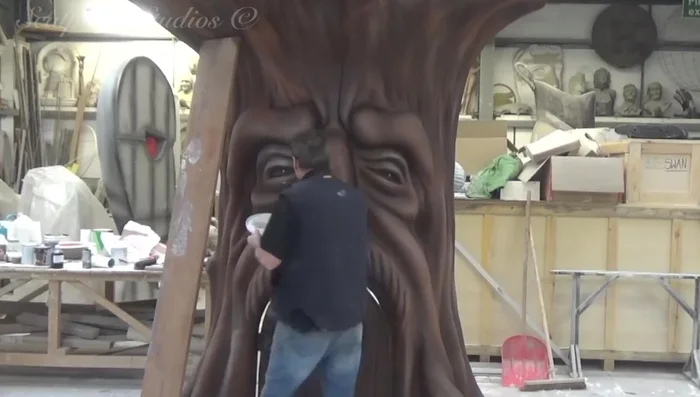
Fiberglass Application and Refinement Painting and Finishing
- Applying theatrical layers of paint to accentuate the sculpture's features.
- Confirming the artwork with the client.
- Applying a semi-sheen lacquer finish.
Painting and Finishing Client Pickup and Installation
- Client pickup and installation discussion.
Client Pickup and Installation


Read more: Super Crown Cosplay Tutorial: Fabric Covering for a Professional Finish
Tips
- N/A