Ever dreamt of owning a crown? Not just any crown, but a miniature replica of the breathtaking British Imperial State Crown? While you likely won't be gracing the throne of Buckingham Palace anytime soon, crafting your own version is entirely within reach! This ultimate guide provides a comprehensive, step-by-step journey into the surprisingly achievable art of building a DIY Imperial State Crown. We'll delve into the intricate details of this iconic symbol of British royalty, breaking down the construction into manageable and fun projects, perfect for enthusiasts of history, crafting, or anyone looking for a truly unique challenge.
Forget expensive museum replicas – this guide empowers you to create your own stunning miniature masterpiece. We will explore the materials needed, from readily available craft supplies to more specialized items, offering alternatives along the way to ensure accessibility. Get ready to embark on a creative adventure, learning about the crown's history and design as you meticulously craft each element. Let's begin the process of building your very own Imperial State Crown!
Preparation and Safety Guidelines
- EVA foam mat
- purple velvet fabric
- white plastic pearl beads
- jewels and crystals
- white fur
- foam clay
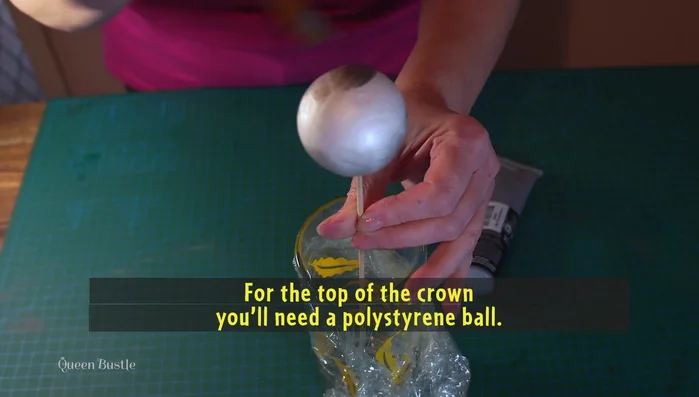
- polystyrene ball
- thick paper or card
- sewing tape measure or string
- sharp craft knives
- contact cement (or foam-safe glue)
- heat gun
- acrylic paint or PVA glue
- Plasti Dip (optional)
- Dremel (optional)
- chrome paint pens
- adhesive gem sheets (optional)
- Sally's Quick Fix super glue (or similar)
- hot glue gun
- resin (for making gems)
- Sharpie (for coloring gems)
- This project is purely for imaginative purposes. Attempting to create a replica of the Imperial State Crown using precious metals and jewels is illegal and incredibly dangerous without the proper training and licensing.
- Safety precautions are paramount when working with any craft materials. Always wear appropriate eye protection and follow manufacturer's instructions for any adhesives, paints, or tools used.
- If working with materials that mimic precious stones or metals, be aware of potential health hazards. Research the properties and safety guidelines of any materials before beginning the project.
Step-by-Step Instructions
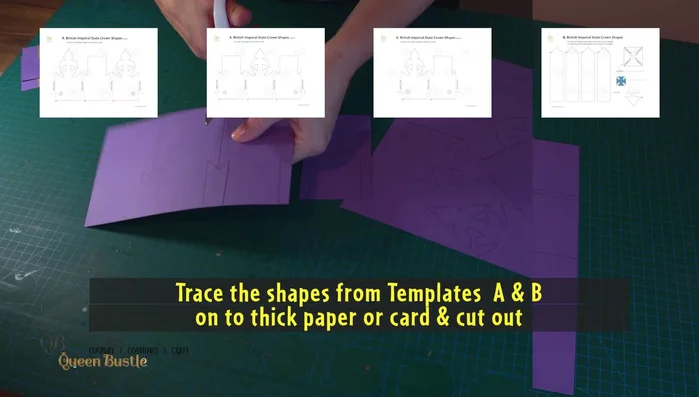
Create the Crown Template
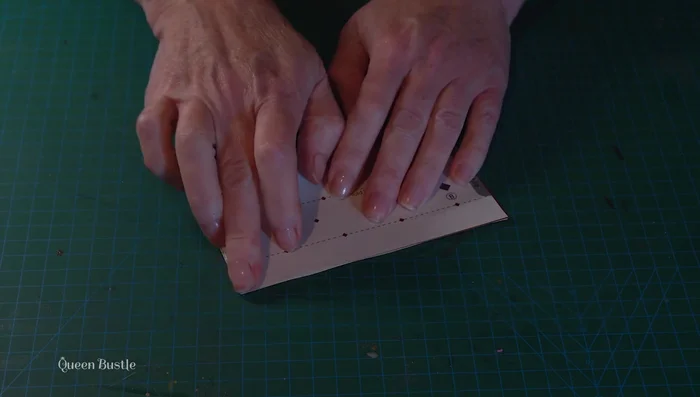
- Create the crown template by tracing shapes from templates A and B onto card, measuring your head size, and assembling the shapes onto a strip of card.

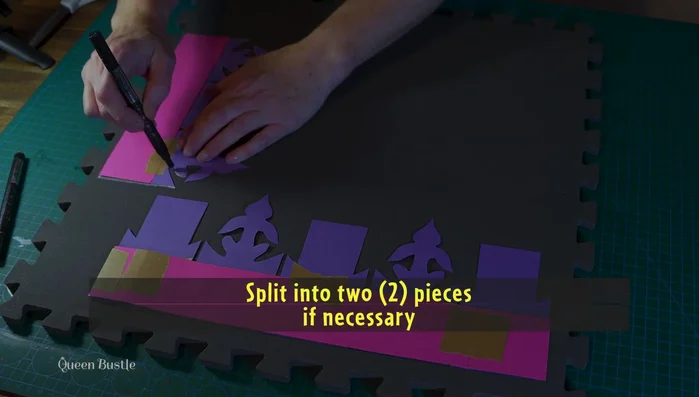
Create the Crown Template Cut EVA Foam Crown Pieces
- Trace the crown template onto the EVA foam mat, potentially splitting it into two pieces for easier handling. Cut out the shapes using sharp craft knives.
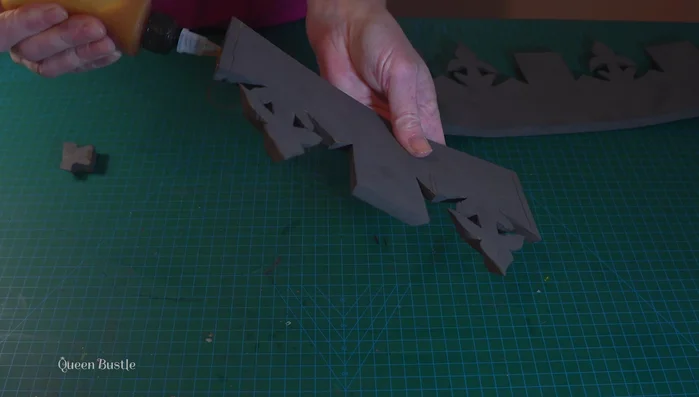
Cut EVA Foam Crown Pieces Assemble the Foam Crown Base
- Glue the crown pieces together using contact cement or foam-safe glue, aligning the top edge for best visibility.
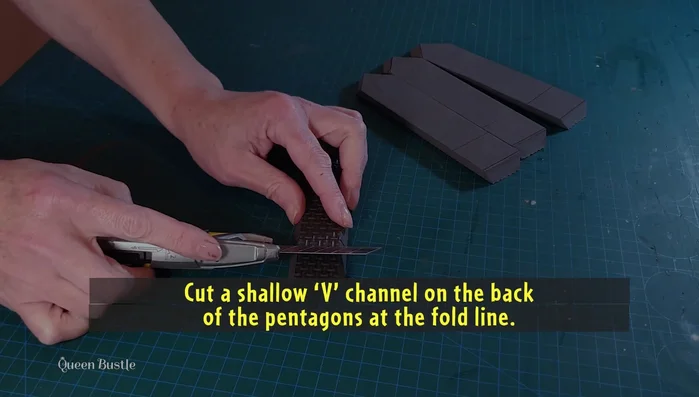
- Cut a shallow V channel on the back of the pentagons to aid in folding and eliminate the need for glue in those areas.
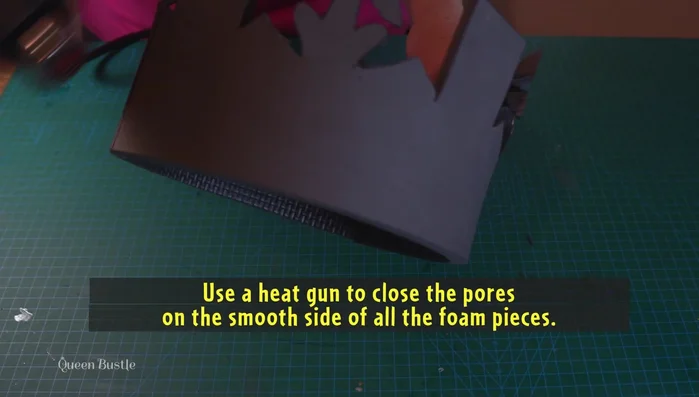
- Use a heat gun to close the pores on the smooth side of the foam pieces and shape the pentagons while warm.
- Glue together the pointed and flat ends of the pentagons to the crown base.
Assemble the Foam Crown Base Prepare the Crown Top
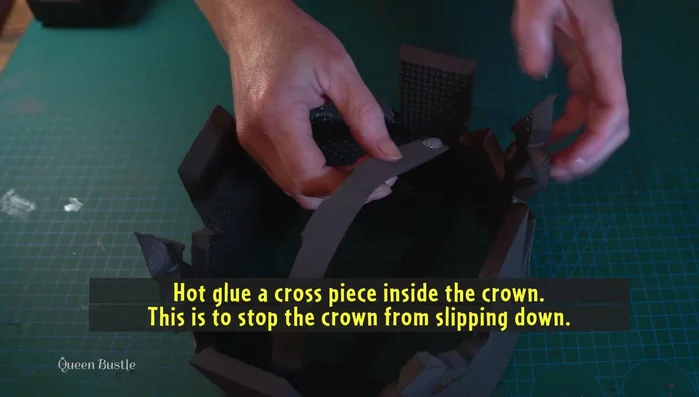
- Hot glue a cross piece inside the crown for stability.
- Prepare the polystyrene ball for the crown top by covering it with acrylic paint or PVA glue with paint.
Prepare the Crown Top Seal and Prepare Foam Pieces
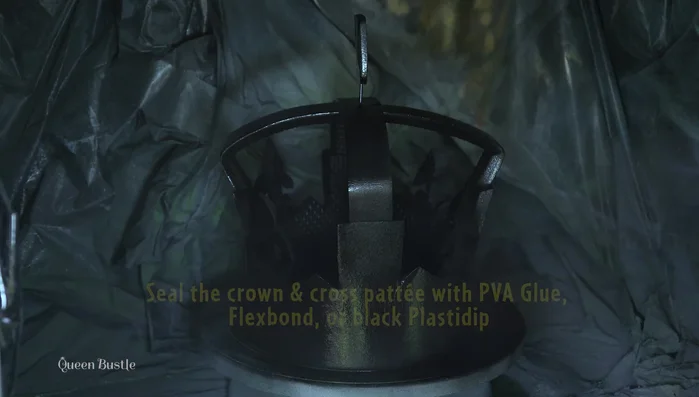
- Seal all foam pieces with PVA glue, Flex Bond, or Plasti Dip.
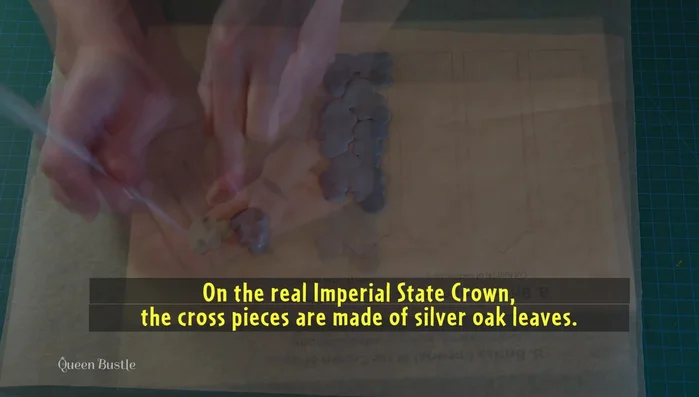
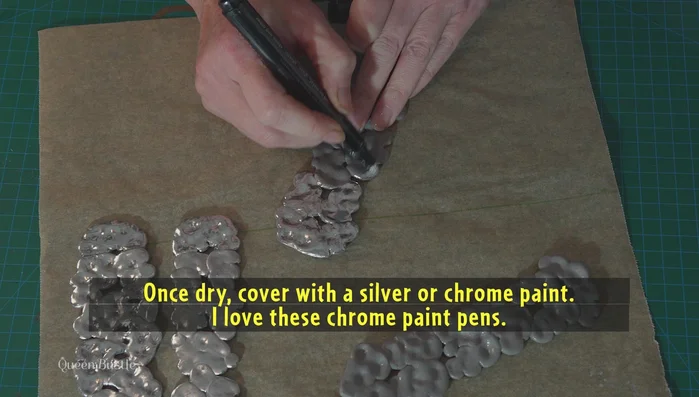
- Create the cross pieces using either a Dremel to shape foam or by sculpting them from foam clay. Seal when dry with PVA glue or Flex Bond.
- Paint the cross pieces silver or chrome.
Seal and Prepare Foam Pieces Prepare Gem Placement
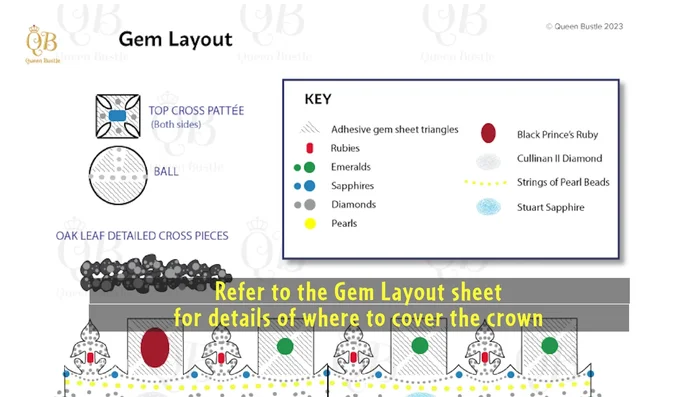
- Create the gem layout template from template C. Mark gem placement on the crown using the template.
Prepare Gem Placement Apply Pearls and Gems
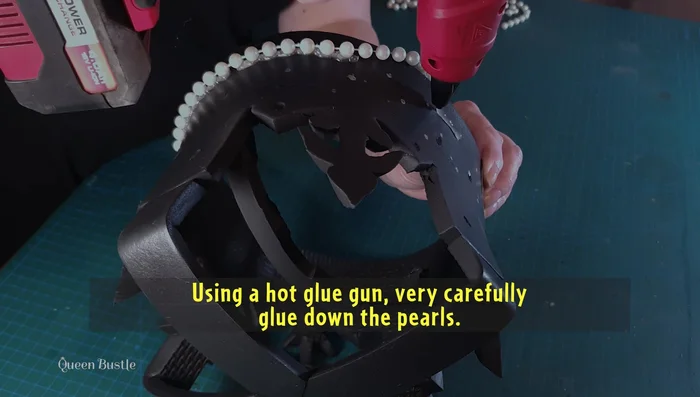
- Glue pearls around the crown following the marked lines.
- Glue gems and crystals to the crown according to the layout.
Apply Pearls and Gems Attach Crown Top and Cross
- Glue the polystyrene ball and cross to the center of the cross pieces.
Attach Crown Top and Cross Fabric and Fur Lining
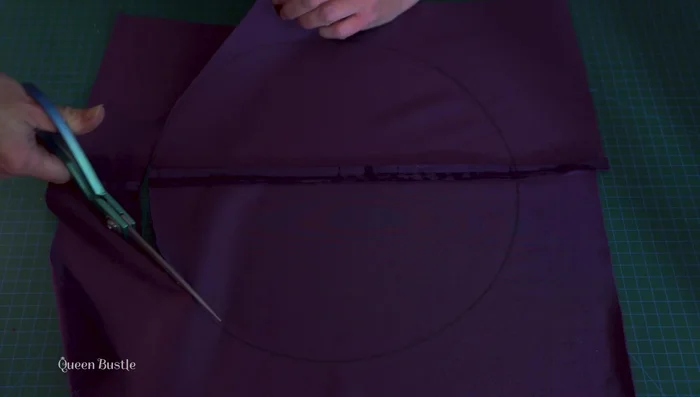
- Cut and glue purple velvet fabric to the inside of the crown, aligning marks to keep it even.
- Glue a strip of fake fur under the bottom row of pearls.
Fabric and Fur Lining Add Main Gems
- Add the Stuart Sapphire, Black Princess Ruby, and Cullinan II Diamond (or replicas).
Add Main Gems


Read more: Super Crown Cosplay Tutorial: Fabric Covering for a Professional Finish
Tips
- Keep your knives sharp for clean cuts.
- Use a heat gun, not a hairdryer, to close foam pores.
- Use adhesive gem sheets to save time.
- Sally's Quick Fix super glue is recommended for its foam safety and clarity.
- Mark gem locations for faster and neater gluing.