Ever dreamed of embodying your favorite superhero? Now you can, with a custom-fitted foam superhero mask crafted entirely by your own hands! This guide unveils the exciting world of heat-molding EVA foam, a remarkably versatile and affordable material perfect for creating incredibly detailed and comfortable masks. Forget flimsy plastic or uncomfortable fabric; this method allows you to achieve a precise fit tailored specifically to your face, resulting in a truly authentic superhero experience. Forget generic store-bought costumes, this is your chance to unleash your creativity and bring your unique vision to life.
This DIY project is surprisingly accessible, requiring only a few readily available materials and a little patience. We'll walk you through the process step-by-step, from selecting the right foam to achieving that perfect, personalized fit. Ready to become the hero you were always meant to be? Let's dive into the detailed instructions below!
Preparation and Safety Guidelines
- Foam sheets (various colors)
- Paper
- Scissors
- Heat gun or hairdryer
- Oven (optional)
- Paint (optional)
- Always use proper ventilation when working with EVA foam and heat-molding tools. Inhaling fumes can be harmful.
- Heat the foam to the manufacturer's recommended temperature only. Overheating can cause the foam to burn, melt unevenly, or release toxic fumes.
- Use caution when handling hot foam and tools. Wear heat-resistant gloves to prevent burns.
Step-by-Step Instructions
Design and Cut Template
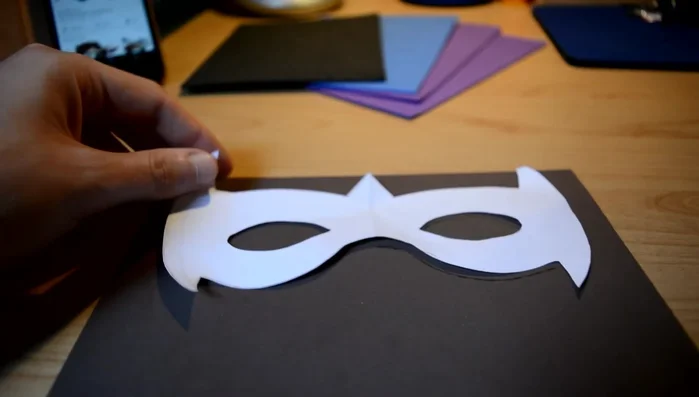
- Draw the mask design on paper. It's easier to design on paper and then transfer the design onto the foam.
- Cut out the paper template. Draw half the design, fold the paper, and cut to ensure symmetry.

Design and Cut Template Cut Foam Mask
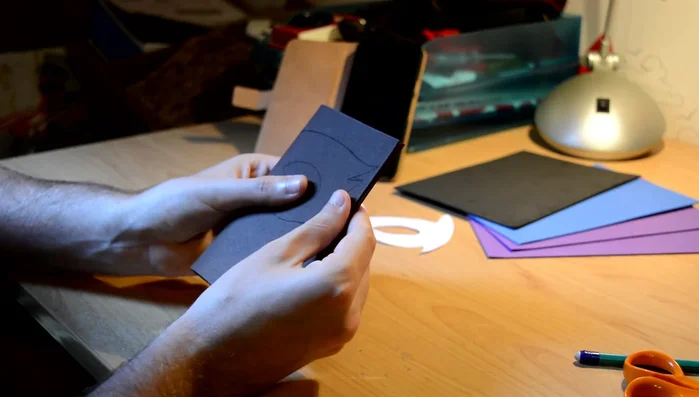
- Transfer the design onto the foam sheet. Cut out the foam mask shape.
Cut Foam Mask Test Fit and Adjust
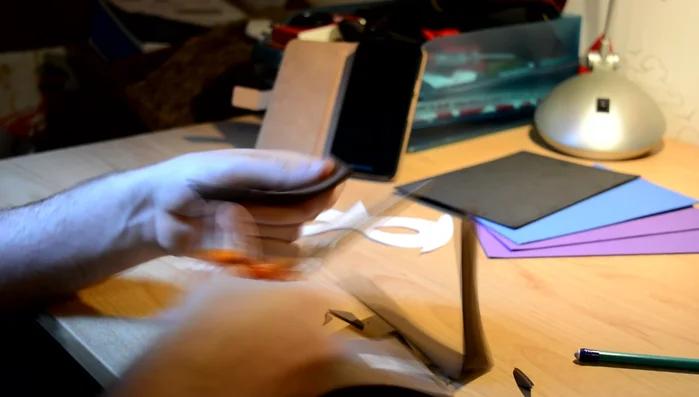
- Test the mask fit on the wearer's face and adjust the eye holes before proceeding further. It's difficult to modify the mask after heating.
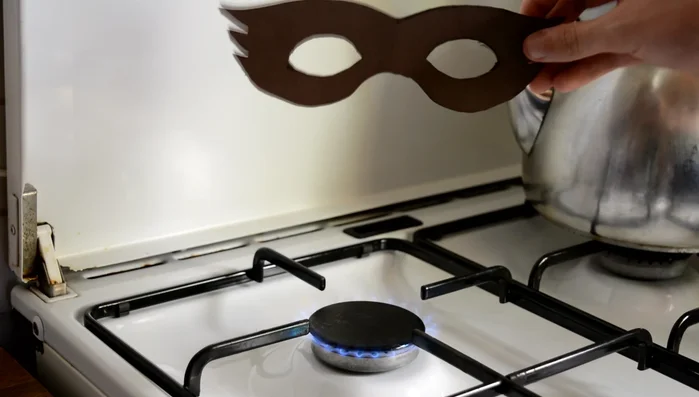
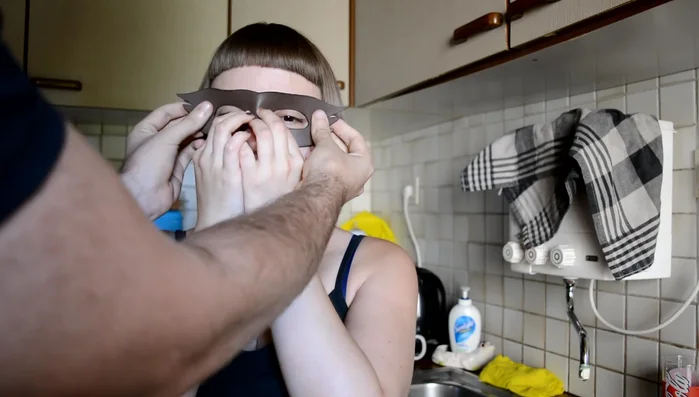
Test Fit and Adjust Heat and Mold Foam
- Heat the foam using a heat gun, hairdryer, or by placing it above an oven's pilot light until it becomes pliable.
- Carefully mold the heated foam to the wearer's face, pressing around key areas like the nose and eyes to achieve a snug fit. Hold it in place for about 30 seconds.
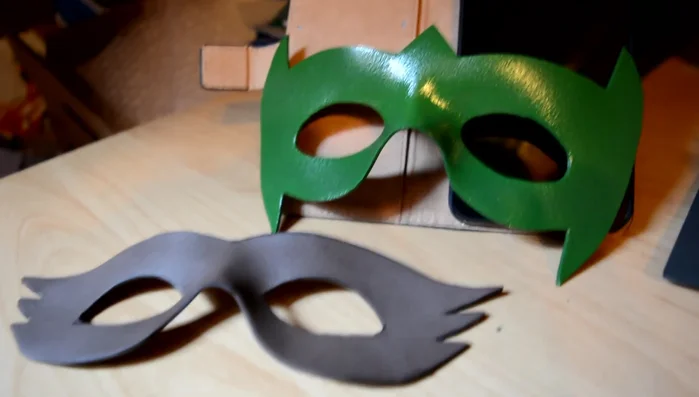
Heat and Mold Foam Decorate Mask
- Once cool, decorate the mask as desired with paint or other embellishments.
Decorate Mask

Read more: Super Crown Cosplay Tutorial: Fabric Covering for a Professional Finish
Tips
- If you're young, ask for adult supervision, especially when heating the foam.
- Always test the mask for fit *before* heating and molding.