Taking your Super Crown cosplay to the next level involves more than just the basic structure; it's all in the details. A flawlessly finished Super Crown demands a professional touch, and that starts with the fabric covering. A poorly executed covering can ruin even the most meticulously crafted base, resulting in a costume that looks amateurish rather than awe-inspiring. This tutorial focuses on achieving that polished, museum-quality finish that separates a good cosplay from a truly exceptional one, transforming your crown from a simple craft project into a statement piece.
This guide provides a comprehensive, step-by-step process for covering your Super Crown with fabric, resulting in a sleek and professional appearance. We'll cover everything from selecting the right fabric and preparing your crown to the techniques for achieving neat seams and a perfectly smooth finish. Let's begin transforming your Super Crown into a masterpiece!
Preparation and Safety Guidelines
- 5mm EVA foam
- Gold vinyl or fabric
- Pink spandex fabric
- Contact adhesive
- Spray adhesive
- Scissors
- Craft knife
- Pen
- Paper/Tape
- Monster clay
- Tin foil
- Gold rivets or beads
- White fabric circles
- Large gold button
- Superglue
- Aluminum wire
- Headband
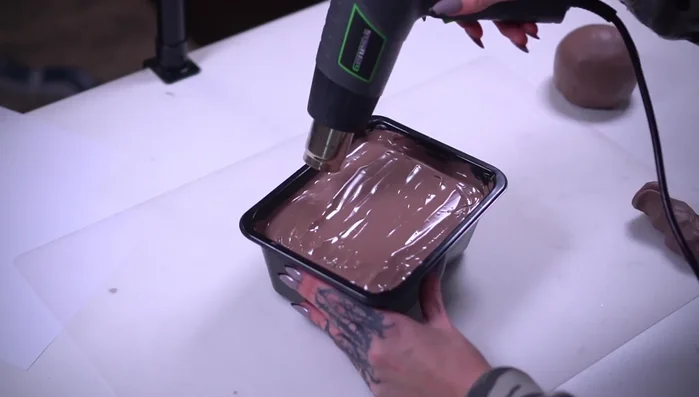
- DecoArt thermoplastic beads
- Heat gun
- Black paint
- Silicone baking cups
- Always use a well-ventilated area when working with spray adhesives or paints. Inhaling fumes can be harmful to your health.
- Exercise caution when using sharp tools like scissors or craft knives. Always cut away from yourself and use a cutting mat.
- Ensure your chosen fabrics are flame-retardant, especially if the cosplay will be worn near open flames or heat sources (e.g., candles, stage lighting).
Step-by-Step Instructions
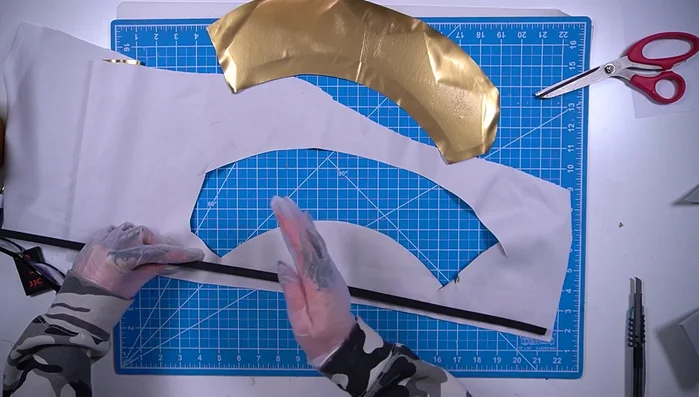
Crown Base Creation
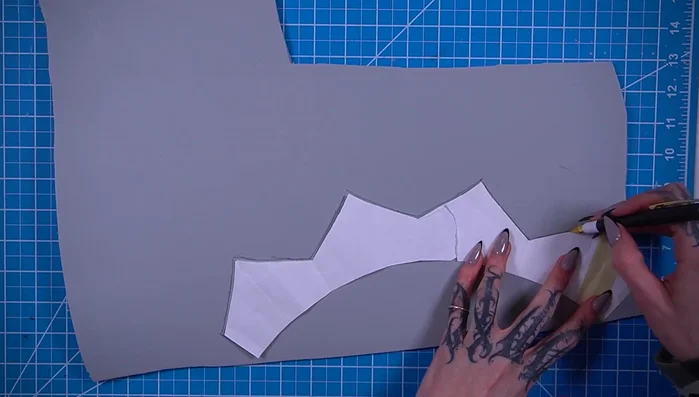
- Create a pattern for the crown using monster clay and tin foil as a base, then transfer the pattern onto paper.
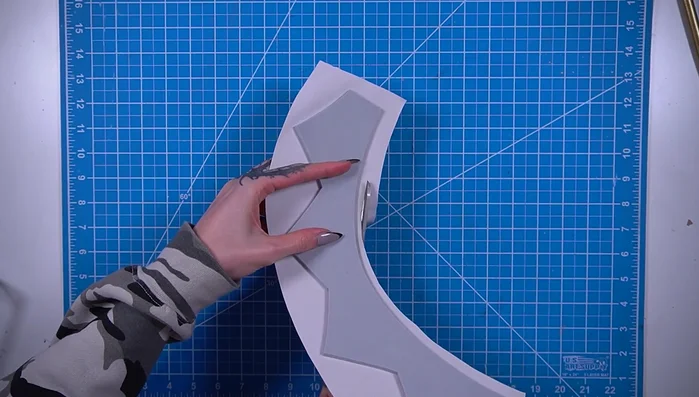
- Cut out the crown base from 5mm EVA foam.

Crown Base Creation Covering the Crown Base
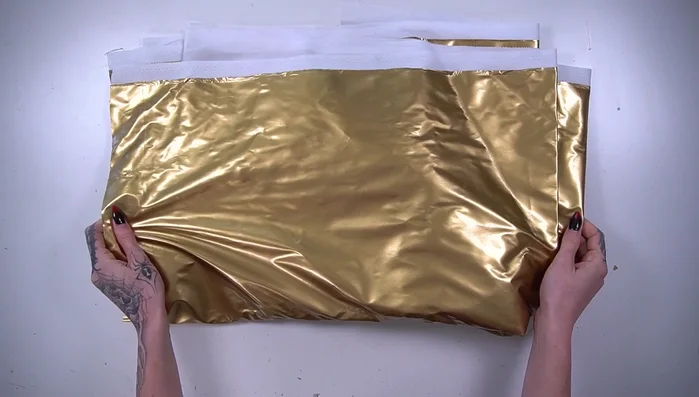
- Cover the foam crown with gold vinyl or fabric using spray adhesive.
- Cut, fold, and glue the edges of the fabric to create a clean finish.
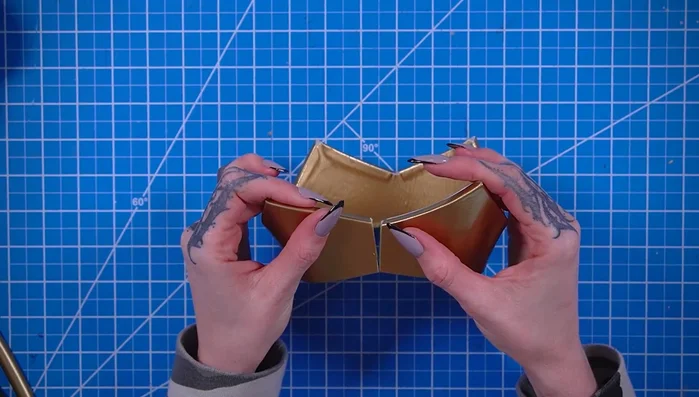
Covering the Crown Base Assembling the Crown
- Join the two edges of the crown together with contact adhesive.
- Cover an EVA foam half dowel with gold fabric and glue it to the bottom edge of the crown.
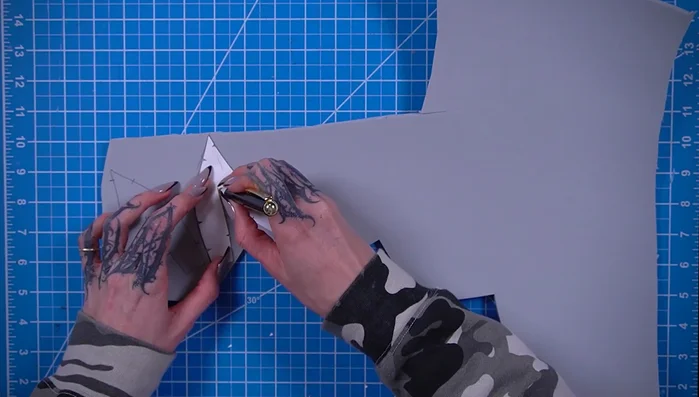
Assembling the Crown Cushion Creation
- Cut out and glue together the cushion pieces from 5mm EVA foam.
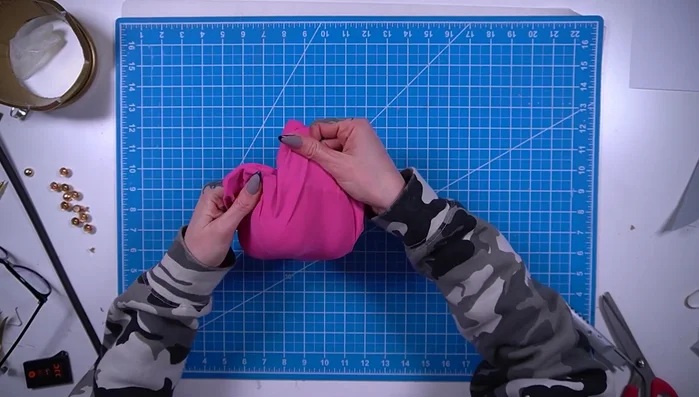
Cushion Creation Covering the Cushion
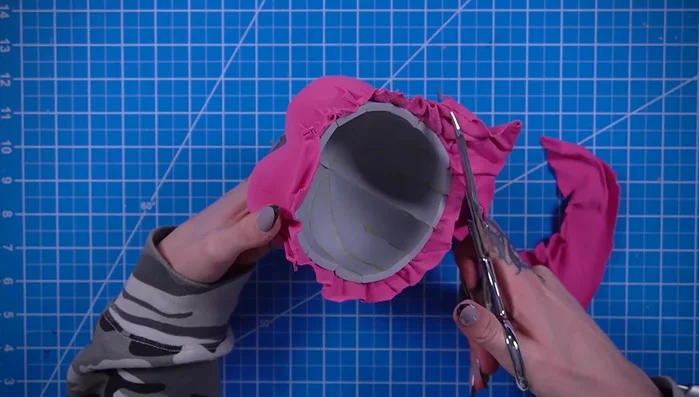
- Cover the cushion with pink spandex fabric using spray adhesive, stretching and smoothing it to eliminate wrinkles.
- Trim, fold, and glue the edges of the pink fabric.
Covering the Cushion Finishing the Cushion
- Add white fabric circles and a gold button to the cushion.
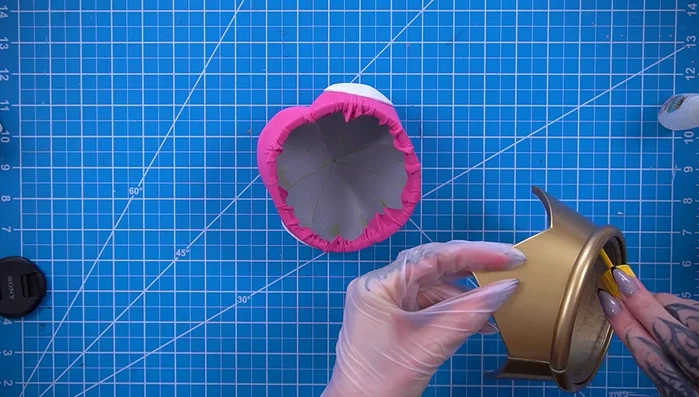
Finishing the Cushion Attaching the Cushion to the Crown
- Glue the cushion into the gold crown.
Attaching the Cushion to the Crown Adding Details
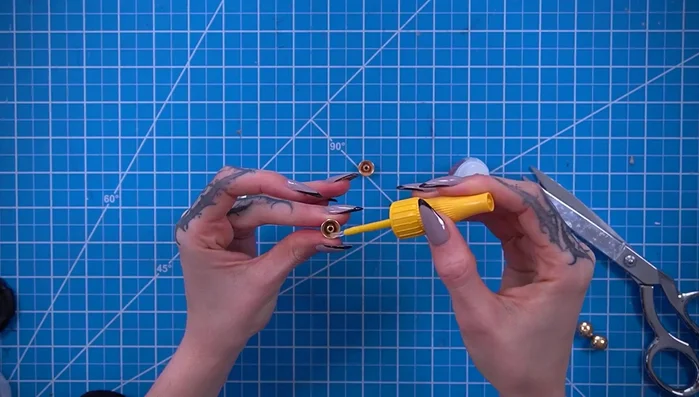
- Add gold rivets or beads to the crown points.
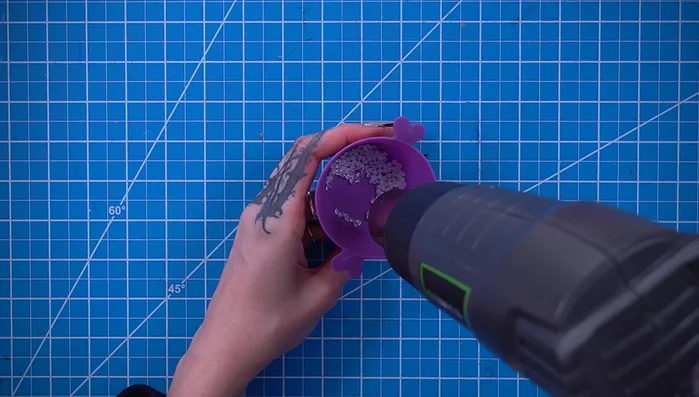
- Sculpt and attach small eyes using DecoArt thermoplastic beads, a heat gun, and black paint.
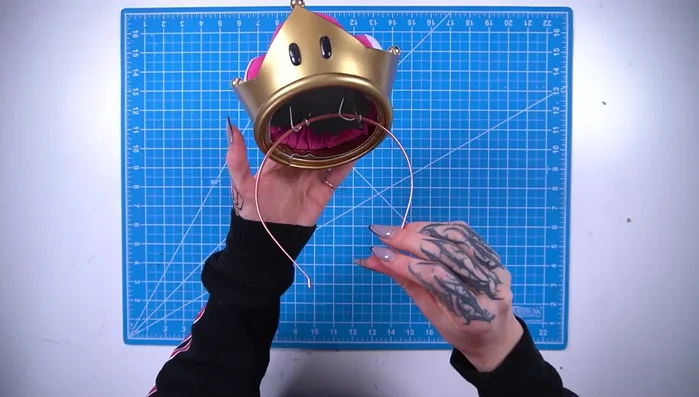
Adding Details Attaching to Headband
- Attach the crown to a headband using aluminum wire.
Attaching to Headband

Read more: DIY British Imperial State Crown: The Ultimate Guide
Tips
- Use registration marks when creating and assembling pattern pieces for accuracy and symmetry.
- Cut edges at a 45° angle when joining segments to ensure they fit together properly.
- Allow contact adhesive to dry slightly before joining pieces to achieve a strong bond.
- Be careful when using a heat gun with thermoplastic beads, as they get very hot.