Polymer clay offers a delightful medium for crafting miniature works of art, and what could be more charming than a ladybug? These tiny beetles, with their vibrant red and black markings, bring a touch of whimsy wherever they land. This guide will walk you through the process of creating your own adorable polymer clay ladybugs, perfect for adding a sprinkle of nature-inspired charm to jewelry, keychains, or simply as delightful little decorations to brighten your day. Forget expensive store-bought trinkets; with just a few simple tools and some colorful clay, you'll be crafting these delightful insects in no time.
From shaping the body and adding delicate antennae to mastering the iconic spots, we'll cover every step in detail, providing tips and tricks along the way to help you achieve perfectly polished results. So, gather your supplies, unleash your creativity, and prepare to be amazed at how easily you can bring these sweet little ladybugs to life. Let's dive into the step-by-step instructions now!
Preparation and Safety Guidelines
- Polymer clay (black, white, red/pink)
- Dotting tools (various sizes)
- Pasta machine (optional)
- Super glue
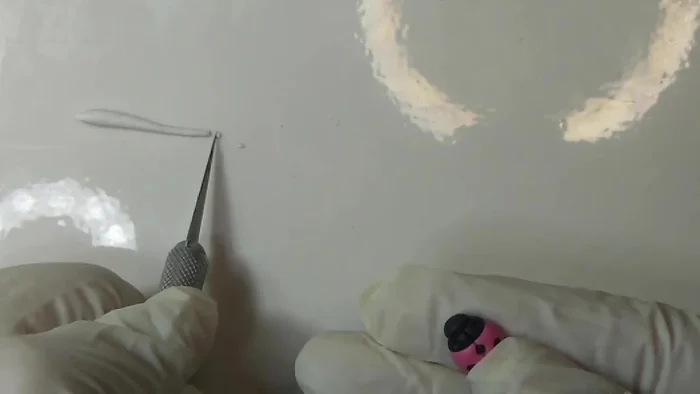
- Black sewing thread
- Sculpting tools
- Gloss varnish
- Baking oven
- Polymer clay needs to be baked according to the manufacturer's instructions to harden. Improper baking can result in a fragile or sticky ladybug.
- Always work in a well-ventilated area, as some polymer clays may release fumes during baking.
- Polymer clay can get very hot during baking. Adult supervision is required, especially when children are involved.
Step-by-Step Instructions
Body Shaping
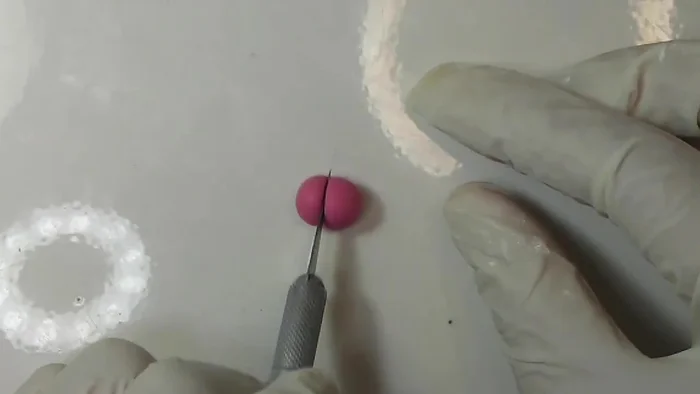
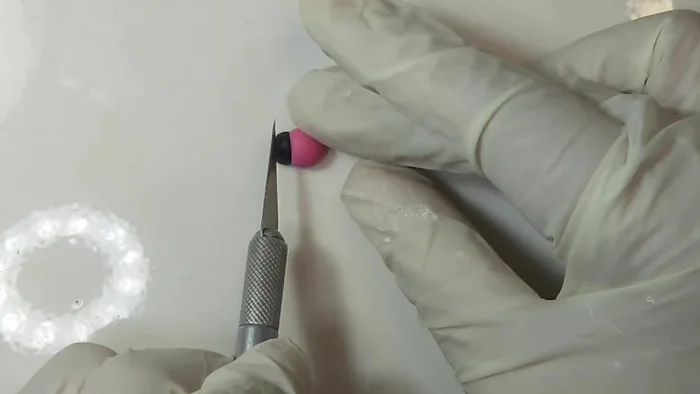
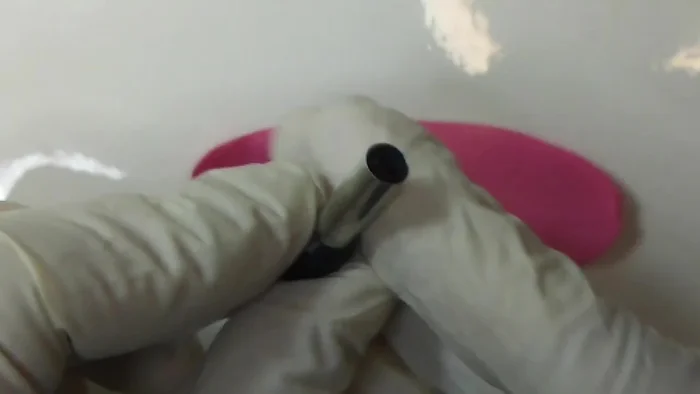
- Create an egg-like shape from clay, about 8-10mm in size. Cut off the tip for the head.
- Join the head and body pieces, ensuring correct proportions. The pronotum (neck) should be about 1mm.

Body Shaping Adding Spots
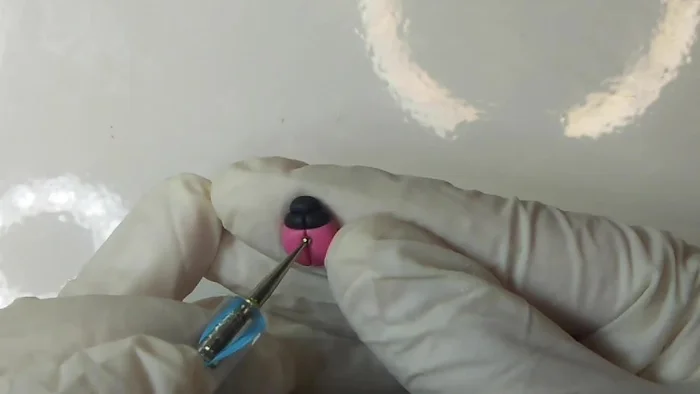
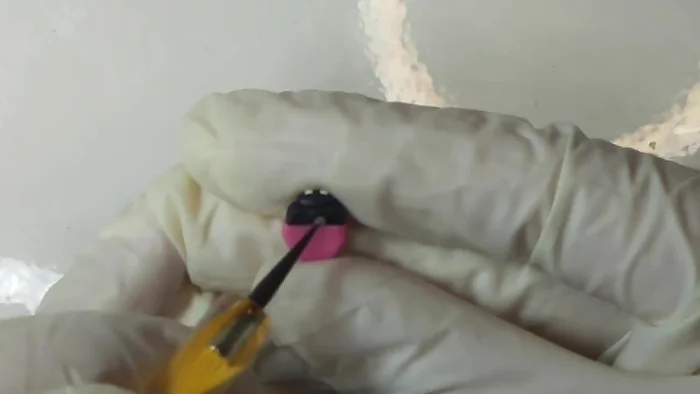
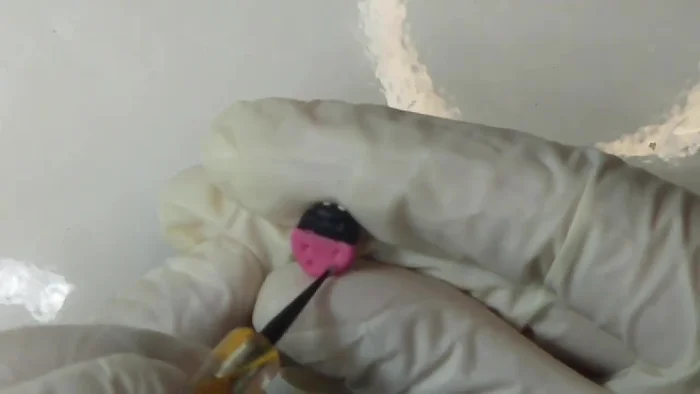
- Create five indentations in the body using a dotting tool, referencing ladybug images online for patterns.
- Roll tiny black clay balls and insert into the body indentations; use a dotting tool to secure them.
- Repeat the process for the head and neck using white polymer clay.
Adding Spots Adding Legs
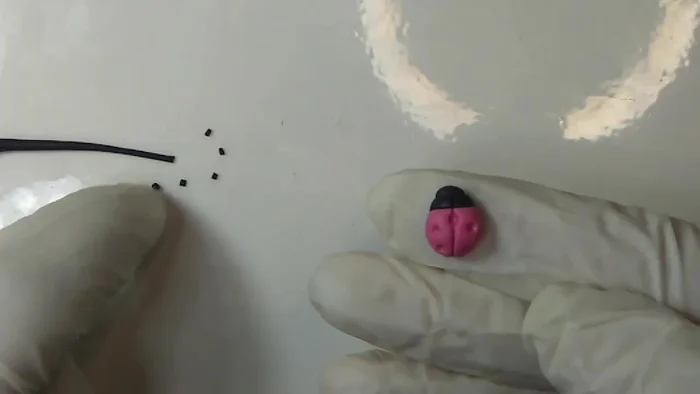
- Make dots on the back with your smallest dotting tool.
Adding Legs Baking
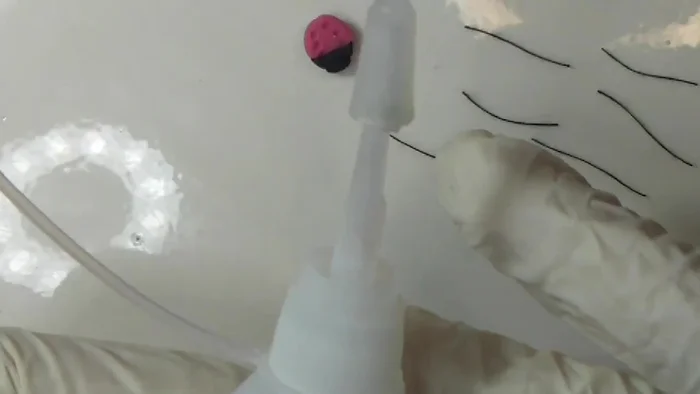
- Bake the clay according to instructions.
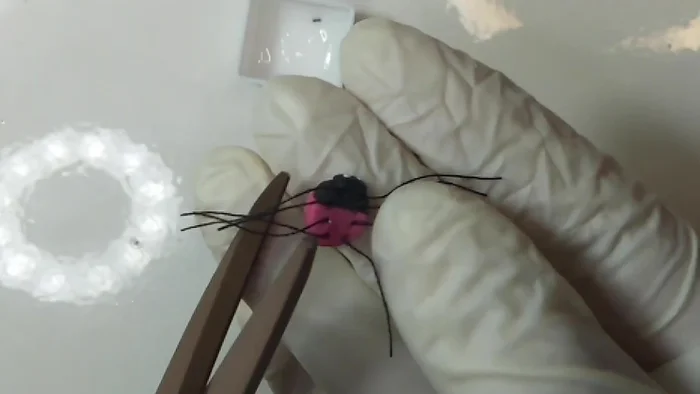
Baking Attaching Legs
- Attach black thread legs using super glue, one at a time, and reinforce with more glue after drying.
- Trim legs to preferred length after glue is completely dry.
Attaching Legs Optional: Making Earrings
- Create stud earrings. Roll clay, cut circles, and attach ladybugs with liquid glue.
Optional: Making Earrings
Read more: Easy Clay Heart Sculpting: From Charm to Button
Tips
- Refer to images of real ladybugs online for accurate proportions and spotting patterns.
- Work slowly and patiently when attaching legs to avoid frustration.
- Use a small amount of liquid glue when attaching earring components; excess glue makes it harder to work with.
- Add gloss varnish for a shiny finish.