The crisp air, the twinkling lights, the magic of the holiday season – all call for exquisite decorations to enhance the festive cheer. This year, elevate your holiday décor beyond the ordinary with the captivating art of polymer clay quilling. Transform humble coils of vibrant clay into intricate, three-dimensional snowflake ornaments that will dazzle and delight. Forget flimsy paper snowflakes; these enduring beauties are crafted to last, showcasing a unique blend of artistry and durability, perfect for years of cherished holiday displays.
Polymer clay quilling offers a surprising level of detail and allows for an incredible range of customization, letting you create snowflakes that are as unique as your own personal style. From classic six-pointed wonders to more complex and asymmetrical designs, the possibilities are endless. Ready to embark on this creative journey? Let's dive into a step-by-step guide that will transform your polymer clay into stunning, handcrafted snowflake ornaments.
Preparation and Safety Guidelines
- Polymer clay (various colors)
- Pasta machine
- Wooden dowel or acrylic rod (1 inch diameter)
- Scrap paper
- Repositionable adhesive
- Index cards (optional)
- Sharp scissors or rotary trimmer
- Knitting needle (optional)
- Template (downloadable)
- Piece of glass
- Super glue gel
- Glitter
- Craft mat
- White glue
- Paintbrushes (optional)
- Polymer clay requires baking to harden. Always follow the manufacturer's instructions regarding baking temperature and time. Improper baking can result in cracking or incomplete hardening.
- Work in a well-ventilated area. Polymer clay fumes can be irritating to some individuals. Avoid prolonged exposure, and consider using a respirator if sensitive.
- Use appropriate tools for working with polymer clay. Sharp tools can cause injury if not handled carefully. Supervise children closely when they are working with polymer clay and tools.
Step-by-Step Instructions
Prepare Variegated Clay
- Create a variegated clay sheet by twisting together different colored clay logs.
- Roll the clay sheet through a pasta machine, perpendicular to the rollers, several times to thin it and blend the colors. Aim for a sheet approximately 4x6 inches and as thin as manageably possible.

Prepare Variegated Clay Create Clay Tube
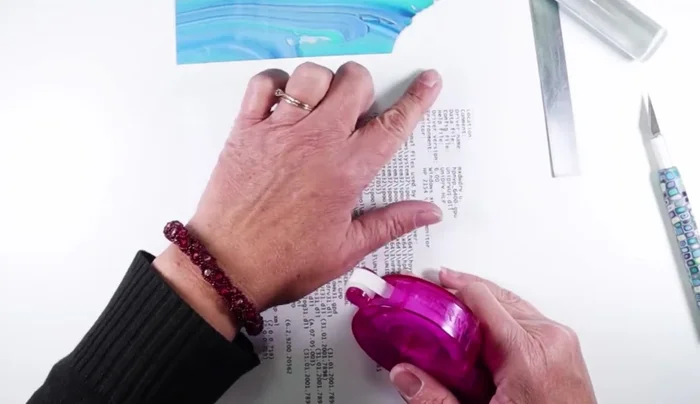
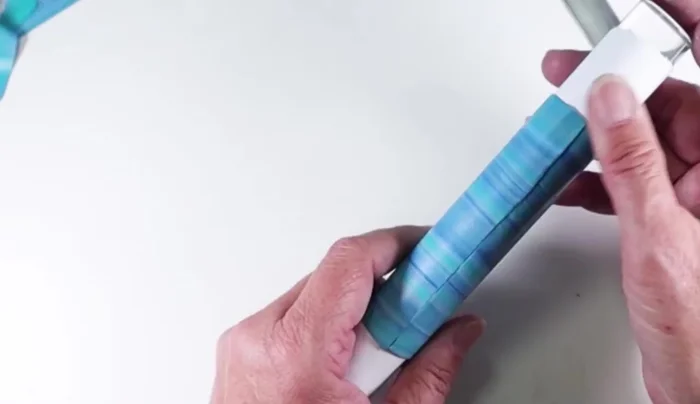
- Apply adhesive to one edge of the clay sheet.
- Wrap the clay sheet tightly around a wooden dowel or acrylic rod. Secure the edge with adhesive, ensuring it adheres completely to the previous layer.
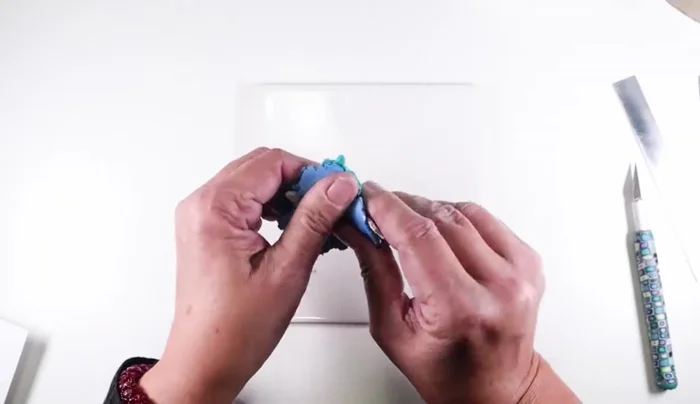
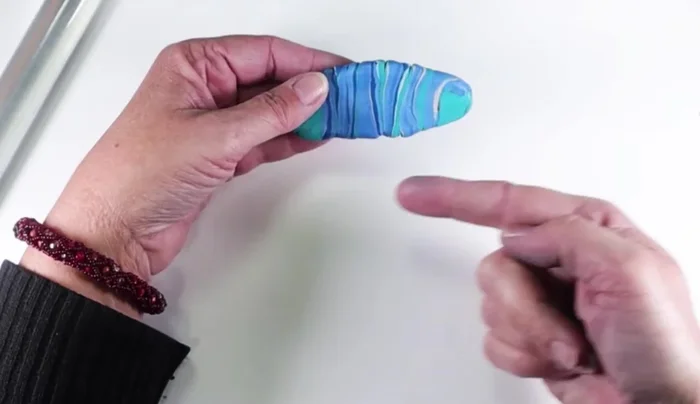
Create Clay Tube Seal and Shape Clay
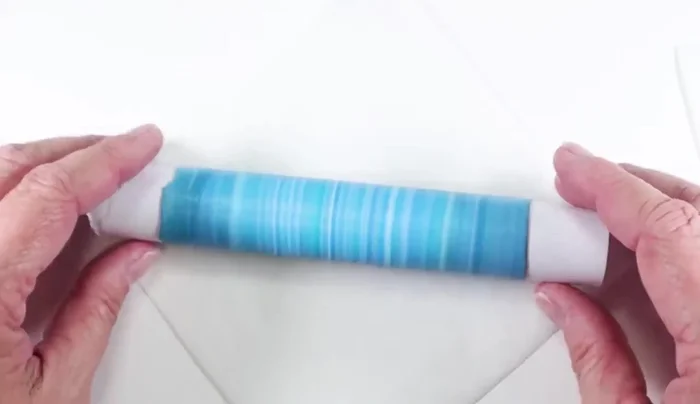
- Remove the clay tube from the rod and carefully heal the seam where the clay meets.
- Shape the clay tube into desired form (e.g., marquee shape) before baking at the manufacturer's recommended temperature for one hour.
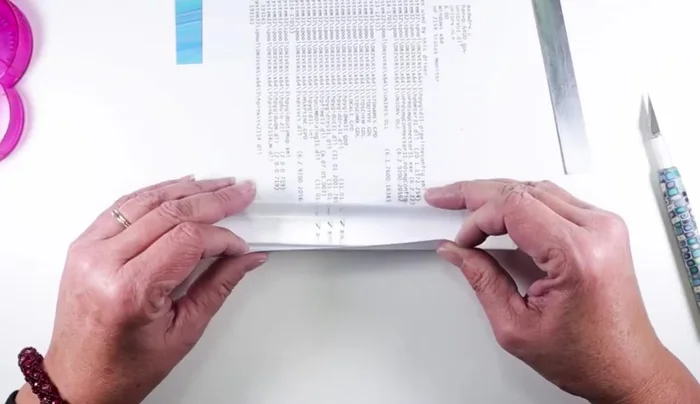
Seal and Shape Clay Bake and Remove Paper
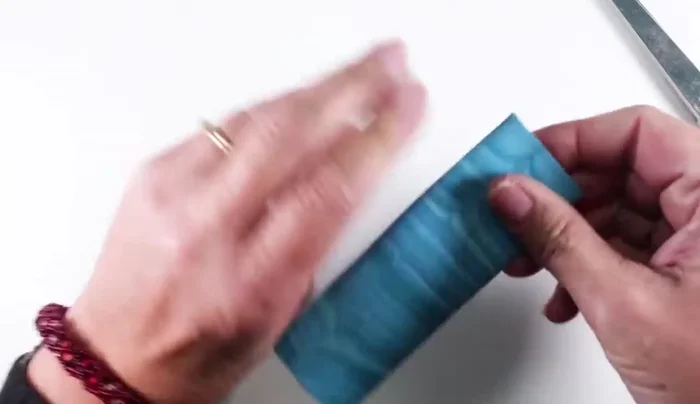
- After baking, remove the paper carefully, using a tool such as a knitting needle to loosen it as needed. If the paper is stuck, carefully remove it with pliers, gripping only the paper.
Bake and Remove Paper Cut Clay Strips
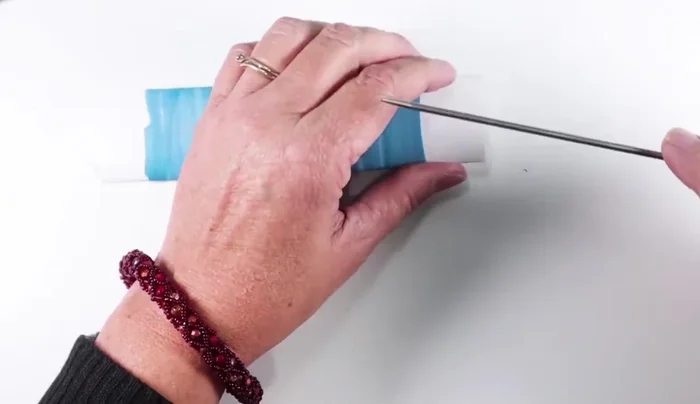
- Cut the baked clay into strips using scissors or a rotary trimmer. Cut some strips in half to create shorter pieces for interior details.
Cut Clay Strips Assemble Snowflake Base
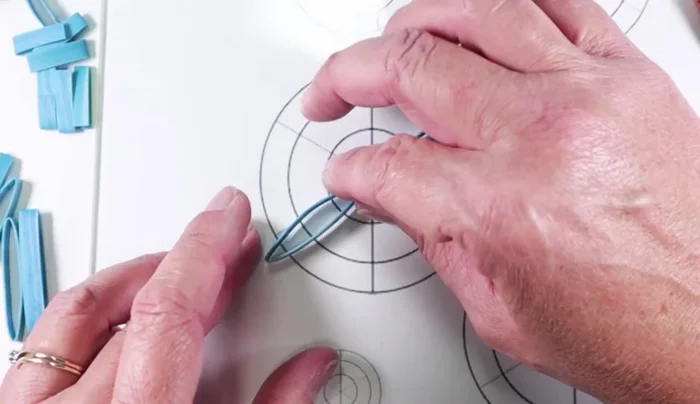
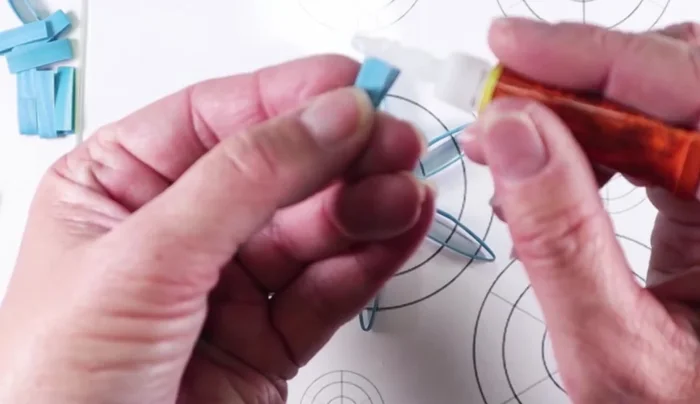
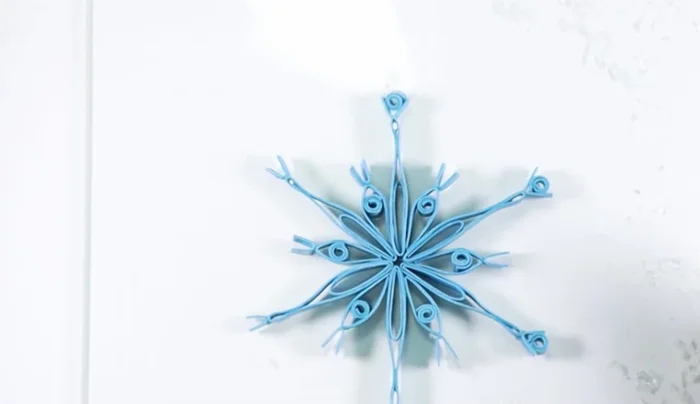
- Assemble the snowflake using a template as a guide. Arrange six longer strips evenly around the center, gluing with super glue.
Assemble Snowflake Base Add Interior Details
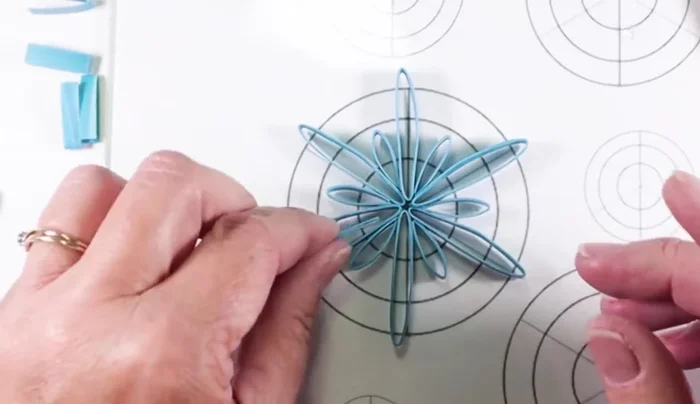
- Add six shorter strips between the longer ones, creating interior details.
- Add additional small loops inside for more detail, optional.
- Cut and glue small v-shaped pieces to the ends of the interior loops, for further embellishment, optional.
Add Interior Details Finish and Decorate
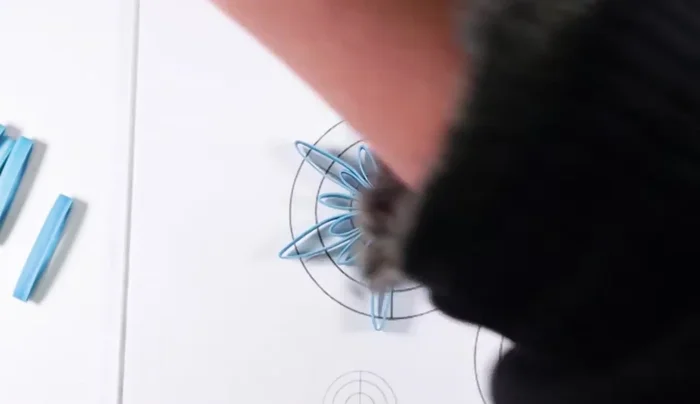
- Add a thin layer of glue to the edges of the snowflake and sprinkle with fine glitter, optional.
Finish and Decorate
Read more: Easy Clay Heart Sculpting: From Charm to Button
Tips
- Condition clay colors individually before combining.
- Don't overwork the design; variations will be subtle in the final product.
- Shape the clay tube *before* baking for easier shaping and to prevent cracking.
- Use a thin layer of glue for glitter application to avoid dripping.