Have you ever wanted to create your own adorable, miniature penguin friend? Now you can, using the wonderfully versatile medium of bakeable clay! This charming craft project is perfect for all skill levels, from seasoned crafters to enthusiastic beginners. The malleable nature of the clay allows for easy shaping and customization, letting you create a penguin that's uniquely yours. Imagine the possibilities: a tiny penguin perched on a bookshelf, a whole colony waddling across your desk, or even a delightful penguin-themed keychain!
This guide will walk you through each stage of the process, from preparing the clay and shaping the body to adding those characteristic little penguin details. So gather your materials and prepare to embark on this fun and rewarding creative journey; let's get started with our step-by-step guide on how to make a cute penguin with bakeable clay!
Preparation and Safety Guidelines
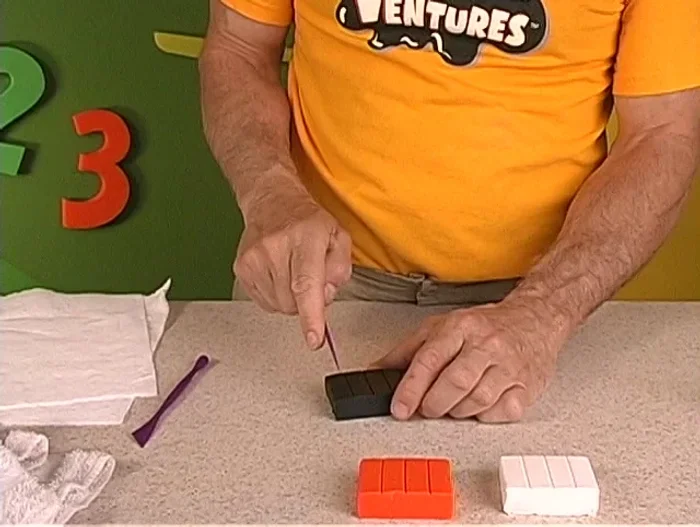
- Black, white, and orange bakeable clay
- Sculpting tools
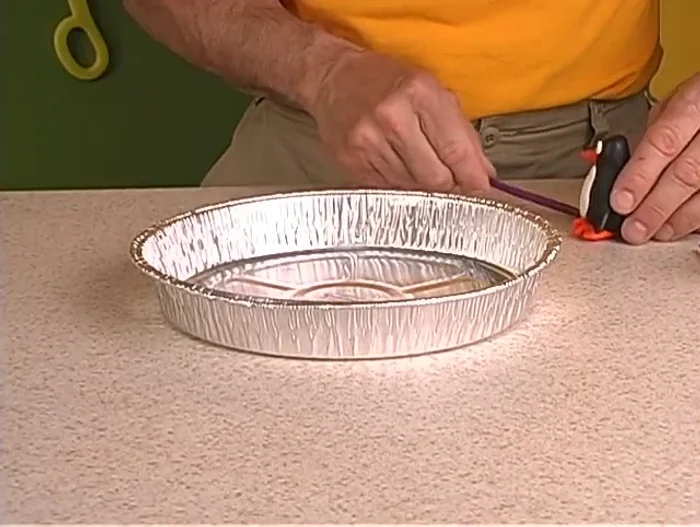
- Aluminum pie pan
- Toothpick
- Plastic knife
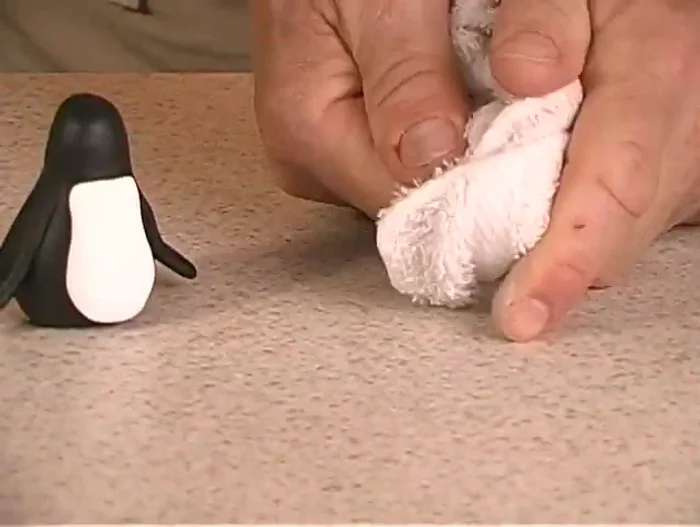
- Wet towel/handy wipes
- Paper towel
- Roller (optional, can substitute with other cylindrical objects)
- Pencil
- Flat round piece of wood (for stand)
- Hot glue
- Always supervise children when using bakeable clay and oven. The oven and clay can get very hot.
- Ensure the clay is completely baked according to the manufacturer's instructions to avoid any lingering toxicity.
- Wash hands thoroughly before and after handling the clay and after baking.
Step-by-Step Instructions
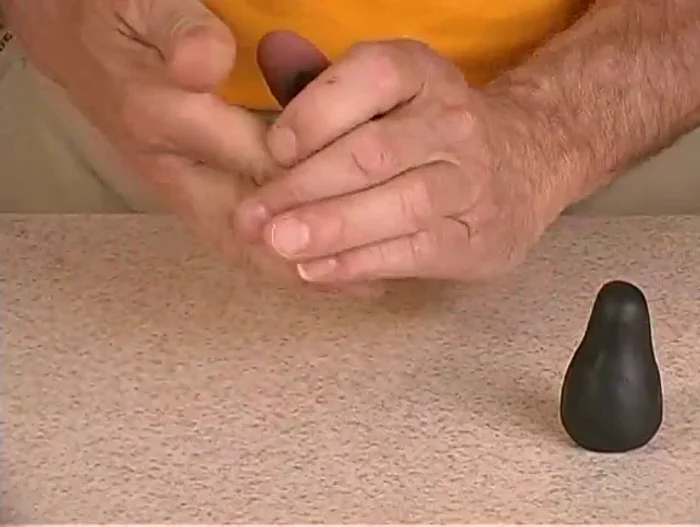
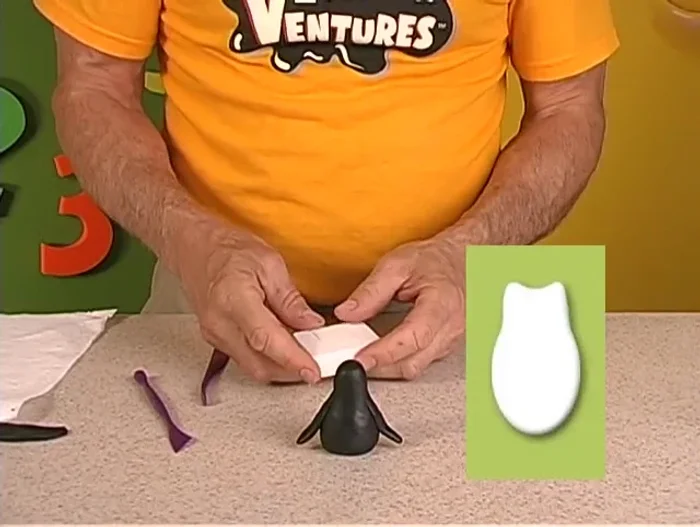
Sculpt the Body
- Make the penguin's pear-shaped body using black clay.

Sculpt the Body Sculpt the Wings
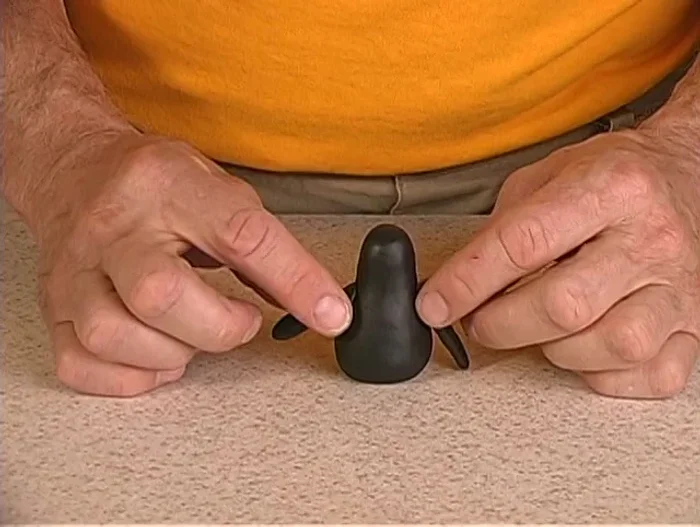
- Sculpt the wings by rolling out black clay into a flat shape and cutting out two wing shapes.
Sculpt the Wings Attach Wings
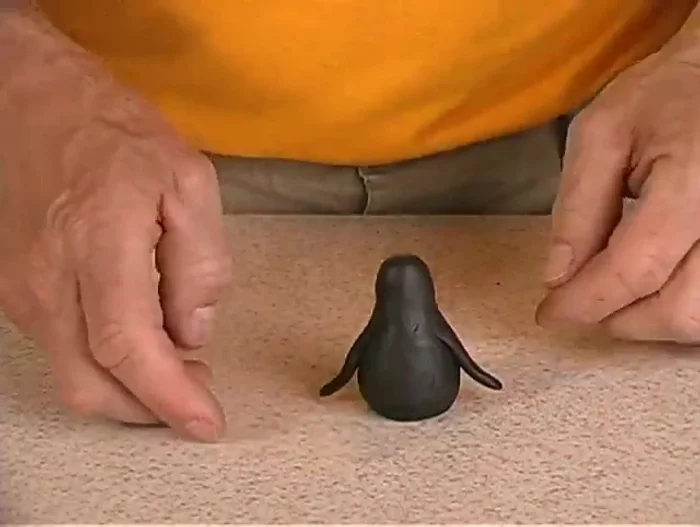
- Attach the wings to the body and smooth the edges.
Attach Wings Sculpt and Attach the Tail
- Make a tail by rolling a small ball of black clay into a pointed cone shape and attaching it to the body.
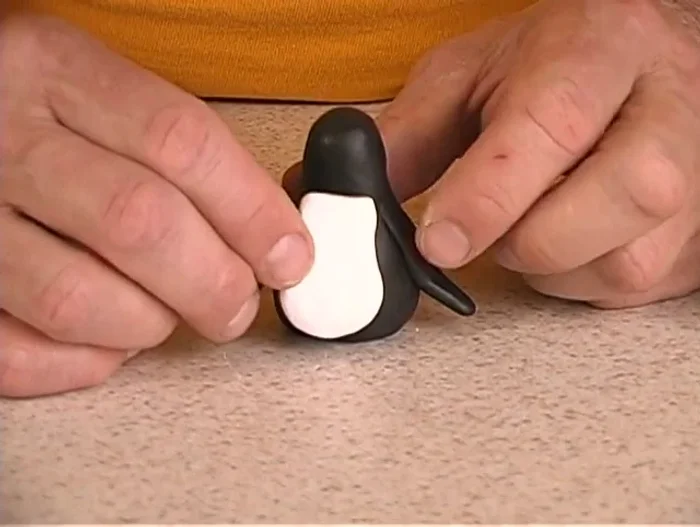
Sculpt and Attach the Tail Create and Attach the Chest Patch
- Clean hands and create a white chest patch. Flatten and shape it to fit the penguin's body.
- Attach the white chest patch to the penguin's body and smooth the edges.
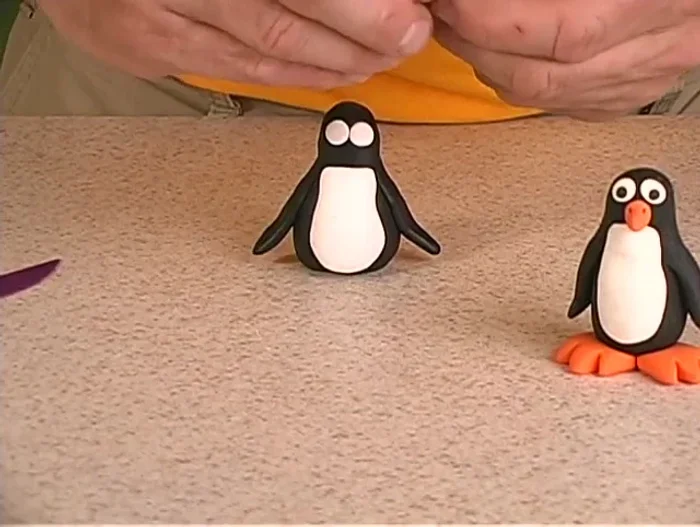
Create and Attach the Chest Patch Create and Attach the Eyes
- Make two small white balls for the eyes and attach them to the face.
- Create two tiny black dots for the pupils and attach them to the eyes.
Create and Attach the Eyes Sculpt the Feet
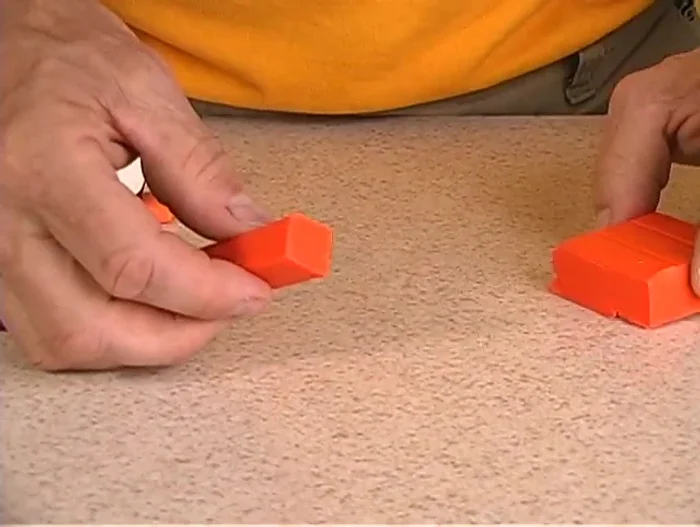
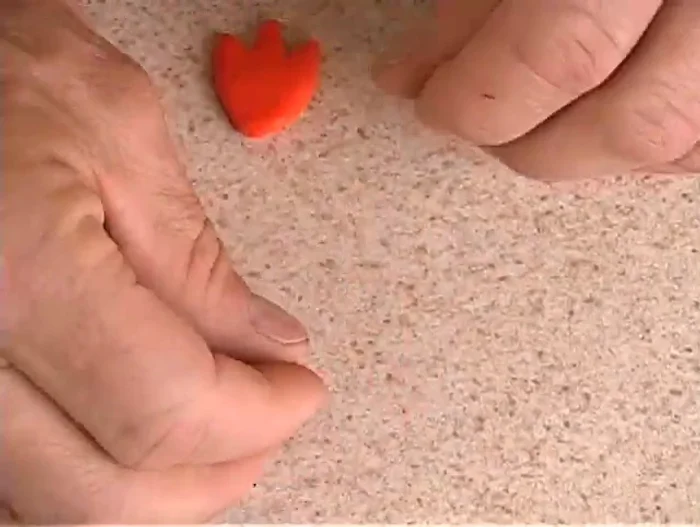
- Make two feet by cutting, flattening, and shaping pieces of black clay. Create v-shaped notches on the feet.
Sculpt the Feet Create and Attach the Beak
- Make the beak by rolling a small piece of orange clay into a cone shape and attaching it to the body using a toothpick.
Create and Attach the Beak Attach the Feet
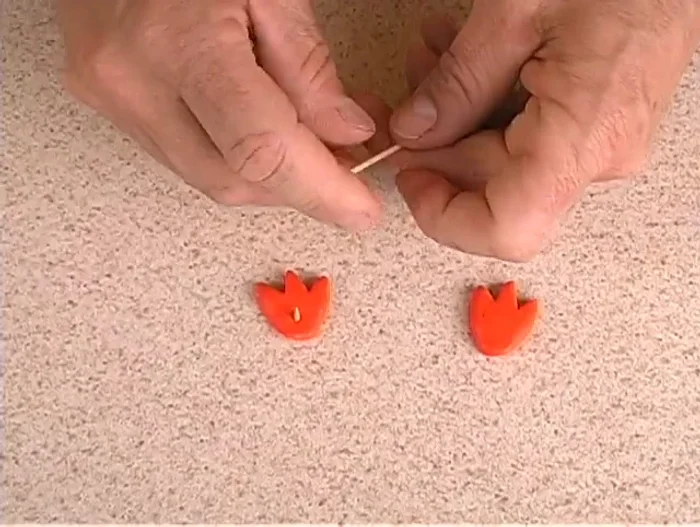
- Attach the feet to the body using short pieces of toothpick.
Attach the Feet Bake and Cool
- Bake the penguin at 275 degrees for 12 minutes. Let cool.
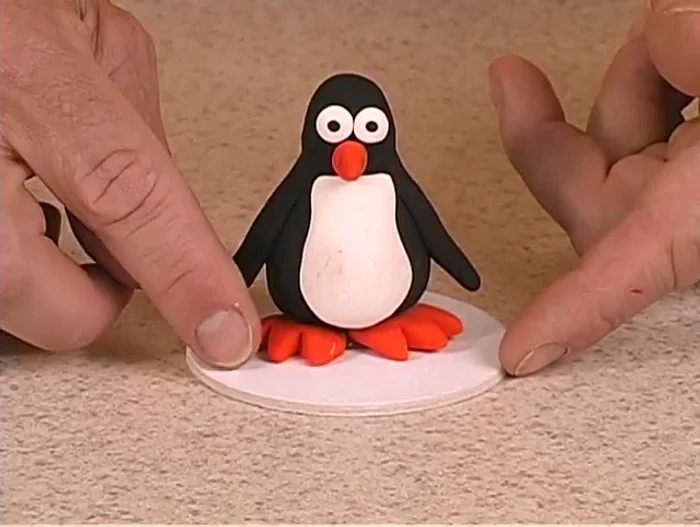
Bake and Cool Add Finishing Touches (Optional)
- Add a white stand to the bottom (optional).
Add Finishing Touches (Optional)
Read more: Easy Clay Heart Sculpting: From Charm to Button
Tips
- Knead the clay to soften it before shaping.
- Clean your hands between using different colors of clay.
- Use a toothpick to help attach small parts and prevent breakage during baking.
- Adult supervision is recommended for children baking clay projects.