The serpentine dragon, a creature of myth and legend, possesses a captivating elegance and sinuous power. Capturing this essence in clay requires a technique that mirrors the creature's fluid form. This article explores the scoring and slipping method, a fundamental sculpting technique ideally suited to creating the intricate curves and scales of a serpentine dragon. This method, when mastered, allows for the seamless joining of clay pieces, building a cohesive and robust sculpture from individual components. It's a process that combines precision with artistic freedom, resulting in a remarkably lifelike and detailed final product.
This guide will walk you through each stage of sculpting a serpentine dragon using the scoring and slipping method, from preparing the clay to the final finishing touches. We'll delve into the intricacies of creating the dragon's body, head, wings (if desired), and even its individual scales, ensuring that you develop a strong understanding of this versatile and effective sculpting technique. Prepare to embark on a creative journey of bringing this mythical creature to life!
Preparation and Safety Guidelines
- Earthenware clay
- Air-dry clay (e.g., Crayola)
- Rolling pin
- Needle tool or opened paperclip
- Water
- Always use sharp, well-maintained tools. Dull tools require more force, increasing the risk of injury and uneven cuts.
- Wear safety glasses to protect your eyes from flying clay particles and shards.
- Work in a well-ventilated area, especially when using sculpting tools that might produce dust or fumes.
Step-by-Step Instructions
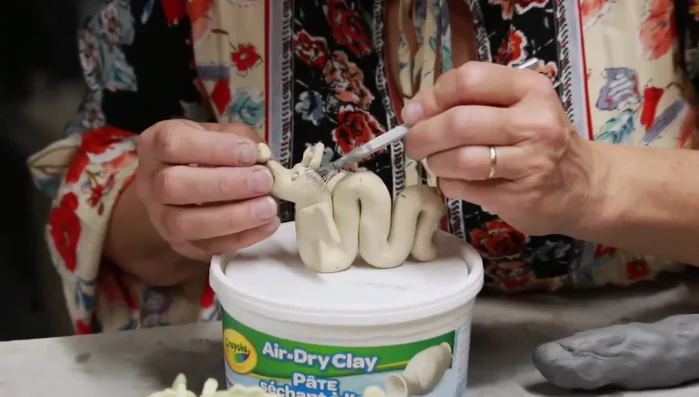
Testing Scoring and Slipping
- Check the effectiveness of scoring and slipping method for air-dry clay.

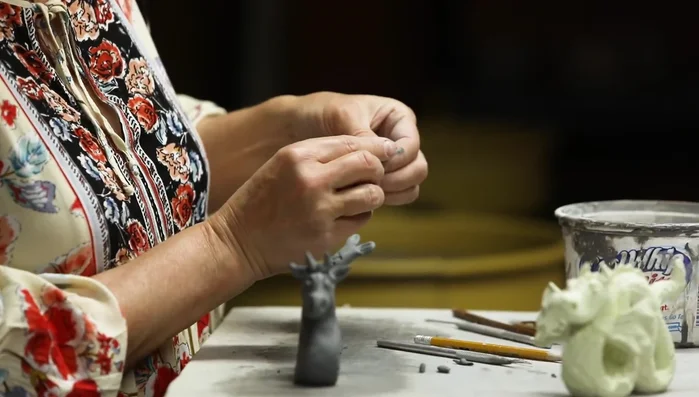
Testing Scoring and Slipping Preparing the Clay Body
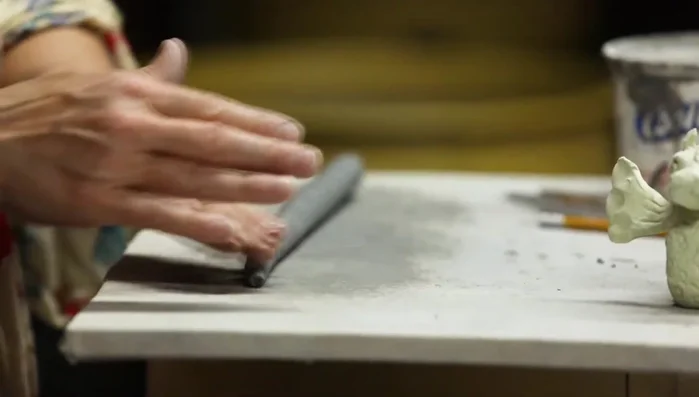
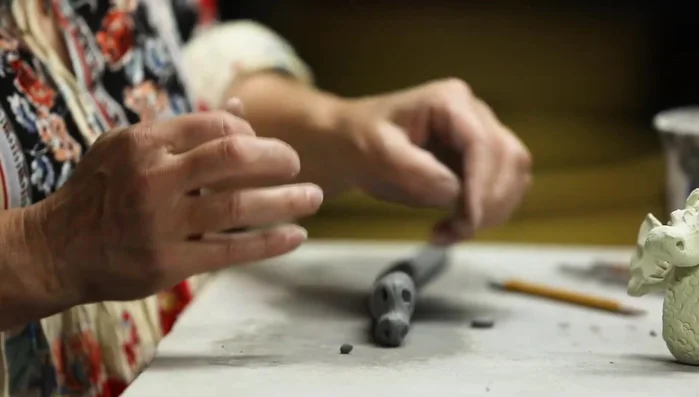
- Roll out a serpentine-like coil of earthenware clay.
- Shape the coil into the general shape of the dragon's body, squeezing and manipulating the clay in your hands.
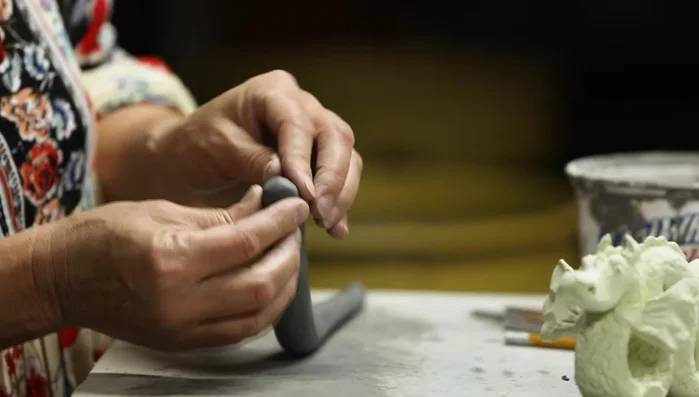
- Roll the coil further to refine the shape, fanning it out from the middle to stretch the clay.
- Taper one end of the coil to form the dragon's tail.
Preparing the Clay Body Sculpting the Head
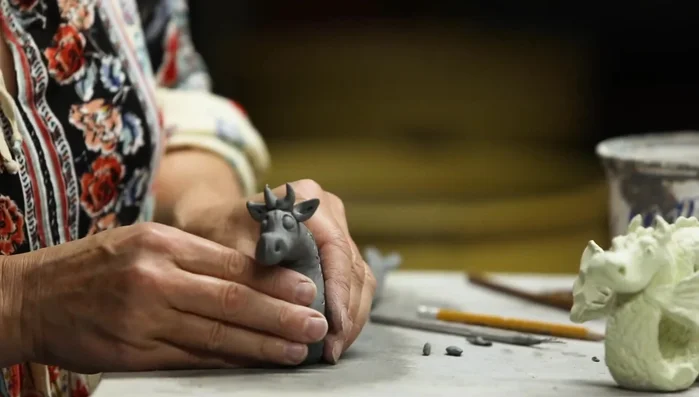
- Shape the head, blending and smoothing the clay. Create the snout, nostrils, and eyebrows.
Sculpting the Head Adding Facial Features
- Add eyeballs by scoring and slipping the eye sockets.
Adding Facial Features Texturing the Body
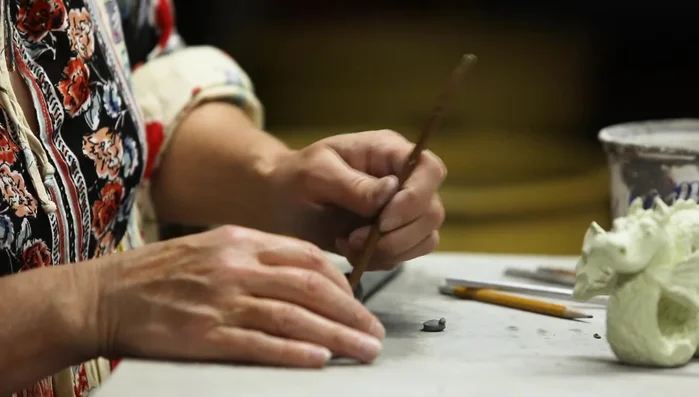
- Apply texture using a piping tool or needle tool to mimic scales.
Texturing the Body Detailing the Tail
- Use a needle tool to add details to the tail, creating a mermaid-like tail effect.
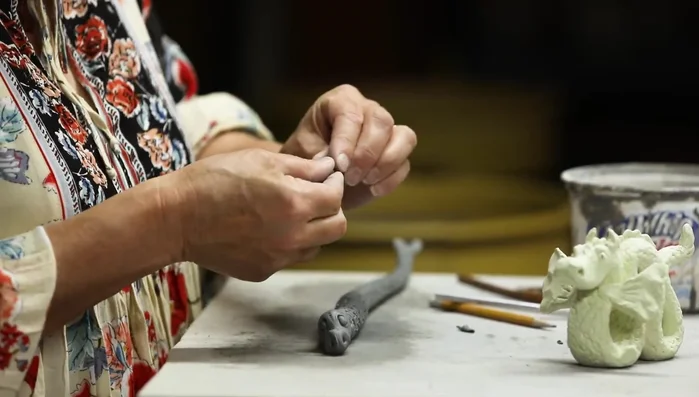
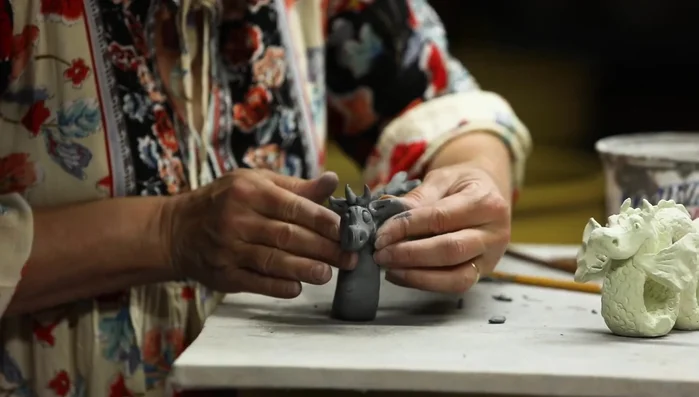
Detailing the Tail Adding Ears and Horns
- Add ears and horns by pinching and shaping small amounts of clay, scoring and slipping them into place.
Adding Ears and Horns Creating a Stable Base
- Broaden the base of the dragon to prevent it from tipping over.
Creating a Stable Base Adding Wings/Flippers
- Create flippers/wings by pinching, shaping, and texturing small amounts of clay, then scoring and slipping them onto the body.
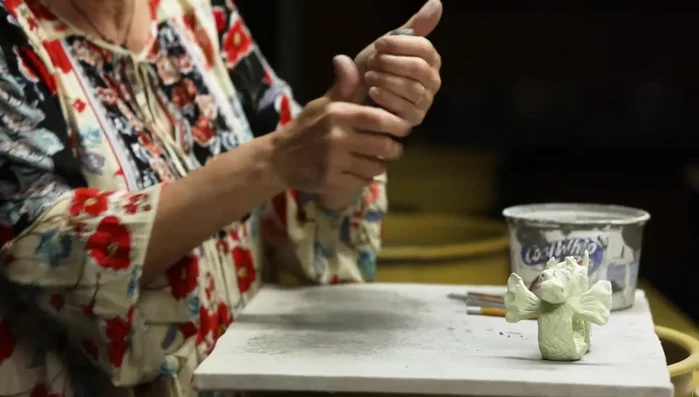
Adding Wings/Flippers Final Adjustments and Posing
- Add finishing touches and adjust the pose as needed.
Final Adjustments and Posing

Read more: Easy Clay Heart Sculpting: From Charm to Button
Tips
- Scoring and slipping is an effective method for attaching pieces of air-dry clay.
- Shape the general form of the dragon's body before adding details.
- Always score and slip pieces before attaching them to prevent them from falling off during firing.
- Texture adds depth and enhances the look of the scales and coloring.
- Experiment with different textures and shapes for a unique dragon design.