Unleash your child's creativity with this delightful DIY project! Get ready for some cuddly fun as we guide you through creating an adorable polar bear using the wonderfully versatile medium of cloud clay. This simple yet charming craft is perfect for kids of all ages and skill levels, requiring minimal materials and offering maximum enjoyment. The soft, fluffy texture of cloud clay makes it incredibly satisfying to work with, allowing little hands to easily shape and mold their own unique polar bear. No special tools are needed, just a little imagination and some playful enthusiasm!
This heartwarming craft provides a fantastic opportunity for kids to express their artistic side while developing fine motor skills. From shaping the body and head to adding delicate details like the eyes and nose, every step is filled with engaging possibilities. Ready to embark on this snowy adventure? Let's dive into the step-by-step instructions and create your very own cloud clay polar bear!
Preparation and Safety Guidelines
- Cloud Clay (white, purple, blue)
- Toothpick
- Scissors
- Adult supervision is required at all times. Cloud clay can be a choking hazard for young children.
- Ensure the work area is well-ventilated to avoid inhaling excessive amounts of clay dust.
- Wash hands thoroughly before and after handling the clay.
Step-by-Step Instructions
Body Construction
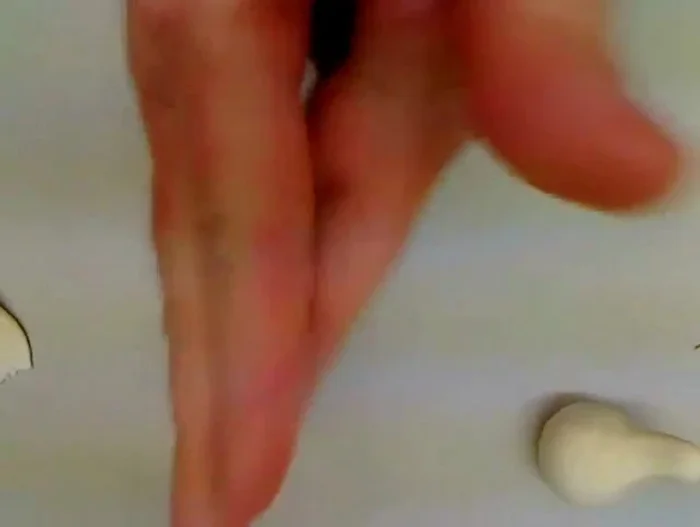
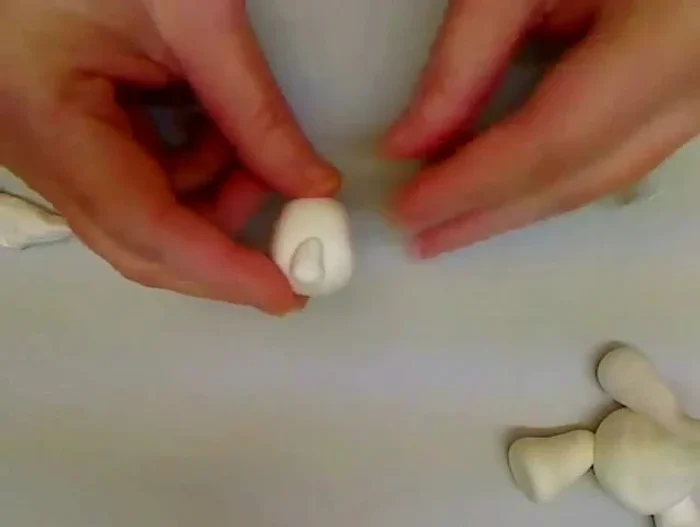
- Roll a large ball of white cloud clay (about 1.5 inches), pinch the top to form a rounded cone shape resembling a teardrop. Flatten the bottom against the table and pinch up the neckline.

Body Construction Attaching Limbs
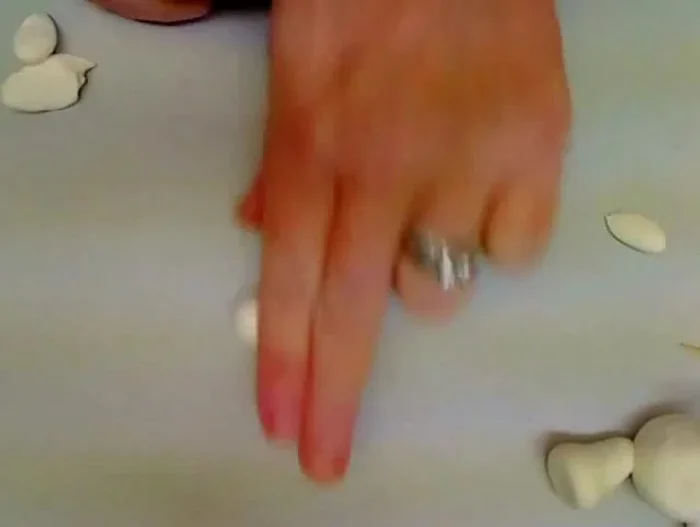
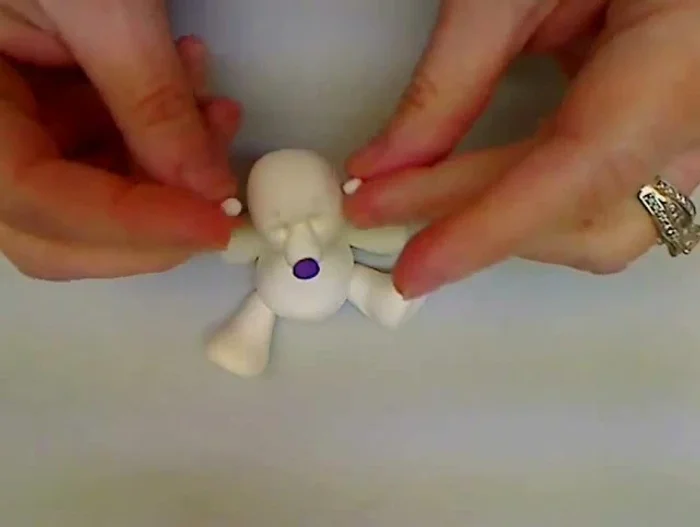
- Roll smaller balls of white clay, flatten them, and attach them to the body.
- Roll small balls of white clay, roll them into slightly pointed shapes, and attach them to the body.
Attaching Limbs Head Creation
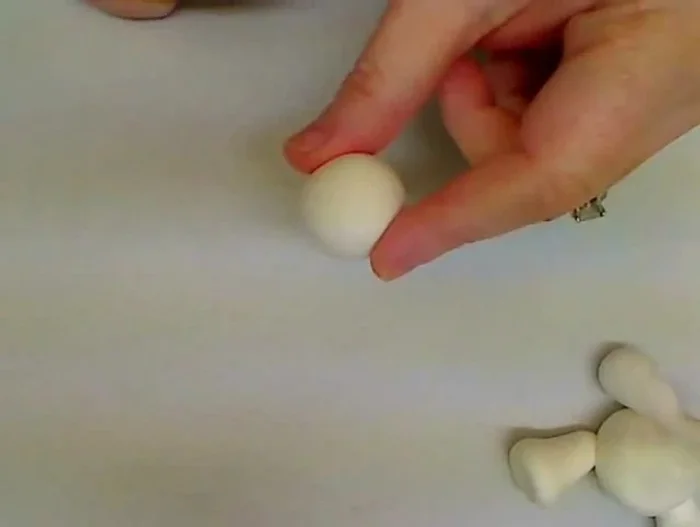
- Roll a 1-inch ball of white clay. Use a toothpick to hollow out the area where the head will attach to the neck.
Head Creation Facial Features
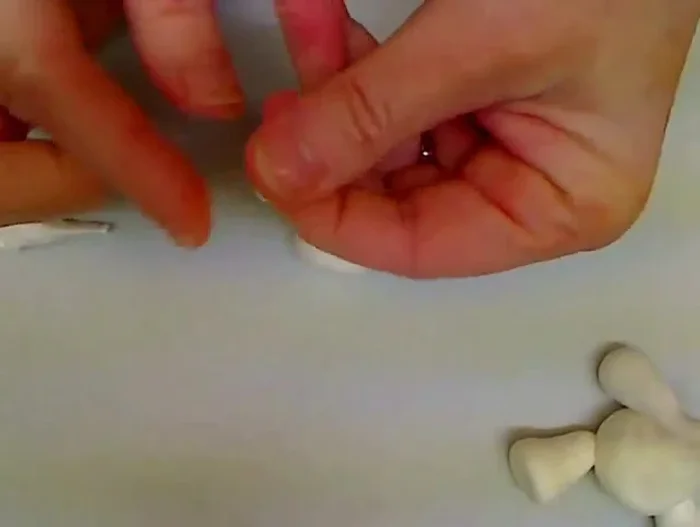
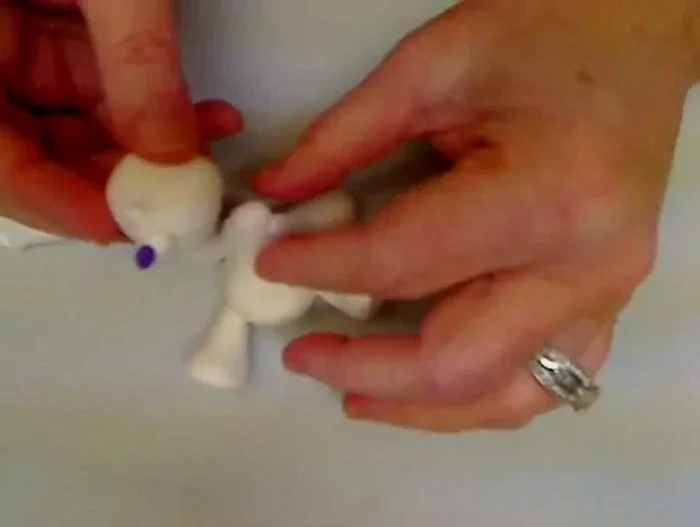
- Roll a small pea-sized ball of white clay into a cone shape, and attach it to the head.
- Attach a small purple ball for the nose. Use a toothpick to create eye sockets, and optionally add beads or simply make indentations for eyes and eyebrows.
Facial Features Head Attachment
- Attach the head to the body, optionally adding a dab of water to help it stick.
- Attach two tiny balls of clay to the sides of the head for ears.
Head Attachment Accessories
- Twist together two or three colors of clay, flatten it, and wrap it around the polar bear's neck.
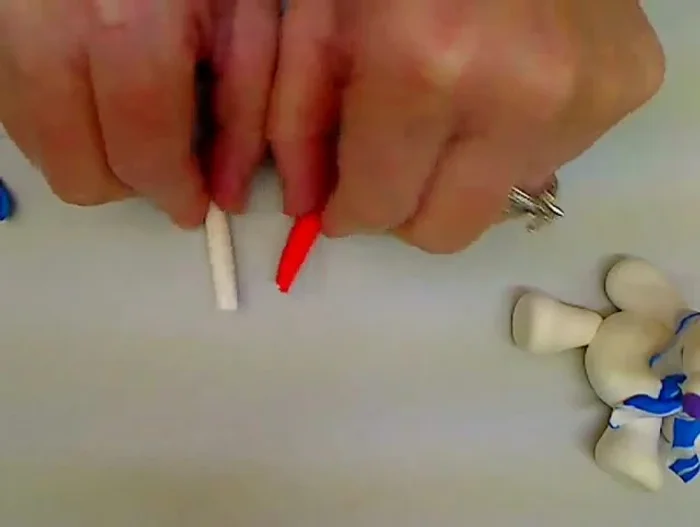
- Twist together logs of red and white clay to create a candy cane stripe effect, then shape it and place it in the bear's lap.
Accessories


Read more: Easy Clay Heart Sculpting: From Charm to Button
Tips
- Make up stories while working with the clay to enhance creativity.
- Adjust the size of clay pieces by adding or removing clay as needed.
- A dab of water can help pieces of clay stick together.