Clay, that wonderfully malleable material, offers endless creative possibilities, and today we're diving into a project perfect for beginners: sculpting adorable clay hearts! Whether you're looking for charming decorations to brighten your home, unique embellishments for handmade gifts, or even functional buttons to add a personal touch to your clothing, this guide will show you how to create beautiful clay hearts with ease. Forget complicated techniques and expensive tools; this project is all about simple shapes and satisfying results.
From tiny, delicate charms to surprisingly sturdy buttons, the possibilities are truly limitless. This project is ideal for crafting enthusiasts of all skill levels, requiring only a few basic supplies. We’ll guide you through each step, from preparing your clay to achieving a perfect heart shape and ensuring durability for your finished pieces. Ready to get started? Let's jump into our detailed, step-by-step process!
Preparation and Safety Guidelines
- Clay
- Toothpick or Potter's Needle
- Paper to protect your work surface
- Always work in a well-ventilated area. Clay dust can be irritating to the lungs.
- Supervise children closely when working with clay and tools. Keep small pieces away from young children to prevent choking hazards.
- Ensure proper handwashing after handling clay to remove any residue.
Step-by-Step Instructions
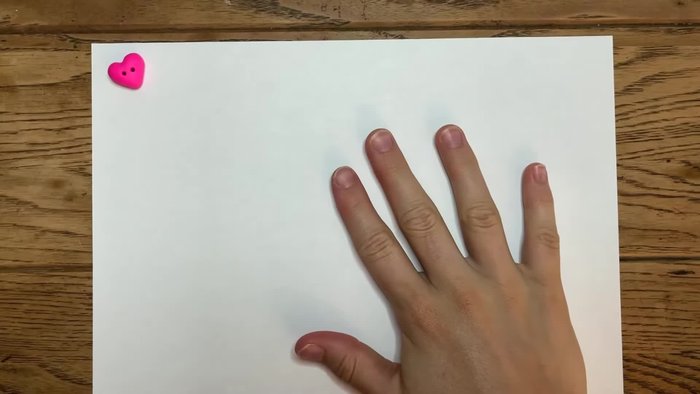
Prepare Workspace and Clay
- Prepare your workspace by placing a piece of paper on your tabletop.
- Take a desired amount of clay and warm it up to prevent cracking in the oven. Roll it into a ball.

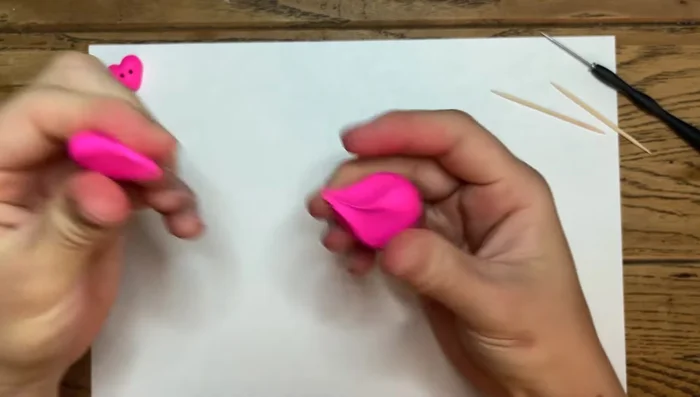
Prepare Workspace and Clay Shape the Heart
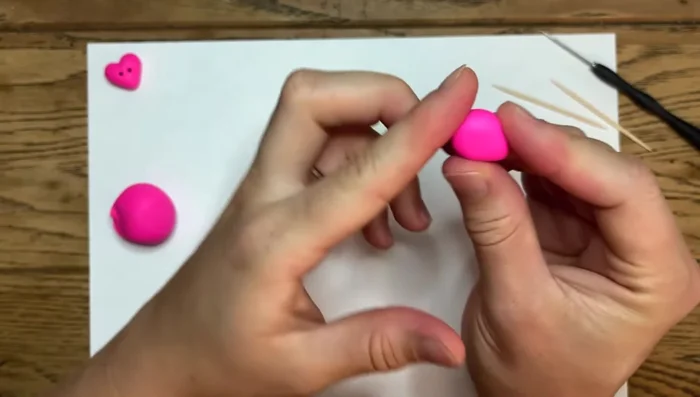
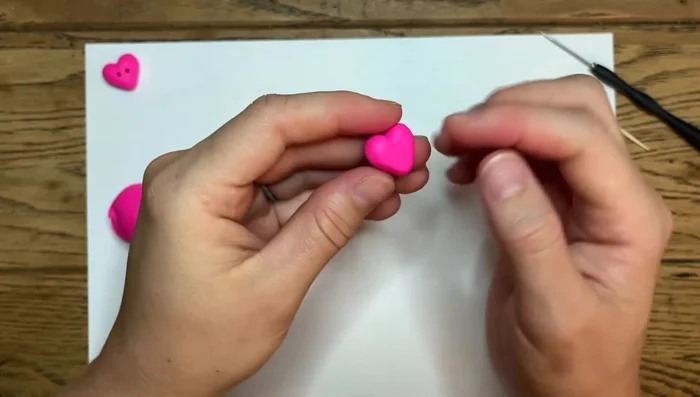
- Press the clay ball slightly between your thumb and index finger to flatten it.
- Using your thumb and index finger, pinch the clay into a triangular shape.
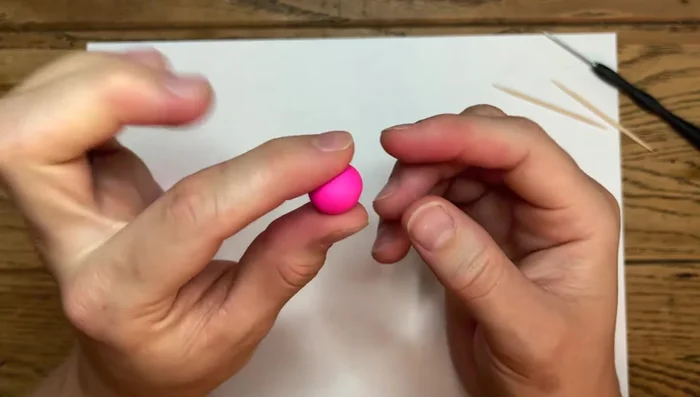
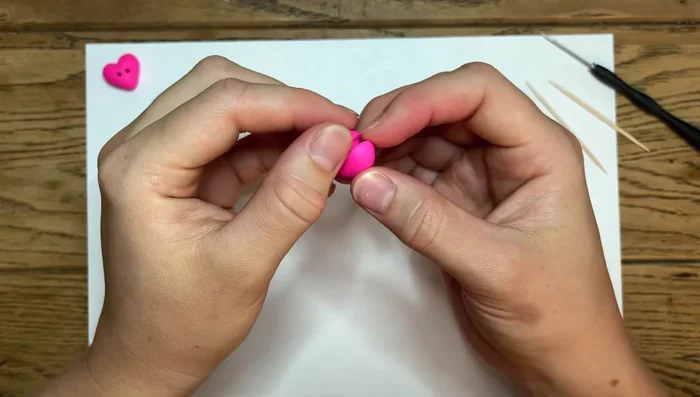
- Round the edges by gently tapping your finger along the edge of the heart shape.
- Slope the top of the heart to make it resemble a half-circle.
Shape the Heart Refine the Heart Shape
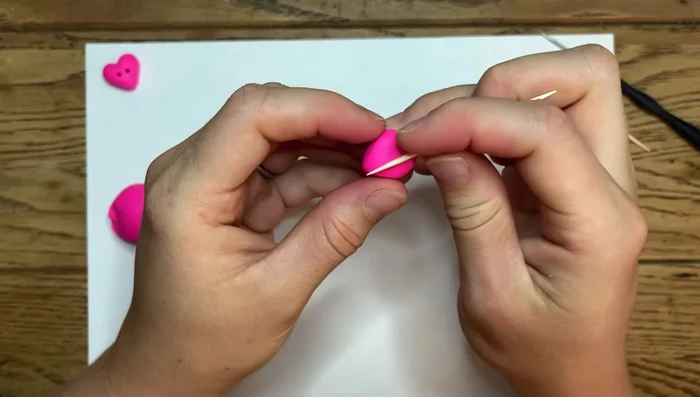
- Use the toothpick/potter's needle to create a line from the center down to the bottom of the heart, gently pressing and cutting the clay.
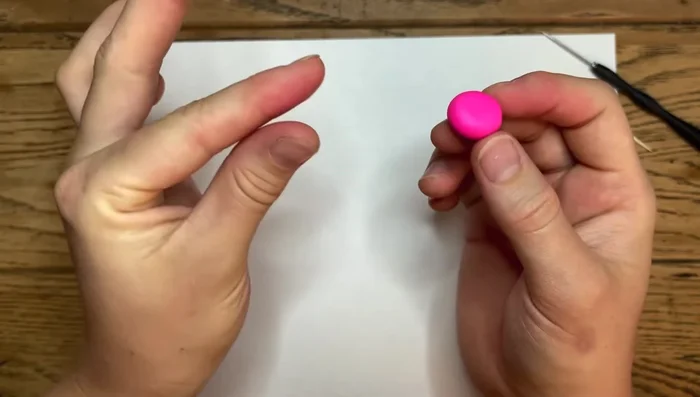
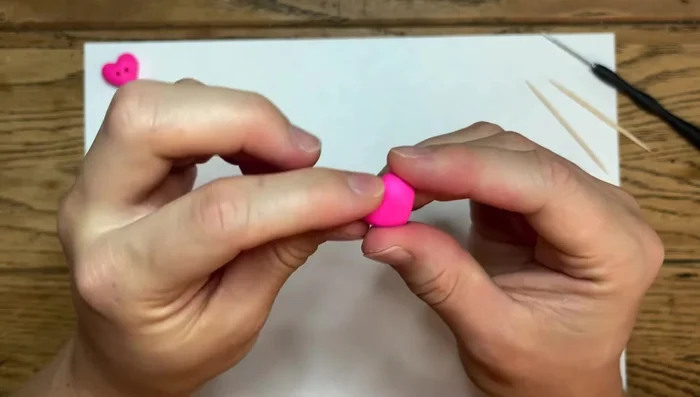
- Smooth the edges of the heart by sliding your finger along both sides to create a smooth circular shape.
- Continue smoothing the edges, pulling your finger along the surface to achieve a smooth finish. The clay is forgiving, so don't be afraid to make adjustments.
Refine the Heart Shape Add Features (Optional)
- Add a magnet or brooch backing before baking. For buttons, use the toothpick to make two holes for the button.
Add Features (Optional)

Tips
- Warm the clay to avoid cracking.
- Clay is forgiving; smooth out any mistakes.
- Don't leave magnet or brooch backing in the oven.
- For buttons, make holes by pushing and spinning the toothpick.