Halloween is just around the corner, and what better way to celebrate than by crafting some spooky decorations? This year, ditch the store-bought plastic spiders and create your own charmingly creepy crawlies using the versatile magic of polymer clay! This easy-to-follow tutorial will guide you through the process of making adorable, yet slightly spooky, Halloween spiders perfect for adding a touch of handmade fright to your festive decor. Whether you're a seasoned crafter or a complete beginner, you'll find this project both fun and surprisingly simple. These little spiders are also great for adding a unique flair to cards, gift tags, or even as quirky earrings.
Get ready to unleash your inner artist and conjure up some eight-legged wonders! This step-by-step guide will walk you through each stage of creating these polymer clay spiders, from shaping the body and legs to baking and finishing them to a perfect spooky sheen. Let's get started and transform that humble polymer clay into a miniature army of Halloween spiders!
Preparation and Safety Guidelines
- Black polymer clay
- Yellow polymer clay
- Clay tools (or tools with flat and bumpy sides)
- Rolling pin
- Paper
- Polymer clay needs to be baked in an oven according to the package instructions. Adult supervision is required at all times during baking.
- Avoid putting unbaked clay in your mouth or handling it with dirty hands. Always wash your hands thoroughly before and after handling polymer clay.
- Use a well-ventilated area when baking polymer clay, as fumes may be released.
Step-by-Step Instructions
Prepare the Clay
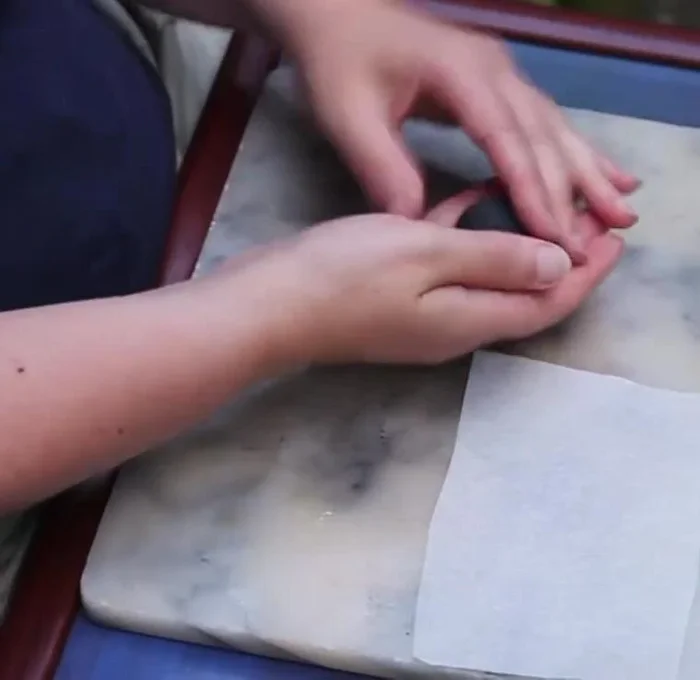
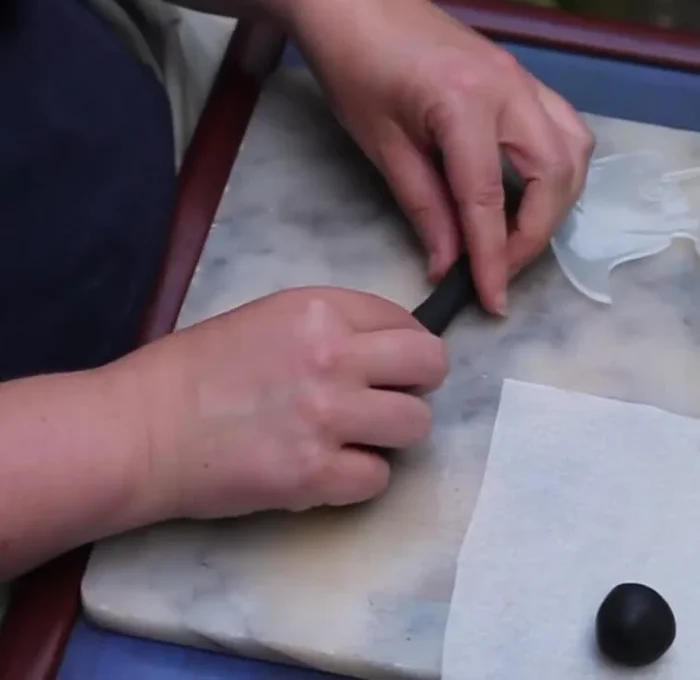
- Prepare the black clay by rolling it into a ball, then a sausage.
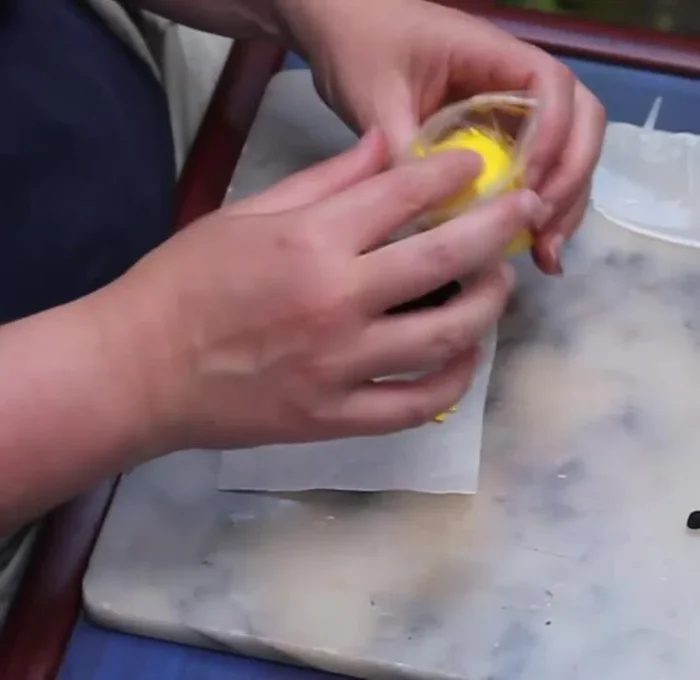
- Prepare the yellow clay by rolling it into a small sausage, then cut it in half.

Prepare the Clay Shape the Spider's Body
- Cut the sausage into two parts (roughly 2/3 and 1/3).
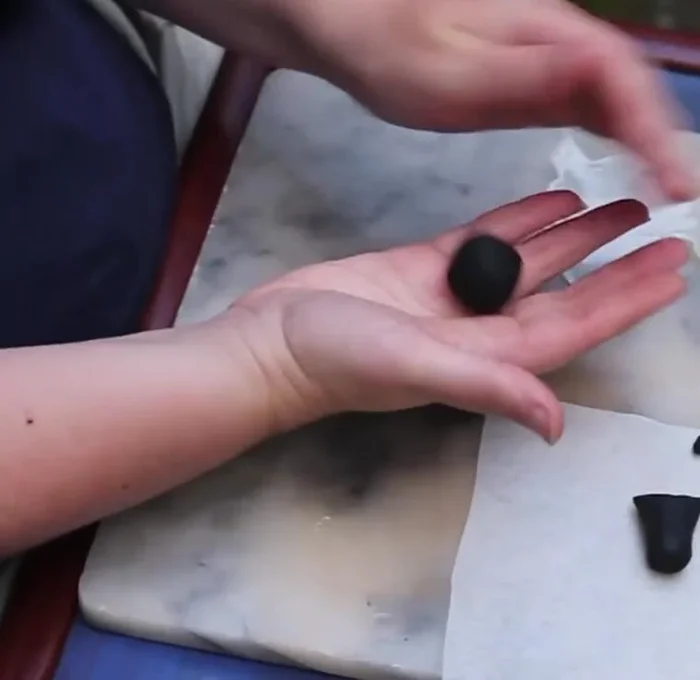
- Roll the larger part (2/3) into a ball to form the spider's body.
Shape the Spider's Body Create the Legs
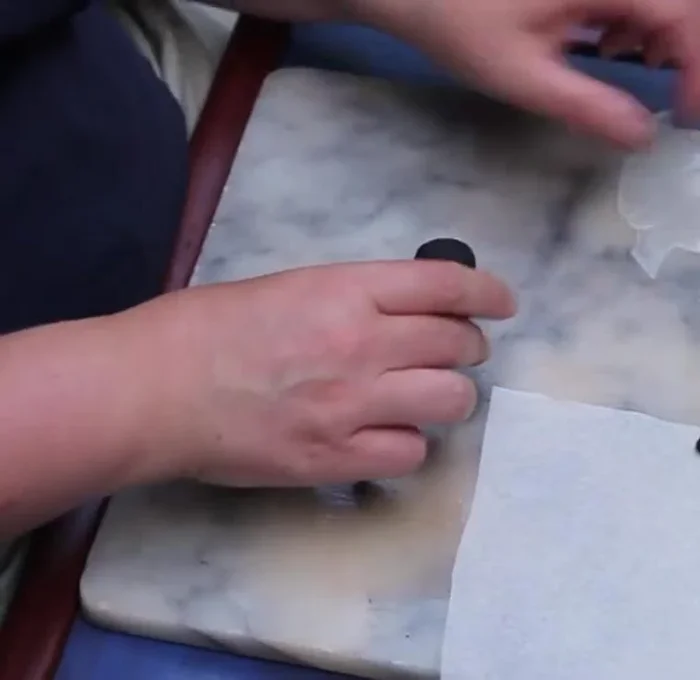
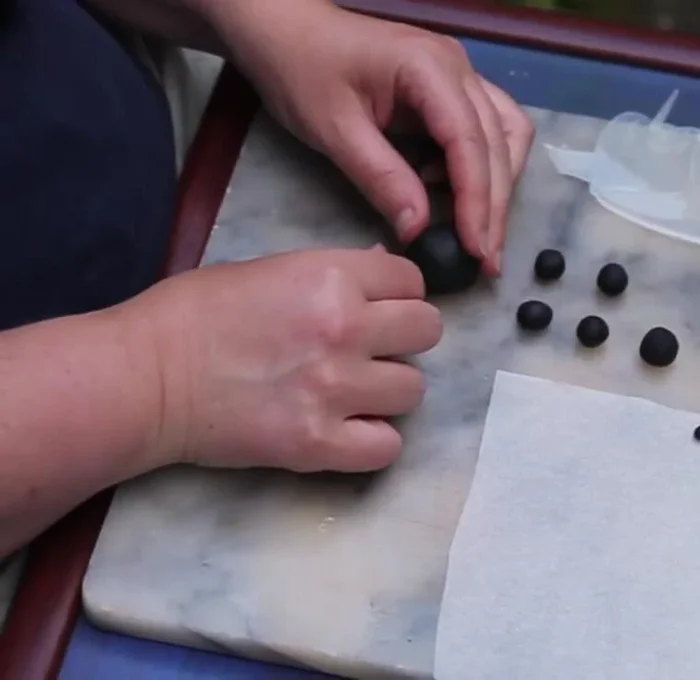
- Roll the smaller part (1/3) into a thin sausage and cut it into six equal parts.
- Roll each of the six pieces into small balls to form the spider's legs.
Create the Legs Assemble the Spider
- Attach the legs to the body, ensuring they are evenly spaced.
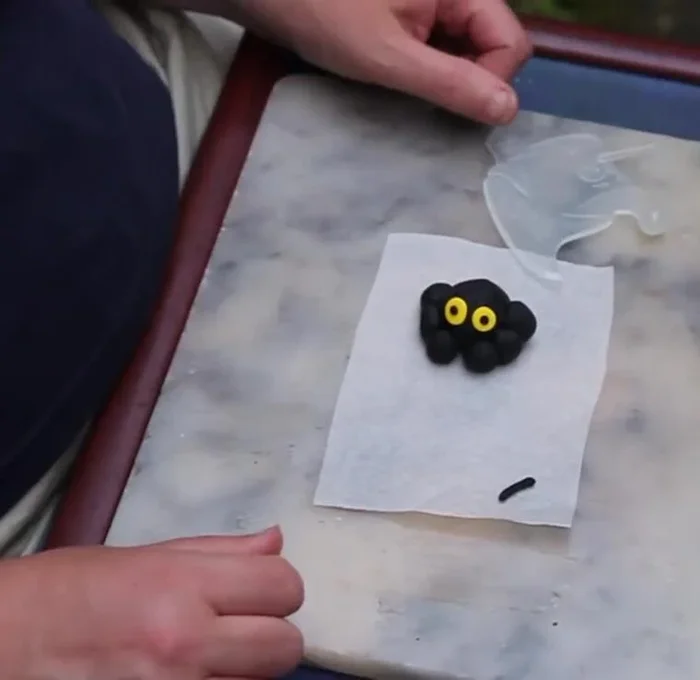
Assemble the Spider Create and Attach the Eyes
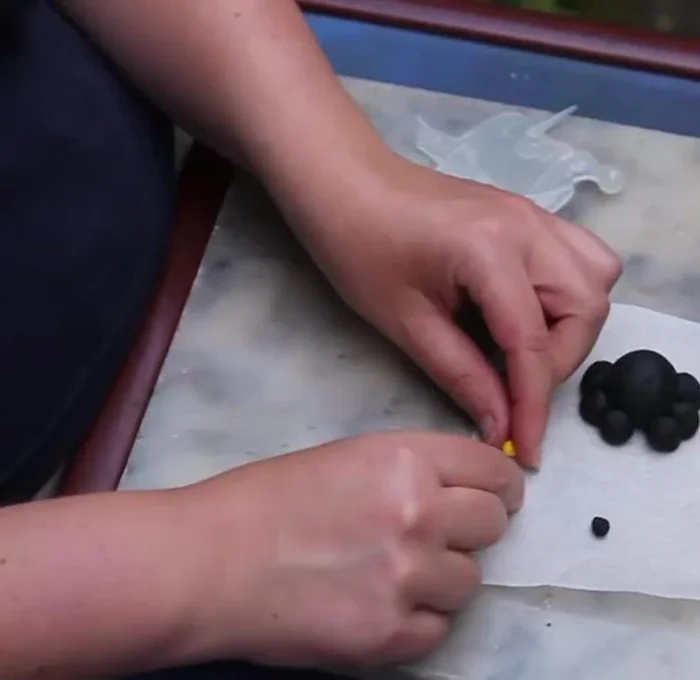
- Roll each half of the yellow clay into small balls for the eyes.
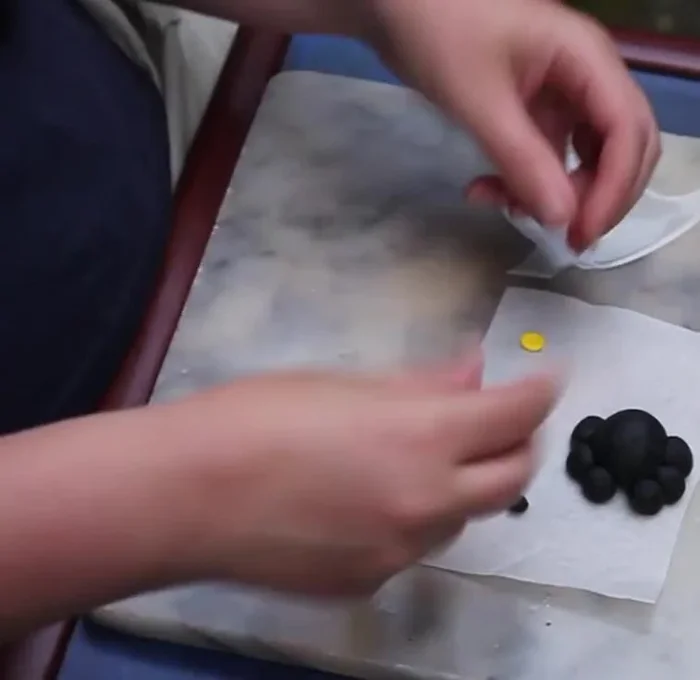
- Flatten the yellow balls and attach them to the spider's head.
- Roll out a thin sausage of black clay and cut two small pieces for the pupils. Attach to the eyes.
Create and Attach the Eyes Finish and Dry
- Let the spider dry completely.
Finish and Dry


Read more: Easy Clay Heart Sculpting: From Charm to Button
Tips
- Don't worry about making the legs perfectly even; slight variations add character.
- If the clay sticks to your surface, use paper to prevent sticking.
- If clay pieces stick together, gently separate and reshape.
- If the clay is too dry to stick, add a tiny bit of water to help it adhere.
- Get creative! Use different colors for eyes and personalize your spider.