Love adorable kitchen décor but hate the price tags? Then get ready to unleash your inner artist and create your own collection of cute food-themed magnets! This easy-to-follow tutorial will guide you through the simple process of making charming polymer clay magnets, perfect for adding a touch of whimsy to your refrigerator or any magnetic surface. Forget mass-produced designs; you'll be crafting unique and personalized pieces that reflect your style and personality. Think miniature pizzas, juicy burgers, or even stacks of delicious pancakes – the possibilities are as limitless as your imagination!
Using readily available materials and straightforward techniques, you’ll be surprised how quickly you can whip up these delightful little magnets. From preparing the clay and shaping your chosen food designs to baking and adding the magnetic backing, this project is perfect for beginners and seasoned crafters alike. Ready to get started and create your own edible-looking, yet completely inedible, masterpieces? Let's dive into the step-by-step instructions!
Preparation and Safety Guidelines
- Cosplay clay (or polymer clay)
- Acrylic paints
- Floral wire
- Resin
- Magnets
- Polymer clay needs to be baked according to the manufacturer's instructions to harden properly. Improper baking can result in a soft, sticky, or even unsafe magnet.
- Always supervise children when working with polymer clay and baking it in the oven. The oven will be hot, and the clay can contain small parts that pose a choking hazard.
- Ensure adequate ventilation when baking polymer clay, as some clays may release fumes. Avoid inhaling these fumes directly.
Step-by-Step Instructions
Shape Creation
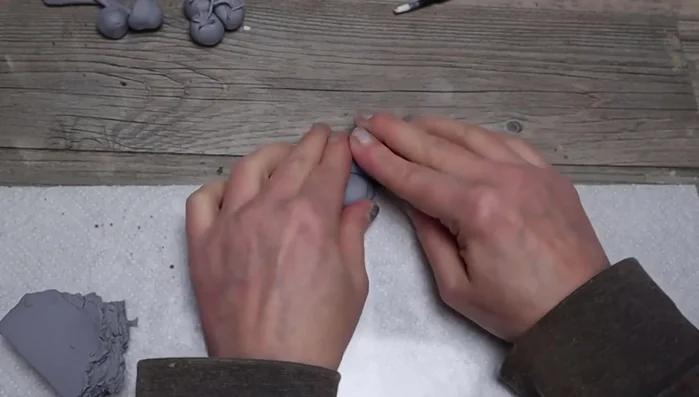
- Create an egg shape by rolling the clay. Embed the magnet directly into the clay.
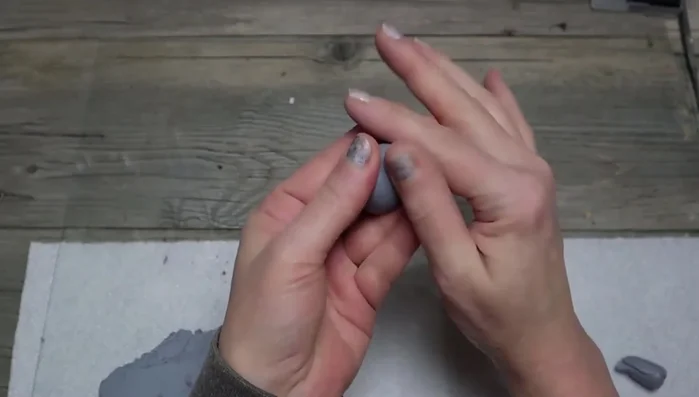
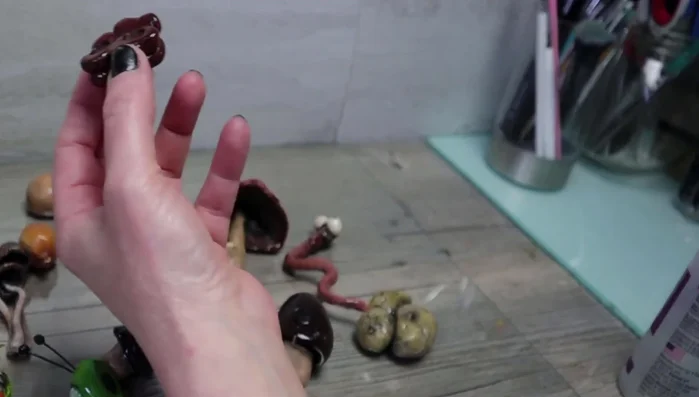
- Roll a stem, then create a cap using a ball of clay. Use a tool to create an opening at the bottom of the cap and shape it with your hands.
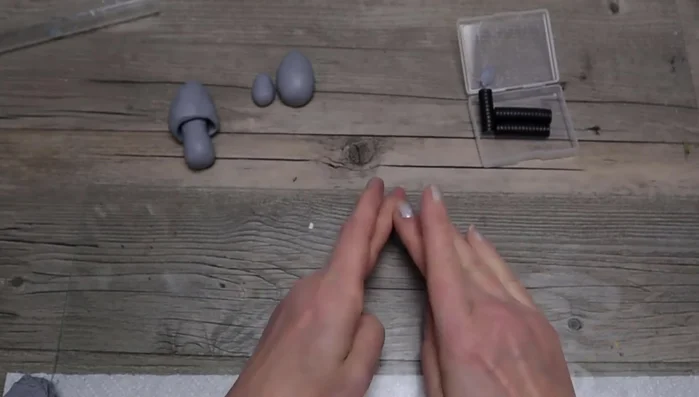
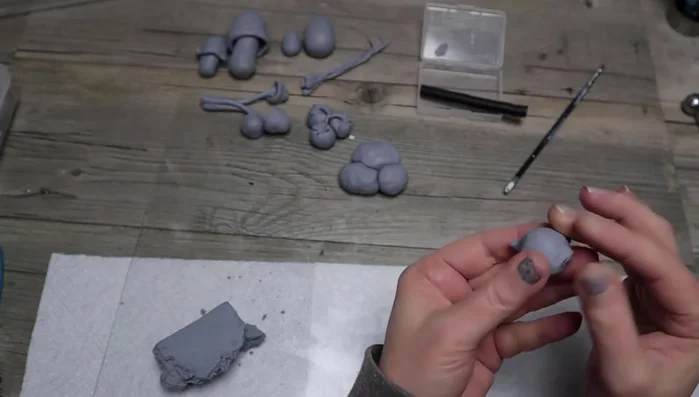
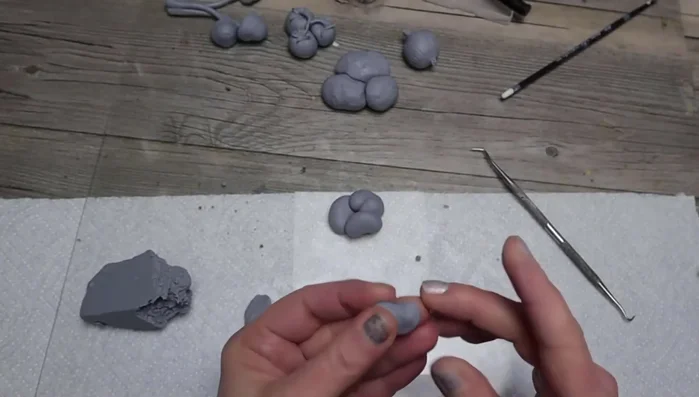
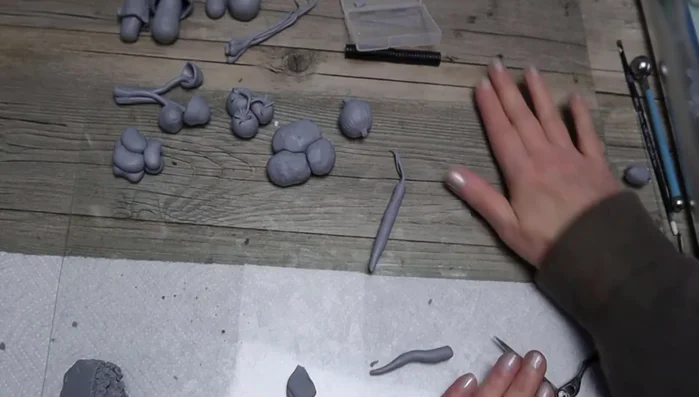
- Create a thinner top and a small ball at the bottom. Add more clay to build the shape and bend the pieces into place.
- Make more mushrooms with thinner stems using the same method as step 2.

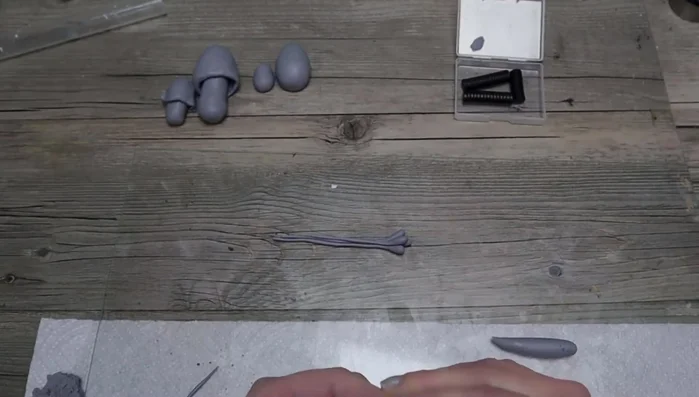
Shape Creation - Create three balls for the tomatoes, add leaves and a stem.
- Start with balls of clay and shape them slightly differently. Add magnets (one or two).
- Make an onion.
- Use one or two magnets.
Shape Creation - Add details to the basic carrot shape.
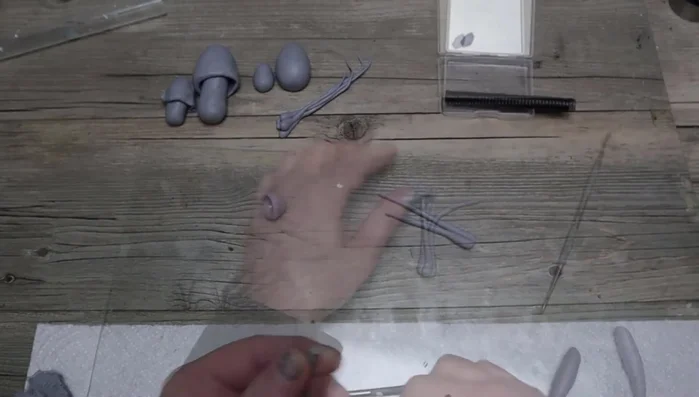
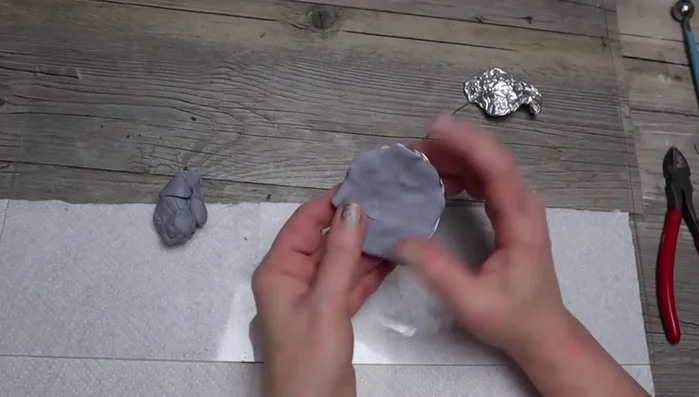
- Put clay on floral wire for the stem, create the cap using clay on top of foil. Add more clay to cover the foil.
- Create a segmented body with clay, bend it into shape.
- Add clay to floral wire, create a slightly larger head, add rings, and bend into shape.
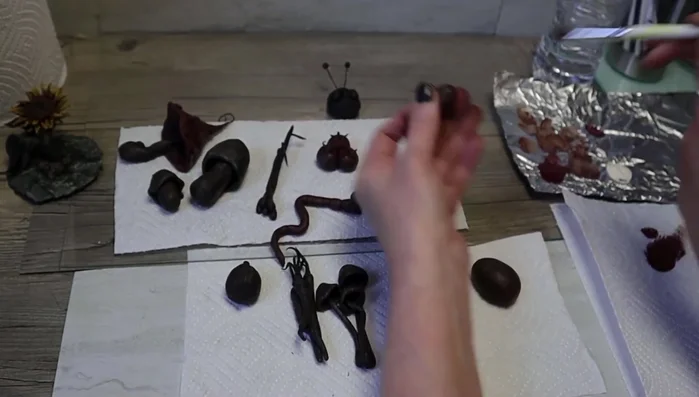
Shape Creation Baking and Base Coating
- Bake the clay pieces. Once cooled, paint with a dark base coat (black and brown mix). Add layers of color from dark to light, dabbing the paint on.
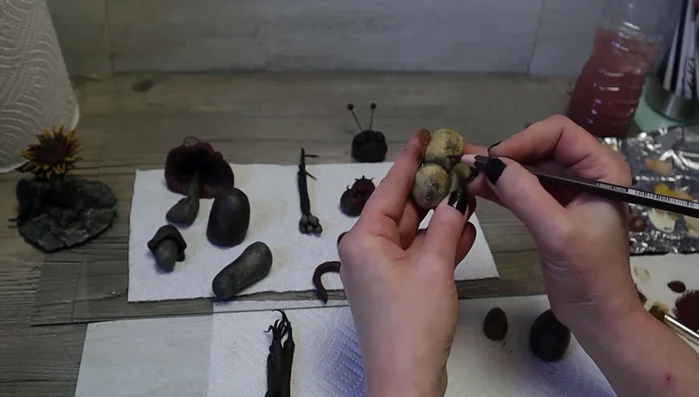
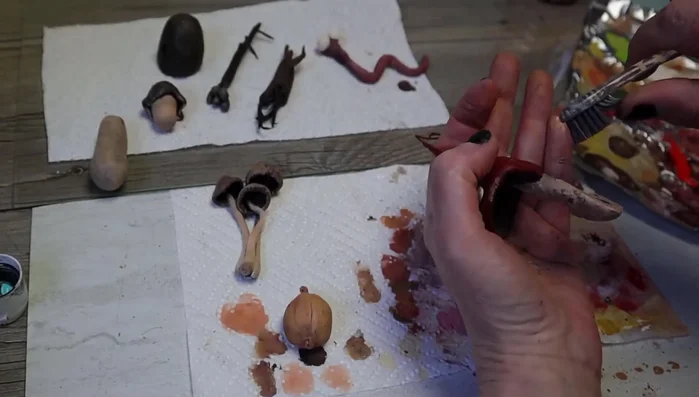
Baking and Base Coating Painting and Detailing
- Use watercolor pencils for details (seal afterward).
- Add speckles using a toothbrush. Add a layer of resin to make them waterproof.
Painting and Detailing Finishing Touches
- Glue the magnets back into the pieces.
Finishing Touches


Read more: Easy Clay Heart Sculpting: From Charm to Button
Tips
- Ensure the back of each piece is flat for easy fridge adhesion.
- Cosplay clay offers flexibility and is less fragile than polymer clay, making painting easier.