Polymer clay offers a fantastic medium for crafting charming, miniature creations, and what could be more endearing than a tiny, perfectly sculpted cat? This guide will delve into the delightful world of polymer clay sculpting, focusing on creating irresistibly adorable feline figures. Whether you're a seasoned crafter or a complete beginner, you'll find this a rewarding and fun project that yields truly unique, customizable results. Think tiny kittens curled up asleep, playful Siamese cats, or regal Persians – the possibilities are as limitless as your imagination.
From basic shaping techniques to adding intricate details like whiskers and expressive eyes, we'll explore each step of the process clearly and concisely. We'll cover everything from choosing the right clay colors and tools to baking and finishing your adorable creations. Get ready to unleash your inner artist and discover the joy of bringing these miniature felines to life, because the following step-by-step instructions will guide you through creating your own adorable polymer clay cat.
Preparation and Safety Guidelines
- Polymer clay (pink, orange, black, white)
- Rolling pin
- Toothpick
- Shaping tools (optional)
- Baking paper
- Oven
- Toy eyes (optional)
- Polymer clay needs to be baked according to the manufacturer's instructions to harden. Improper baking can result in a soft, unusable sculpture.
- Polymer clay can reach high temperatures in the oven. Always use an oven-safe surface and adult supervision is required, especially when working with children.
- Always wash your hands thoroughly before and after handling polymer clay. Some clays may contain materials that could be harmful if ingested.
Step-by-Step Instructions
Prepare the Clay
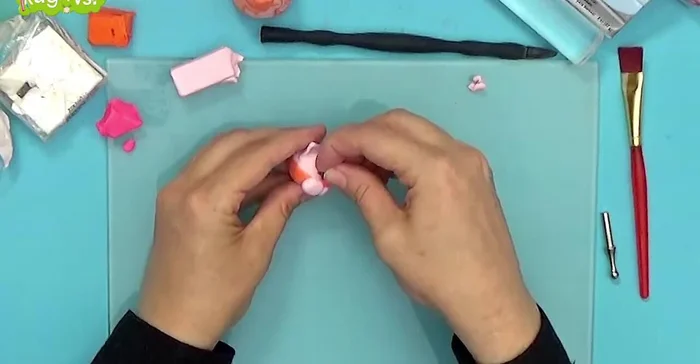
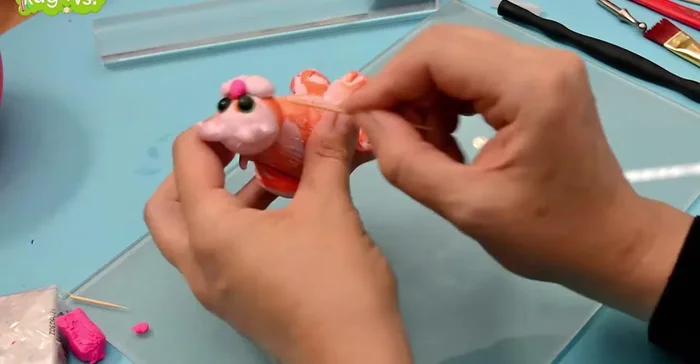
- We start with light pink clay for the orange cat's body. Roll it into a ball and then flatten it slightly for easier shaping.
Shape the Body
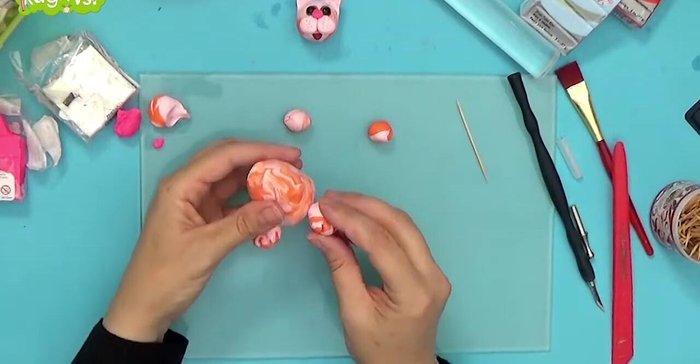
- Give the clay a cat-like body shape. Add orange clay and blend it with the pink clay to create a marbled effect.
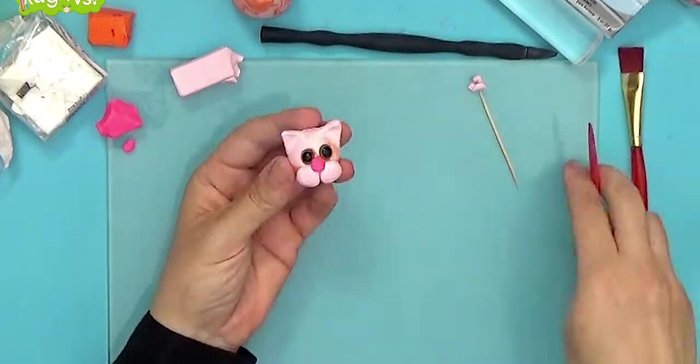
Create the Ears
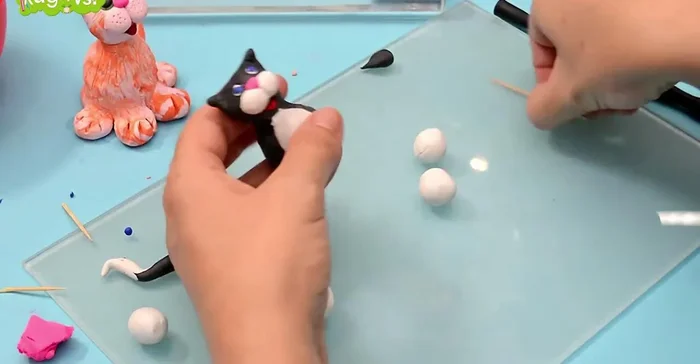
- Roll small pieces of clay into balls, then flatten and shape them into triangles for the ears.
Add Facial Features
- Make two small balls for the cheeks, flatten them slightly, and attach them to the face. Make a small ball from a darker pink clay for the nose and attach it between the cheeks.
- Attach toy eyes (or create them from clay).
- Use a shaping tool or toothpick to create the mouth opening.

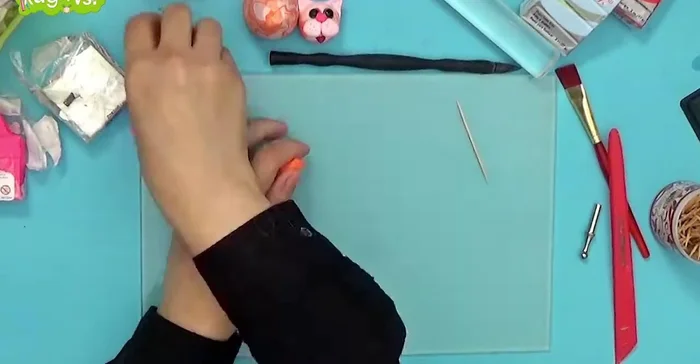
Add Facial Features Create and Attach Paws
- Create four small balls, flatten them slightly, and make marks on the ends to simulate toes.
- Attach the paws to the body. Combine orange and pink clay for the tail, roll it into a snake-like shape, and attach it to the body using a toothpick.
Create and Attach Paws Add Details and Texture
- Use a toothpick to create fur texture lines on the cat's head. Add a touch of pink to the inside of the ears.
Add Details and Texture Bake the Cat
- Bake the cat in a preheated oven at 125 degrees for 25-30 minutes.
Bake the Cat Repeat for Tuxedo Cat
- The process is repeated for the tuxedo cat, but using black and white clay to create the distinct coloration. The method of assembling the cat in separate pieces is highlighted as being more efficient.
Read more: Easy Clay Heart Sculpting: From Charm to Button
Tips
- For a smoother finish, roll out the clay into a ball and then flatten it before shaping.
- Polymer clay is forgiving; you can make corrections easily.
- Assemble the cat in separate pieces before combining them for a more efficient process.
- Use a toothpick to easily combine parts and add texture.