Have you ever wanted to create your own adorable, miniature penguin? This tutorial will guide you through the process of sculpting a charming penguin pinch pot, a perfect project for beginners and experienced clay enthusiasts alike. Whether you're looking for a fun weekend activity, a unique gift idea, or simply a way to unleash your creativity, this project offers a satisfying and rewarding experience. Pinch pots are a fantastic introduction to the world of ceramic art, requiring minimal tools and offering maximum creative expression. The simple yet effective pinching technique allows for a surprising level of detail and personalization.
Prepare to get your hands dirty and dive into the world of clay sculpting! This step-by-step guide will walk you through each stage of creating your own delightful penguin pinch pot, from preparing the clay to adding the finishing touches. Let's get started and transform a humble ball of clay into a waddling, charming little penguin.
Preparation and Safety Guidelines
- Clay
- Vinegar
- Water
- Needle tool
- Always supervise children when working with clay and tools. Clay can be a choking hazard for young children.
- Ensure adequate ventilation when working with air-dry clay to avoid inhaling dust particles. Consider wearing a dust mask for longer projects.
- Wash your hands thoroughly with soap and water before and after handling clay to prevent contamination.
Step-by-Step Instructions
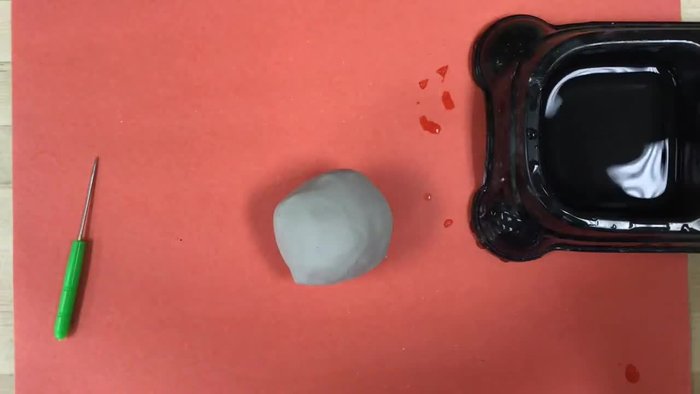
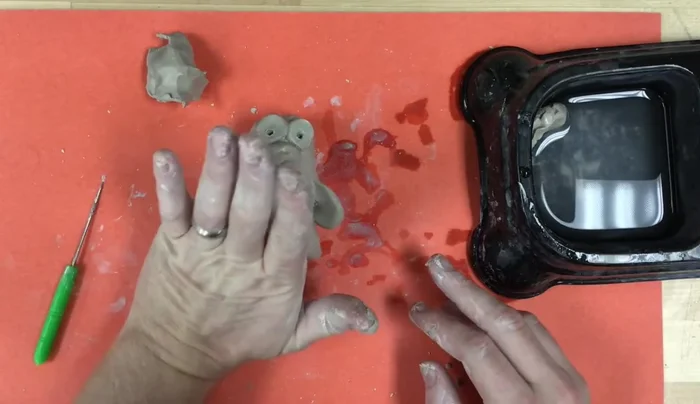
Prepare Materials
- Add a little vinegar to the water to increase clay stickiness.
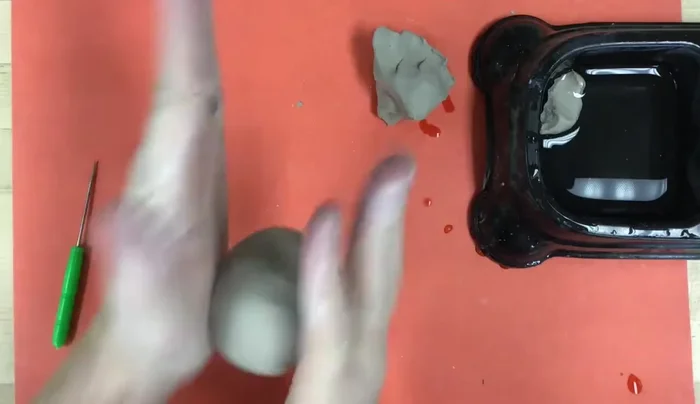
- Soak a portion of clay in the prepared water for joining pieces later.
- Set aside a third of the clay for details (beak, feet, etc.).

Prepare Materials Form the Penguin Body
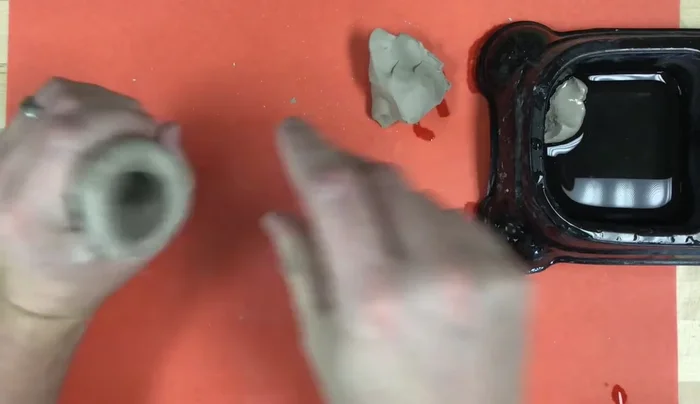
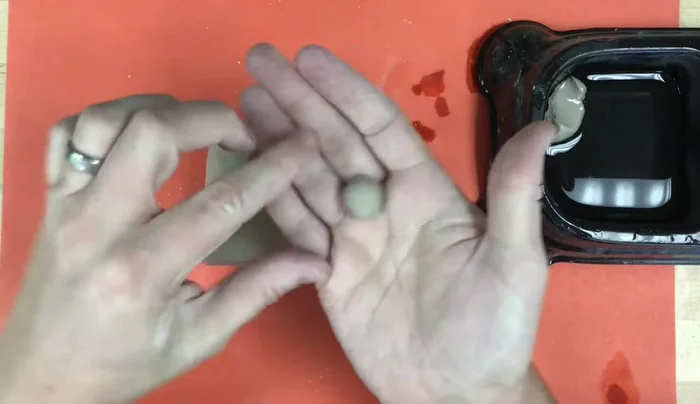
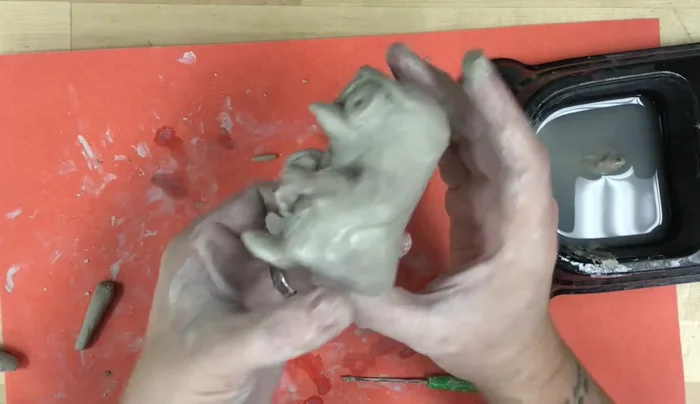
- Roll the remaining clay into a ball between your hands.
- Insert your thumb into the clay ball and gently pinch and rotate the clay to form a hollow, taller shape.
- Ensure it's hollow to prevent cracking in the kiln.
Form the Penguin Body Add the Beak
- Roll a small ball of clay, flatten one side, and pinch the other to a point. Attach it to the penguin's head using slip (wet clay), scratching both surfaces before joining.
Add the Beak Add the Eyes
- Roll small balls, flatten, and attach to the face using slip and scratching.
Add the Eyes Add the Wings
- Roll small balls of clay, press flat, and attach using slip, scratching, and mud for better adhesion.
Add the Wings Add the Feet
- Roll small balls, flatten, and cut them into semi-circles. Attach using slip and scratching.
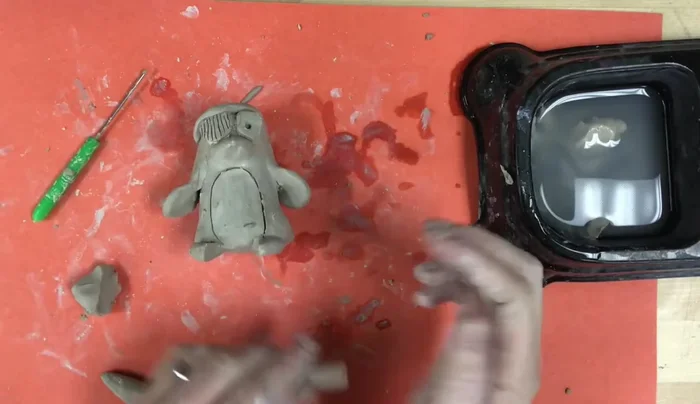
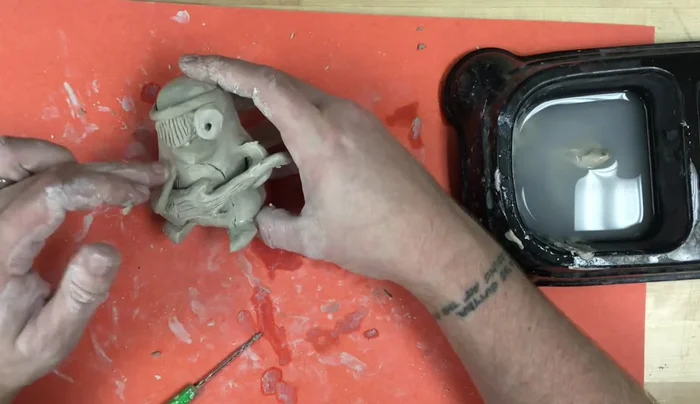
Add the Feet Add Details and Accessories
- Use additive (adding clay) or subtractive (removing clay) methods for details like a belly, bowtie, crown, or eye patch.
- Demonstrate creating a small guitar using coils and balls of clay, showing how to refine the shape through pinching, pressing, and scratching.
Add Details and Accessories Smooth and Refine
- Use damp fingers to smooth over any cracks and seams.
Smooth and Refine Sign and Finish
- Add your initials or name to personalize your creation.
Sign and Finish


Read more: Easy Clay Heart Sculpting: From Charm to Button
Tips
- Hollowing out the pinch pot prevents it from exploding in the kiln due to trapped moisture.
- Slip, scratch, and smooth technique ensures strong joins between clay pieces.
- Use mud (soaked clay) to enhance adhesion between pieces.
- Don't be afraid to experiment with additive and subtractive techniques for details.
- Adding small details enhances the overall look and makes your penguin unique.