Who doesn't love a good game of Pac-Man? Now you can enjoy the nostalgic fun of this classic arcade game every morning with your coffee, or anytime with your favorite beverage, thanks to this guide on crafting your very own Pac-Man themed clay mug! Imagine the delighted expressions of fellow gaming enthusiasts as you proudly display your handmade creation, a charming blend of artistry and retro gaming spirit. This unique mug isn't just a vessel for your drink; it's a conversation starter, a testament to your creativity, and a delightful nod to a beloved piece of gaming history.
Forget generic mugs! This tutorial will walk you through the process of creating a truly personalized, charming, and functional piece of pottery. Get ready to unleash your inner artist and prepare to be amazed at how easy it is to transform a lump of clay into a vibrant, playable-looking Pac-Man mug. Let's dive into the step-by-step process and create this retro masterpiece together!
Preparation and Safety Guidelines
- Clay
- Rolling pin
- Cutting tool
- Paper towel tube
- Scrap paper
- Tape
- Something round as a template (optional)
- Always work in a well-ventilated area when using clay and glazes. Inhaling clay dust can be harmful.
- Ensure the clay is completely dry before firing in a kiln. Firing wet clay can cause explosions and damage to the kiln.
- Use oven mitts or gloves when handling hot mugs after firing. The mug will be very hot and can cause burns.
Step-by-Step Instructions
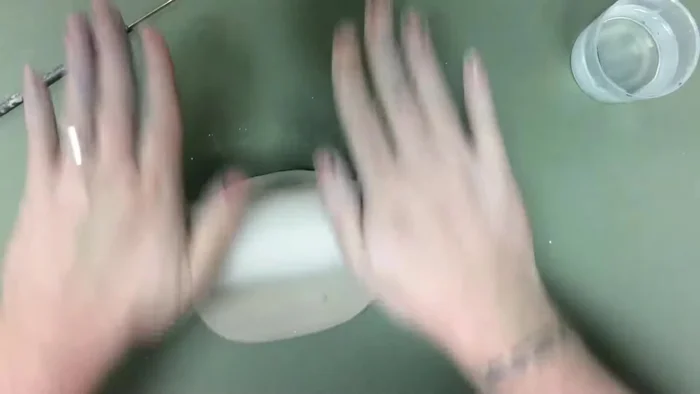
Prepare the Clay Base
- Roll out a clay slab about half an inch thick.
- Cut the slab into a rectangle for smoother top and bottom.
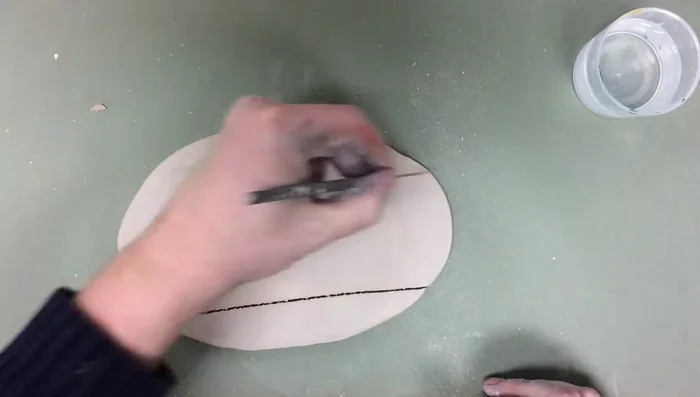
- Roll out another small slab for the mug's bottom, using something round as a template if desired.

Prepare the Clay Base Shape the Mug Cylinder
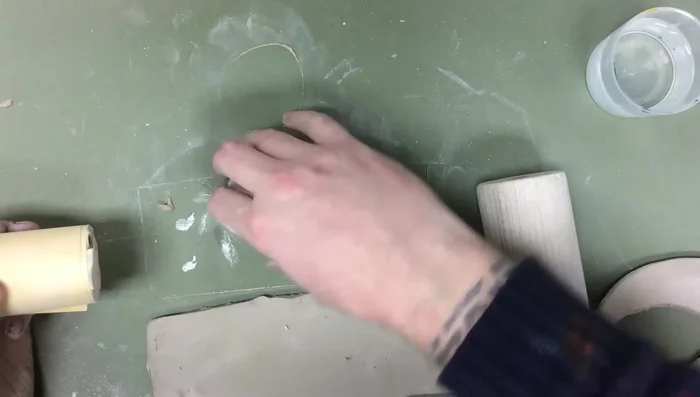
- Prepare a paper towel tube by taping one end shut and wrapping it with scrap paper. This will support the clay while shaping the cylinder.
- Wrap the rectangular slab around the prepared paper towel tube, wetting the edges to help them adhere.
- Smooth over the seams and cracks, pushing clay from one piece onto the other to ensure a good connection. Keep the clay wet to help soften it.
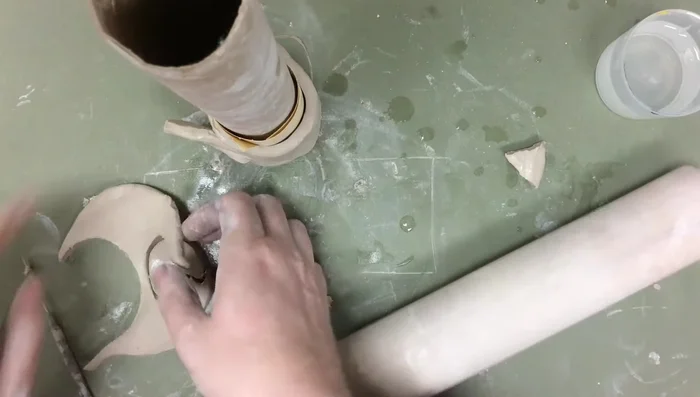
Shape the Mug Cylinder Create Pac-Man Handle
- Create Pac-Man themed decorations. Make a circle for the handle, cut out a wedge, and smooth it.
Attach the Handle
- Attach the handle to the mug using slip, scratch, and smooth technique. Wet both surfaces, scratch them, and then press the handle on, ensuring it sticks out rather than wrapping around.
Attach the Handle Create and Attach Ghost Decoration
- Create a Pac-Man ghost shape and attach it using slip, scratch, and smooth technique.
Create and Attach Ghost Decoration Add Details and Finalize
- Add small dots around the ghost and Pac-Man to complete the theme.
- Remove the cardboard tube and paper. Smooth any remaining cracks and seams, ensuring everything is well-attached on both the inside and outside of the mug.
Add Details and Finalize


Read more: Easy Clay Heart Sculpting: From Charm to Button
Tips
- Use a paper towel tube wrapped in scrap paper to support the clay while creating the cylinder. This prevents the tube from cutting into the clay.
- Wet the edges of the clay pieces before joining them to help them adhere. Scratching the surfaces before joining helps them bond better.
- When attaching pieces, use the slip, scratch, and smooth method to create a strong bond.