Red Hood, the brooding anti-hero, commands a striking visual presence, and his iconic chest armor is a significant component of that. This article dives into the exciting world of crafting a modular replica of his chest piece, perfect for cosplay, prop creation, or simply adding a unique piece to your collection. We'll explore a design that allows for easy customization and adjustability, letting you tweak the armor to your exact specifications and body type, moving beyond simple static replicas.
Forget flimsy plastic or impractical metal – this guide focuses on creating a durable, comfortable, and visually accurate Red Hood chest armor using accessible materials and techniques. From planning the design and gathering materials to the step-by-step construction process, we'll equip you with everything needed to bring this iconic piece of superhero gear to life. Prepare to delve into the detailed instructions, beginning with the initial design templates.
Preparation and Safety Guidelines
- 10mm foam sheets
- 4mm foam sheets
- 6mm foam sheets
- 2mm foam sheets
- Weldwood contact cement
- Super glue
- Hot glue gun
- Dremel rotary tool with sanding drum
- Heat gun
- Parachute clips
- 1-inch nylon straps
- Sandpaper
- Pencil
- Templates (PDF)
- Resin cast half domes (optional)
- Safety pins
- Always use appropriate safety gear, including eye protection, gloves, and a respirator when working with power tools, adhesives, and paints. Harmful fumes and sharp objects are involved.
- Ensure all components are securely fastened before wearing or handling the finished armor. Loose or improperly attached pieces can cause injury.
- Test the fit and mobility of the armor thoroughly before any intense activity or cosplay events. Adjustments may be needed for comfort and safety.
Step-by-Step Instructions
Constructing the Core Chest Plate
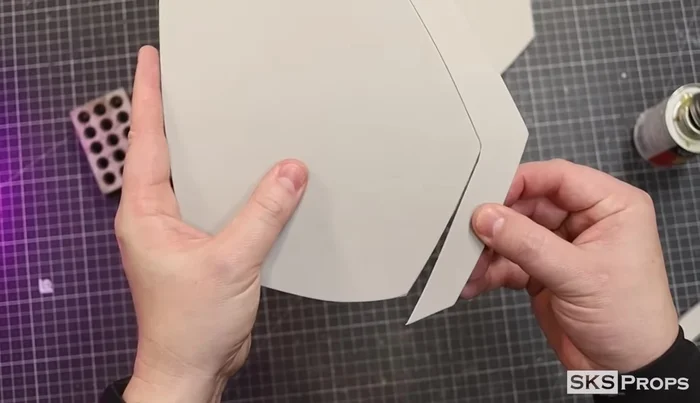
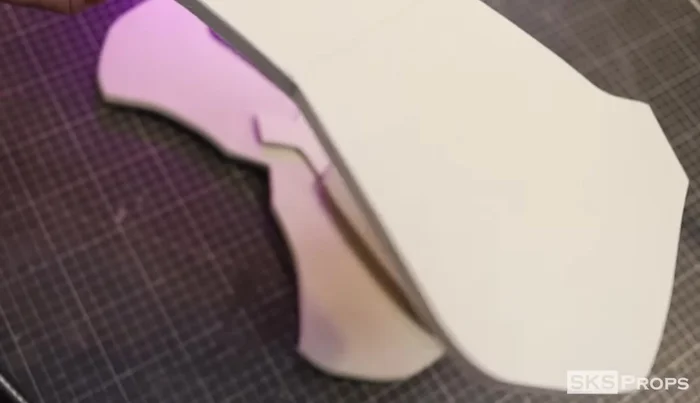
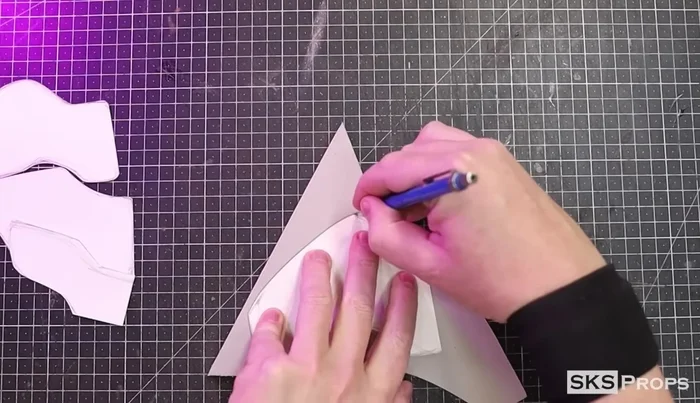
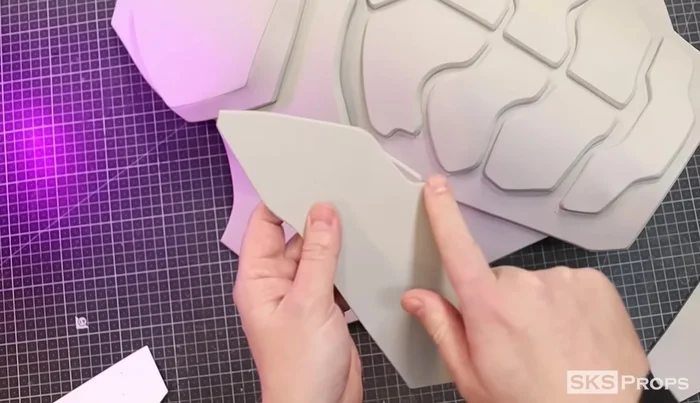
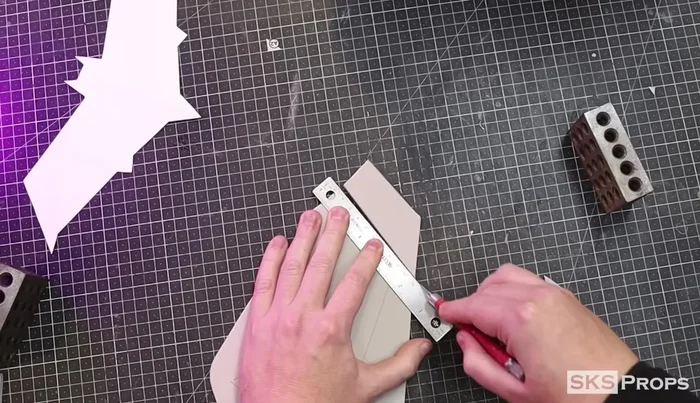
- Trace and cut Parts A and B from 10mm foam. Cut the interior of Part B at an angle for a curved fit.
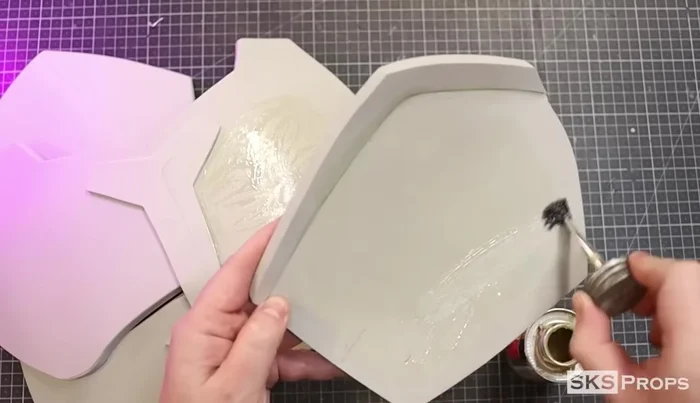
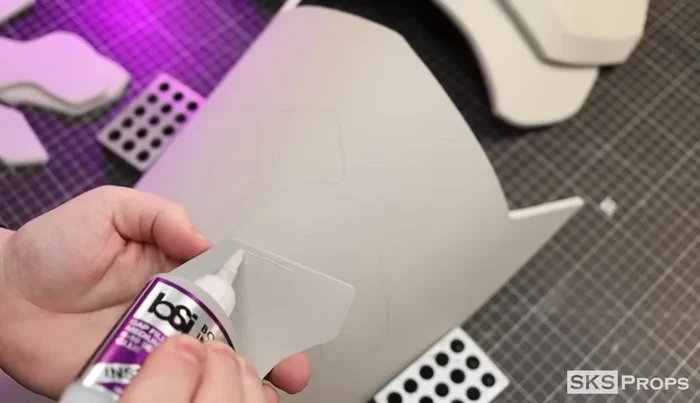
- Apply Weldwood contact cement to Parts A and B, let it get tacky, and firmly press them together. Trim excess foam.
- Trace and cut Part C from 10mm foam.
- Trace and cut Part D from 4mm foam. This piece connects the other upper chest pieces.

Constructing the Core Chest Plate - Trace and cut Part E from 10mm foam.
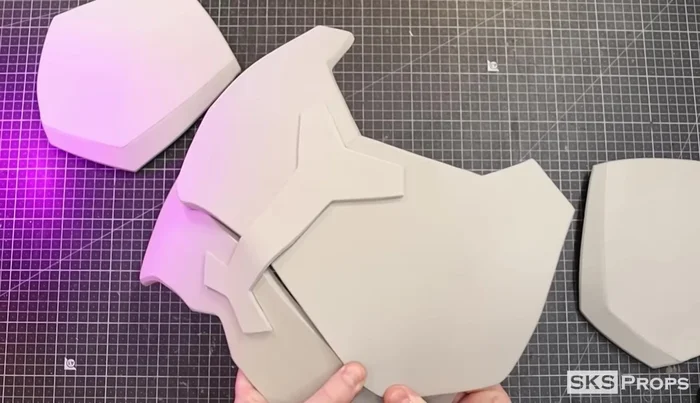
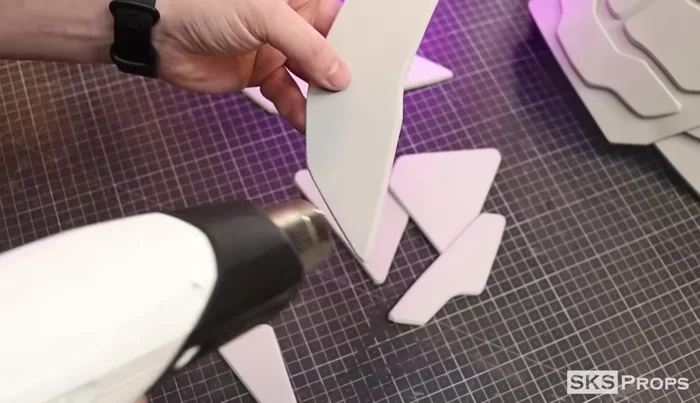
- Sand and round over all edges of Parts A-E using a Dremel sanding drum. Heat the foam to seal it and create a slight curve.
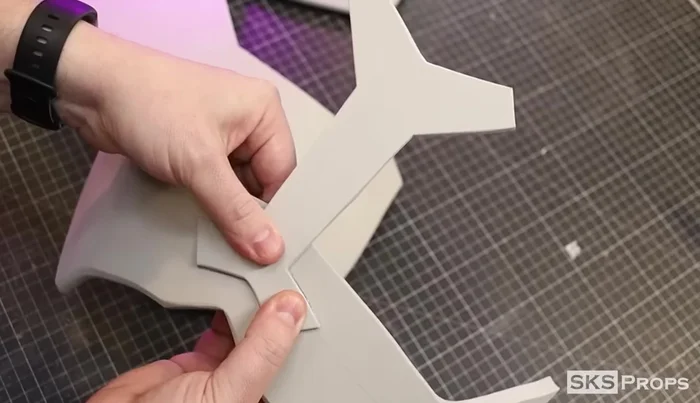
- Glue the bottom of Part D to Part C using super glue. This creates the gap between the pectoral armor.
- Glue the corners of Part C to the backside of Part E to create a rounded shape.
Constructing the Core Chest Plate - Glue the pectoral armor (Parts A & B) to the assembled upper chest pieces (Parts C, D, E) using Weldwood contact cement.
Constructing the Core Chest Plate Building the Lower Chest and Abdomen
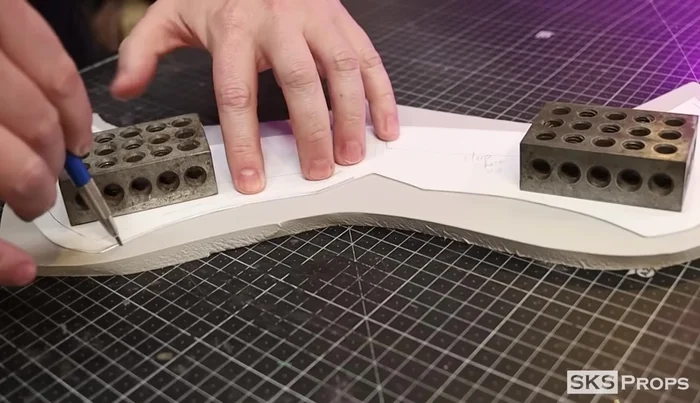
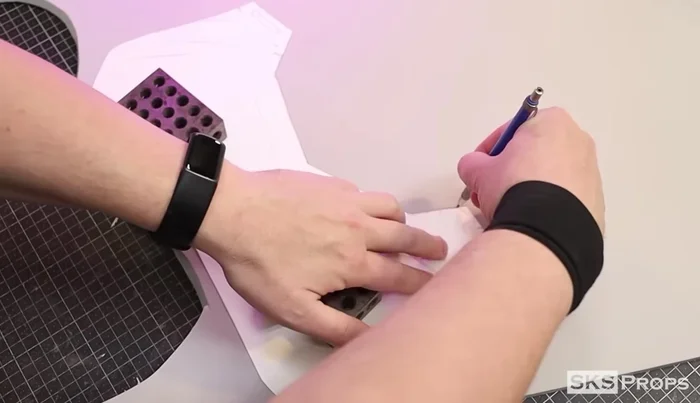
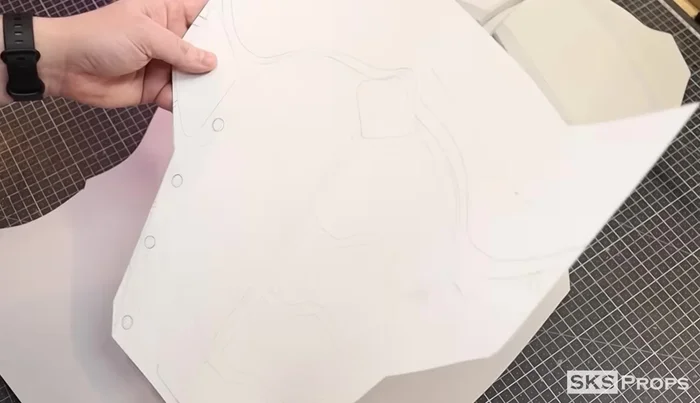
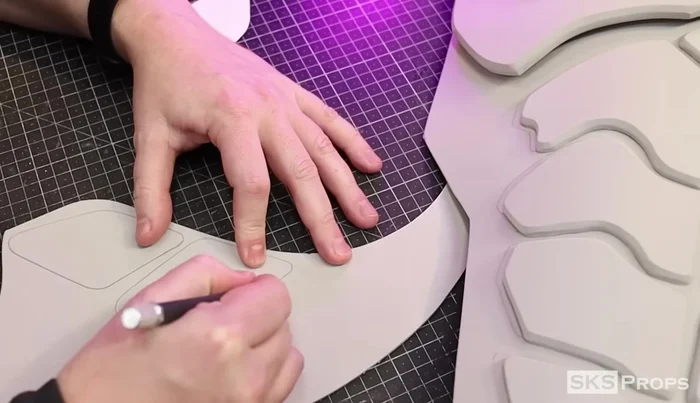
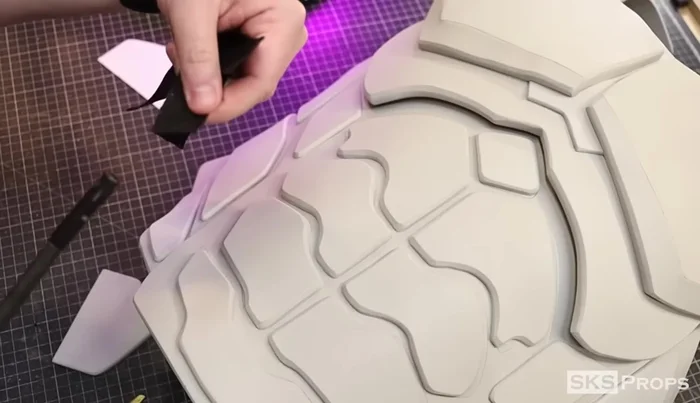
- Trace and cut Part F (lower chest) from 6mm foam. Adjust width/length to fit your body. Lightly mark abdominal muscle placement.
- Trace and cut multiple Part G abdominal muscles from 6mm foam. Sand, heat seal, and glue to Part F.
- Curve Part F to fit your body, aligning the armor down the center. Glue the upper chest section (Parts C, D, E, A, B) to Part F.
- Glue Part H (back support) cut from 6mm foam to the back of Part C.
Building the Lower Chest and Abdomen Adding Side Armor and Details
- Cut Part I (side armor) from 4mm foam and glue in place.
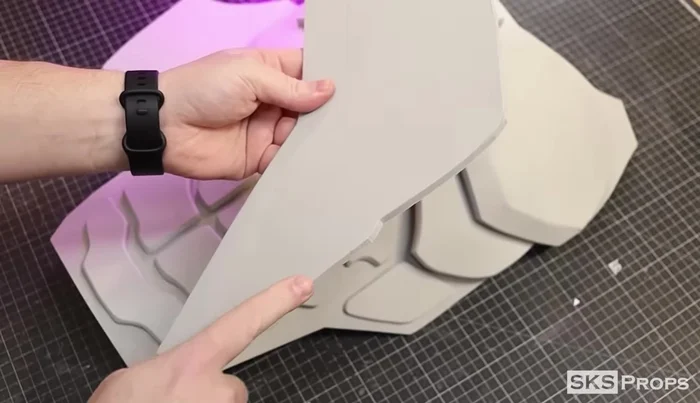
- Cut Part J (side armor) from 6mm foam, sand, and round the edges. Glue to the sides of Part F; adjust placement as needed.
- Cut Part K (lower side armor) from 6mm foam. Sand, heat seal, and glue to the sides.
- Cut Part L (side details) from 4mm foam. Glue to Parts J and K while curved to maintain shape.
Adding Side Armor and Details Attaching Back Support and Straps
- Cut Part M from 6mm foam and glue to the back of Part E to fill in the upper section of the armor.
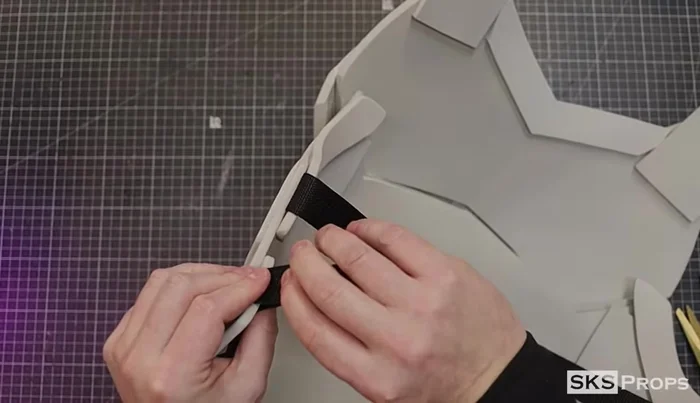
- Cut Part N (strap supports) from 6mm foam. Use hot glue and super glue to attach nylon straps, securing with parachute clips.
- Cut two Part O pieces from 6mm foam; sand and heat seal. Glue to the top of the armor using contact cement and super glue, adjusting length as needed.
- Cut two Part P pieces from 6mm foam, sandwiching nylon straps for back support. Secure straps with hot glue, super glue, and parachute clips.
Attaching Back Support and Straps - Glue 24-inch nylon straps to Part O pieces for additional back support. Add small pieces of 2mm foam on top for extra security.
Attaching Back Support and Straps Applying the Red Hood Logo and Finishing Touches
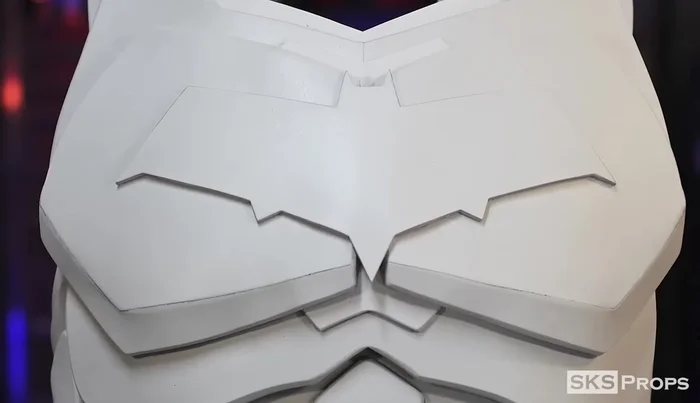
- Transfer and cut Part Q (Red Hood logo) from 4mm foam. Heat seal, slightly curve, and glue to the chest.
- Add optional details like resin half-domes or thumbtacks.
Applying the Red Hood Logo and Finishing Touches

Read more: Super Crown Cosplay Tutorial: Fabric Covering for a Professional Finish
Tips
- Adjust the length and width of various parts to perfectly fit your body.
- Use a double adhesive method (hot glue and super glue) for extra secure strap attachments.
- Take your time gluing the logo on to ensure it's straight.