Step into a world of ancient symbolism and modern craft with this comprehensive guide to creating your own DIY ritualistic deer skull mask. Intrigued by the powerful imagery of the deer, a creature revered across cultures for its grace, strength, and connection to the spirit world? This project allows you to tap into that rich symbolism, crafting a unique and striking mask that's both visually stunning and deeply personal. Forget flimsy plastic imitations; we're diving deep into the transformative power of high-density foam, a material perfectly suited to capturing the intricate details of a deer skull.
This guide will walk you through each stage of the process, from initial design and sculpting to the final finishing touches. Prepare to unleash your creativity and embrace the mystical energy of this ancient symbol, resulting in a truly one-of-a-kind masterpiece. Ready to begin sculpting your own powerful and evocative mask? Let's delve into the step-by-step instructions below.
Preparation and Safety Guidelines
- HD foam (6mm and 2mm)
- Foam clay
- Rotary tool
- Heat gun
- Hobby knife
- Super glue
- Pencil
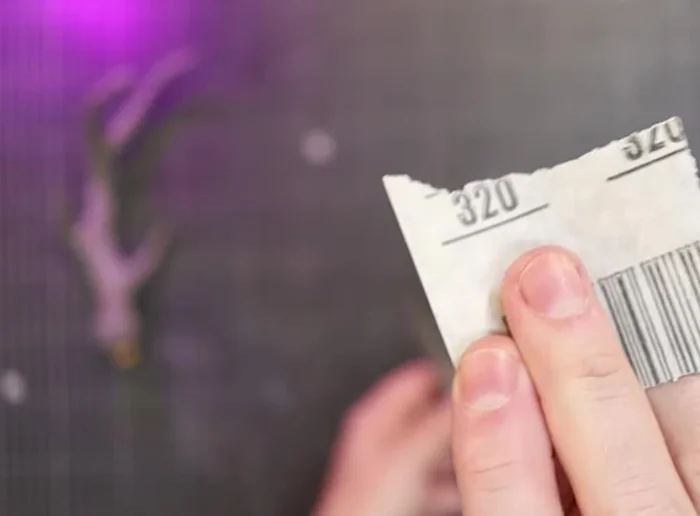
- Sandpaper (320 grit)
- Wire brush
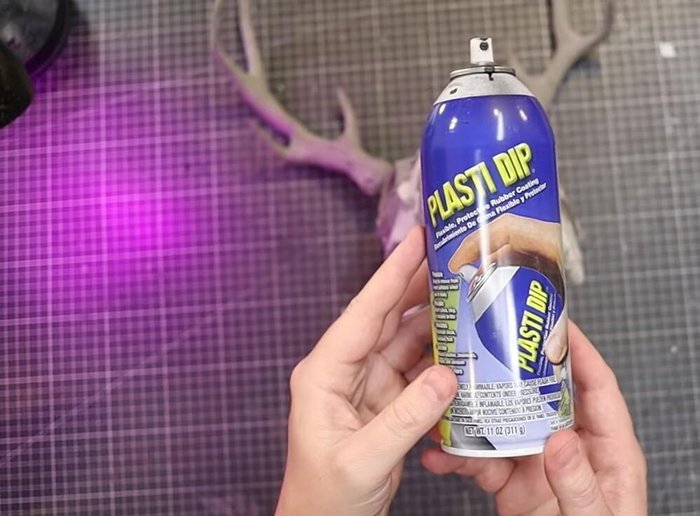
- Plasti Dip
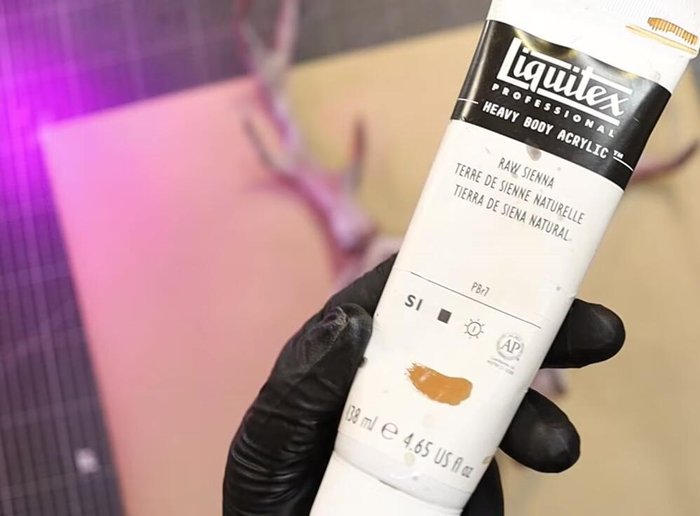
- Acrylic paints (Raw Sienna, Unbleached Titanium, Parchment, Liquitex Quinacridone Red, Mars Black)
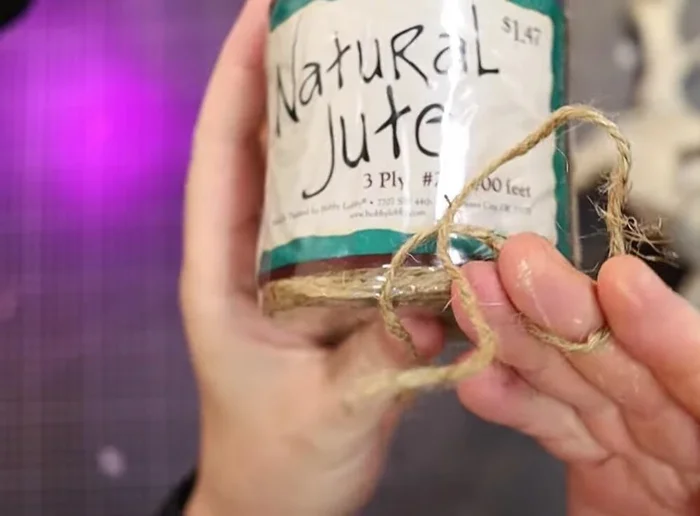
- Jute twine
- Leather strips
- Wooden beads
- 1-inch elastic
- Triglides
- 1-inch high-density upholstery foam
- Perma blood
- PVC coupler
- 18-gauge steel wire
- Epoxy sculpt
- Tin foil
- Self-adhering bandages
- Styrene
- Modeling wire
- Wooden dowel
- Force bit
- Silicone tip tools
- 1-inch mop brush
- Always use appropriate safety equipment: Wear a respirator mask when working with expanding foam, as it can irritate lungs. Eye protection is also crucial to prevent accidental injury from flying debris or chemicals.
- Work in a well-ventilated area: Expanding foam releases fumes that can be harmful if inhaled. Ensure adequate ventilation during application and curing.
- Properly dispose of materials: Expanding foam and any leftover materials should be disposed of according to local regulations. Do not throw it in the trash without checking your local guidelines.
Step-by-Step Instructions
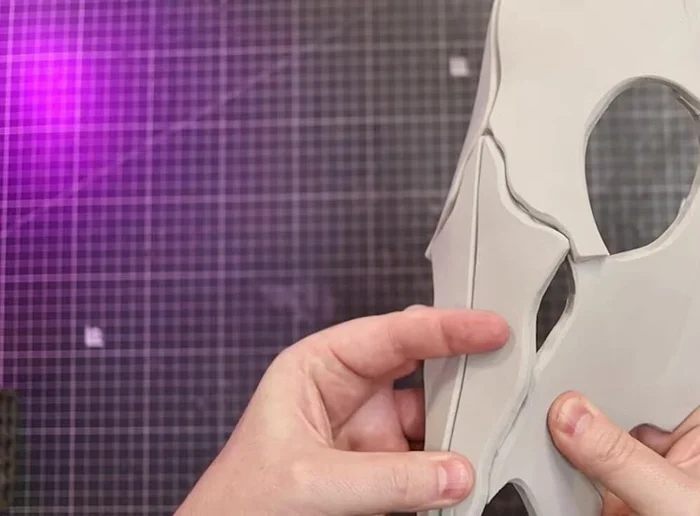
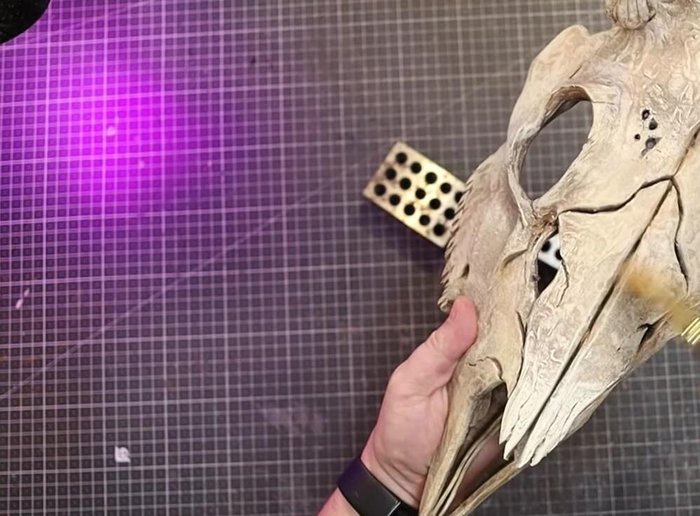
Skull Base Construction
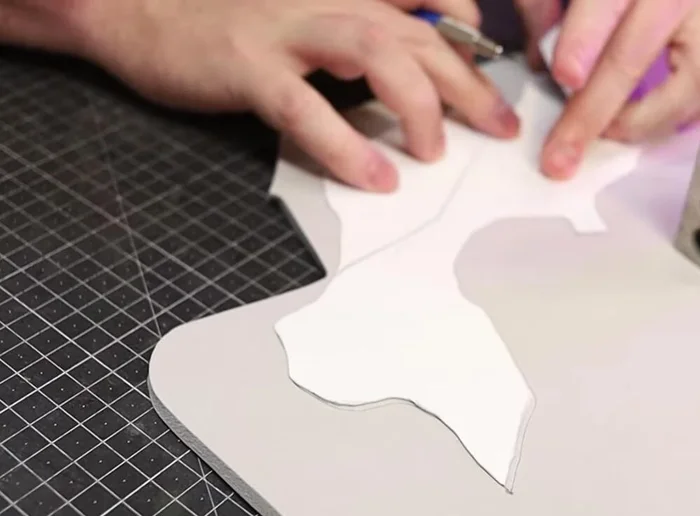
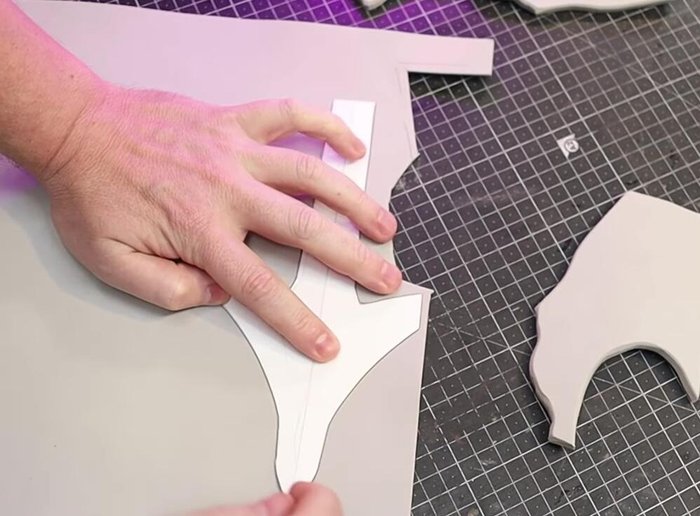
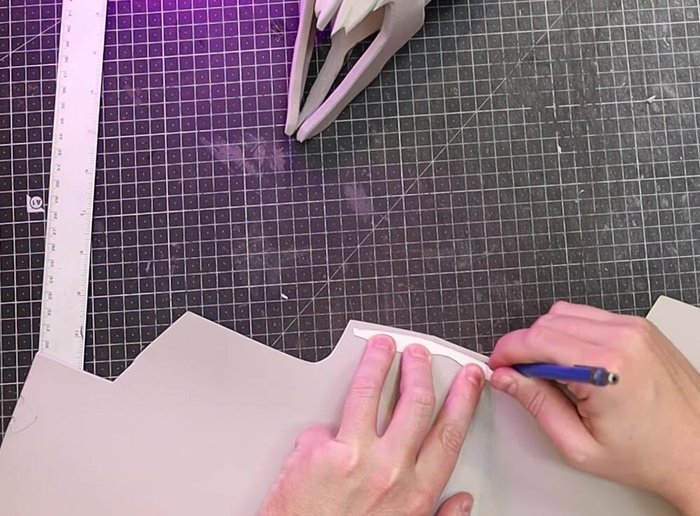
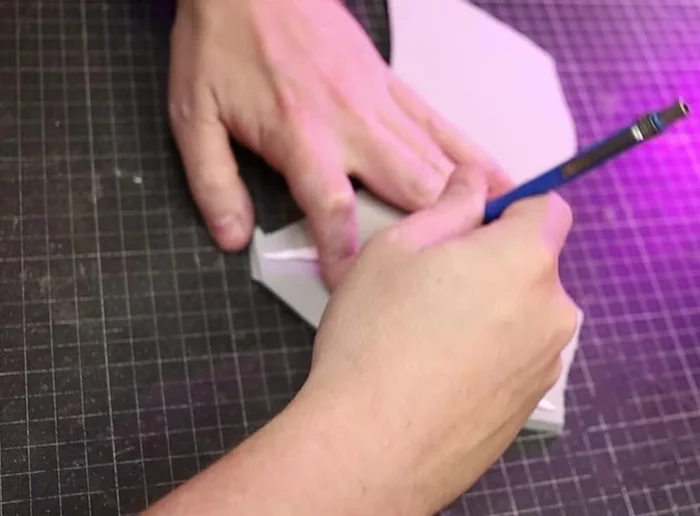
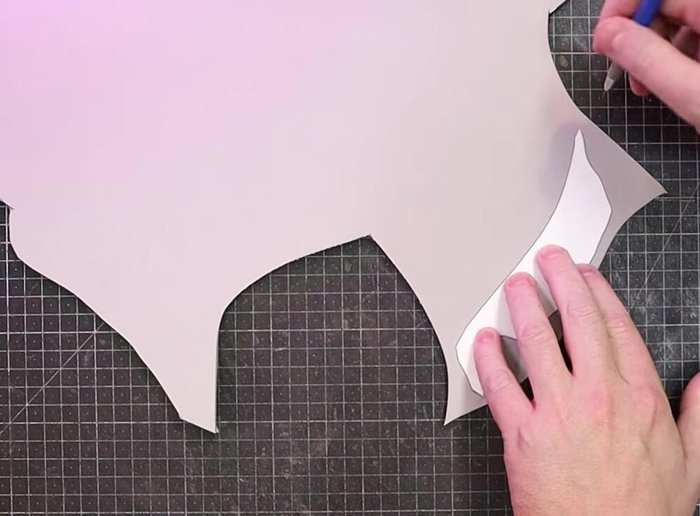
- Trace and cut out Part A and Part B from 6mm foam, round over edges, and lightly seal with a heat gun.
- Trace and cut out Part C from 2mm foam.
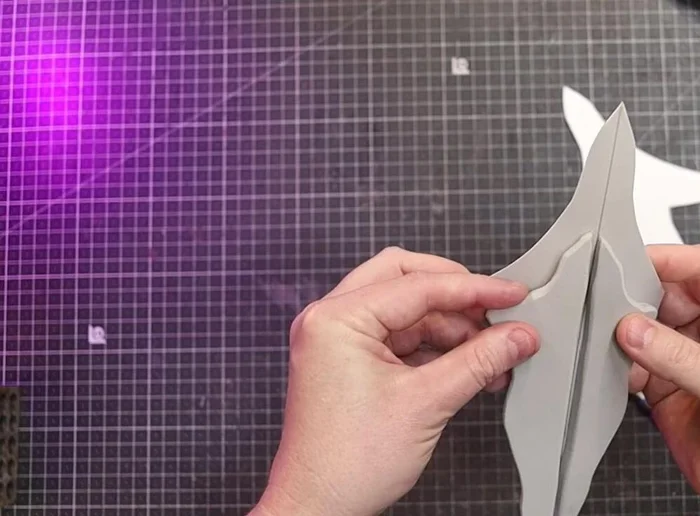
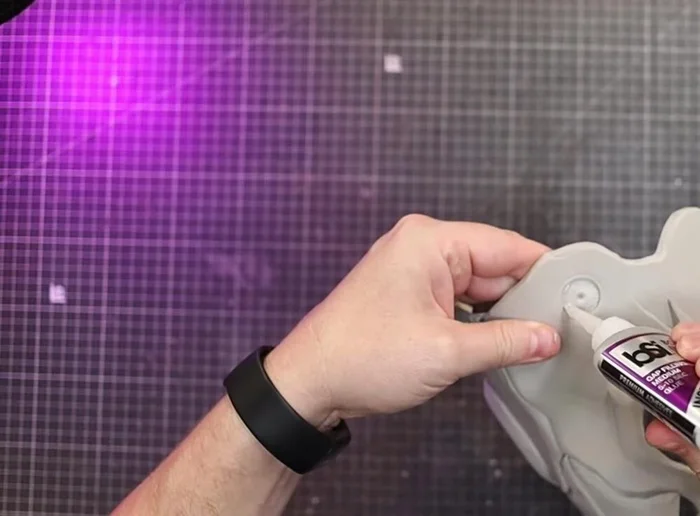
- Glue the nose section of Part B to Part C, then glue the upper halves of Part B together and attach them to Part C.
- Glue Part B to Part A, rounding the back section before gluing.

Skull Base Construction - Glue the nose section of Part A to the bottom of Part B.
- Repeat the gluing process for the opposite side, folding and gluing the cuts in Part A to add volume.
- Trace and cut Part D (inner nose) from 6mm foam, remove foam from the middle using a hobby knife and smooth with a heat tool.
- Glue Part D to the underside of Part A and inside of the skull.
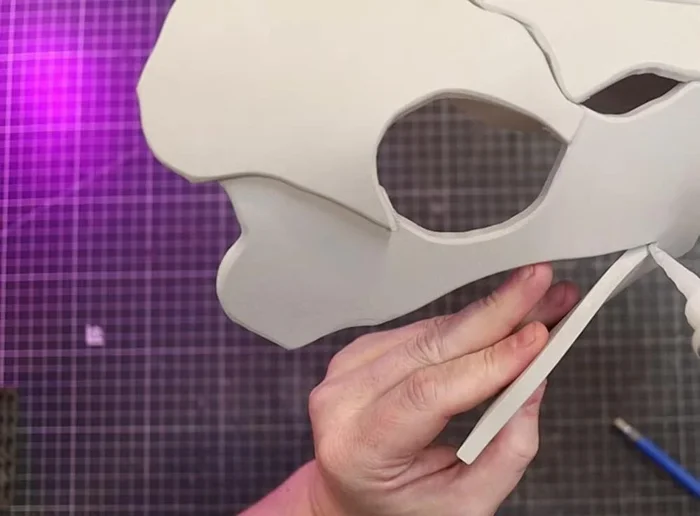
Skull Base Construction - Cut and glue Part E (nostril details) from 2mm foam.
- Trace, cut, and glue Part F (small details) from 2mm foam.
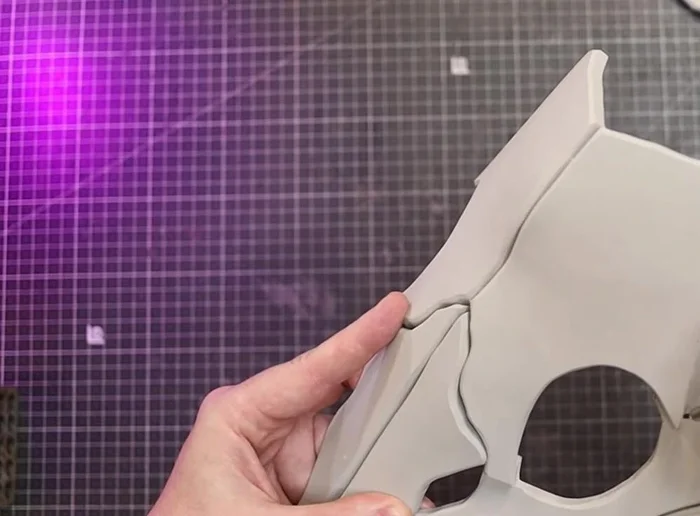
- Smooth the Part B sections around the eyes, and glue Part G (eye sockets) from 6mm foam to either side of the skull; round edges with a rotary tool.
- Add Part H (upper jaw) from 6mm foam to the inside of the skull and heat seal.
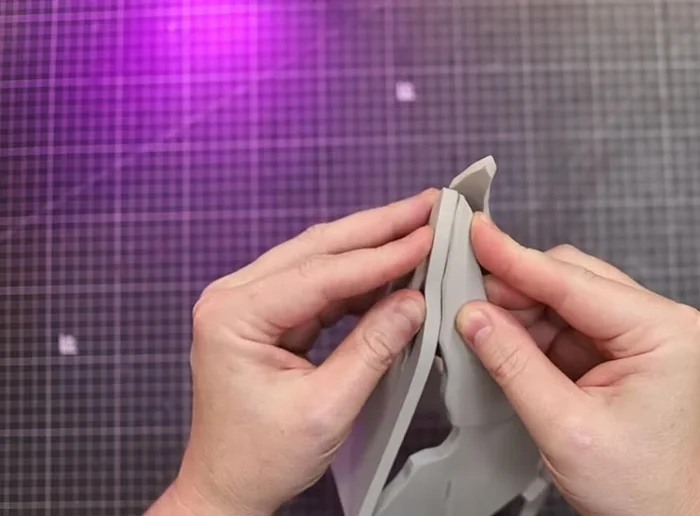
Skull Base Construction Antler Construction
- Add styrene or plastic to reinforce the top of the skull for antlers.
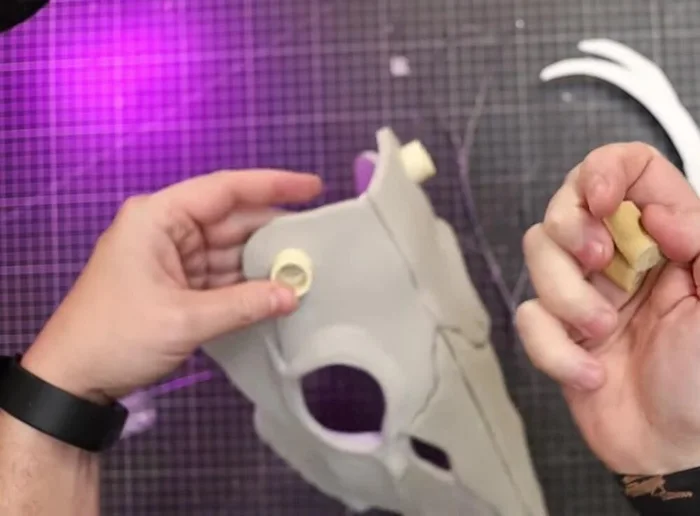
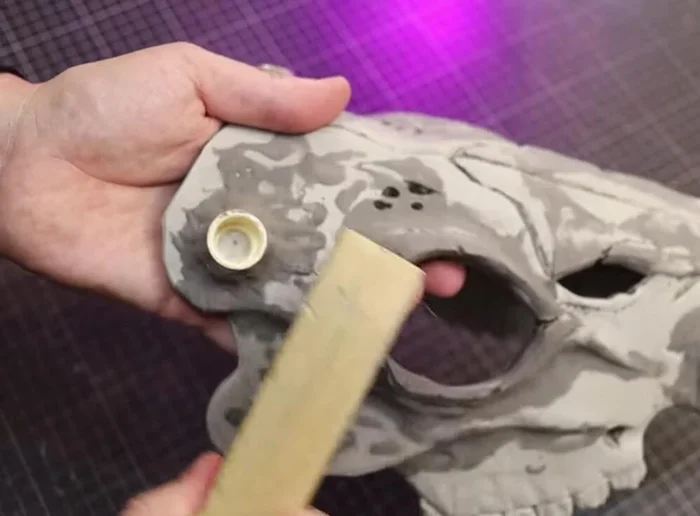
- Cut a PVC coupler in half and attach it to the skull for the antler base.
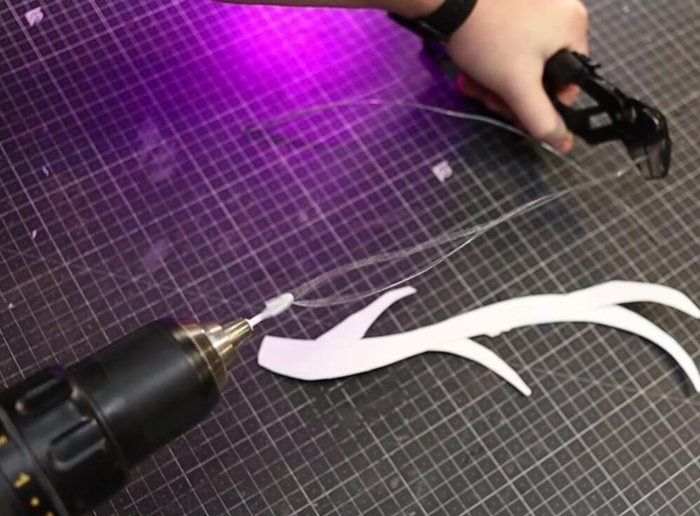
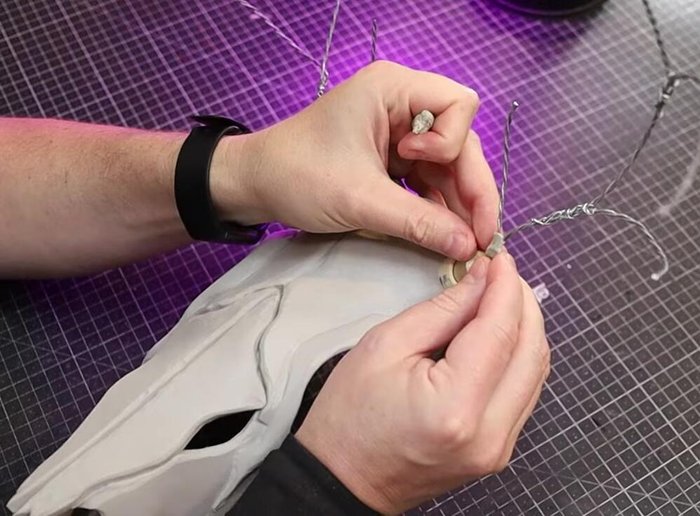
- Create antler coils from 18-gauge steel wire, shape them to match a template, and attach them to the base structure. Reinforce with thin modeling wire.
- Insert wooden dowels into the PVC coupler to make antlers removable. Secure with super glue.
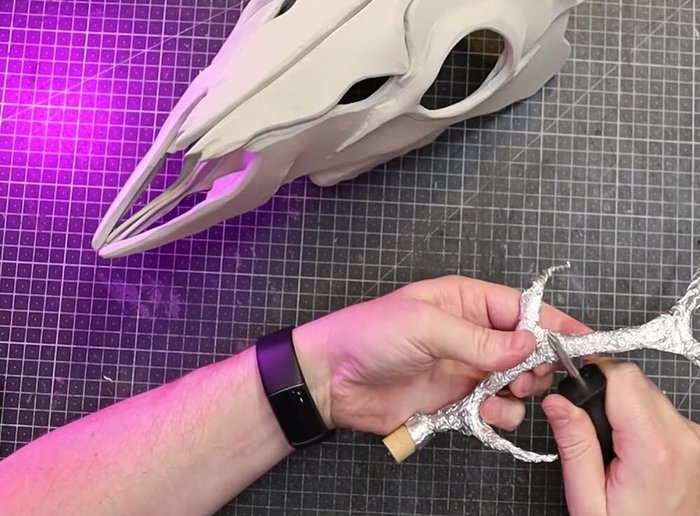
Antler Construction - Cover antler joints with epoxy sculpt.
- Use tin foil and self-adhering bandages to create a base for foam clay on the antlers.
- Apply foam clay to the antlers, smoothing with water, fingers, and tools. Sand excess once dry.
- Add small strips of foam, and then use foam clay to bulk out and smooth the antler bases.
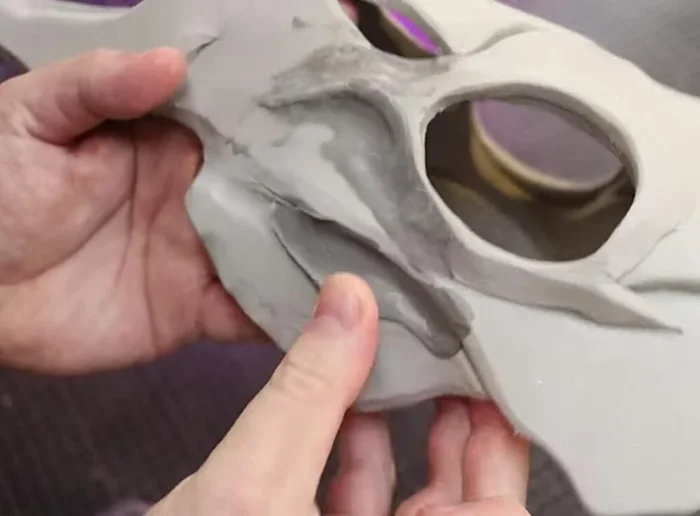
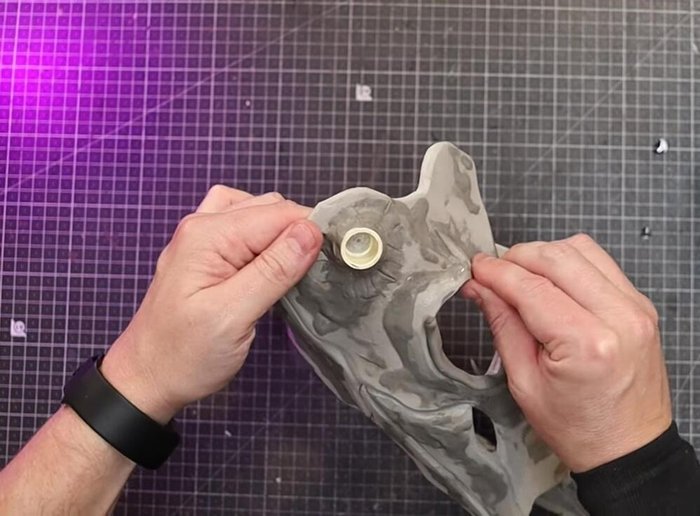
Antler Construction Skull Detailing
- Use foam clay to smooth out transitions between bone sections on the skull.
- Apply foam clay around the eye sockets and pinch to create a realistic shape.
- Cut and shape teeth from 10mm foam, sand, heat seal, and glue to the skull. Add grooves with a rotary tool and heat seal.
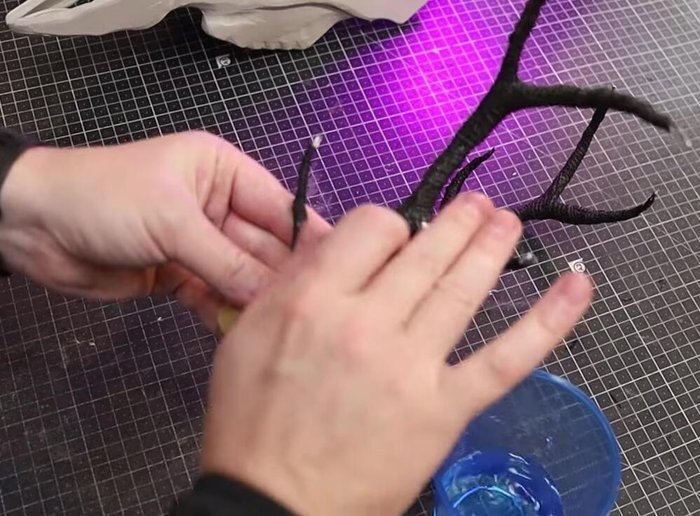
- Sand the dried foam clay on the antlers, then use a wire brush to add bone-like texture.
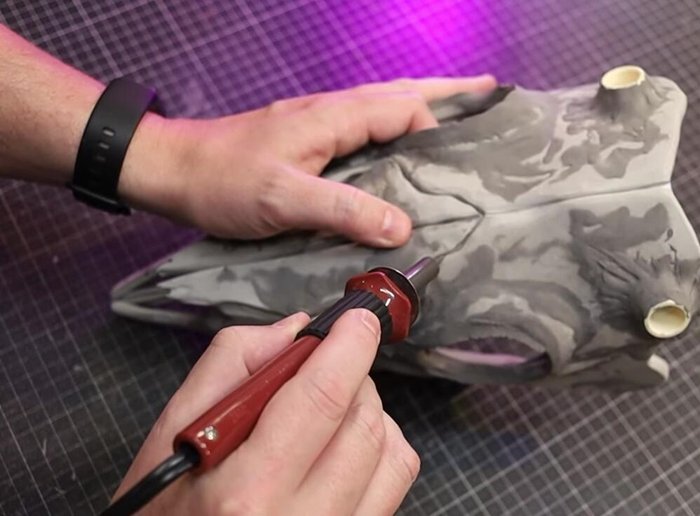
Skull Detailing - Use a heat tool to burn details into the skull (wear a respirator).
- Use a wire brush to add texture and pores to the skull.
Skull Detailing Finishing and Sealing
- Seal the foam with Plasti Dip.
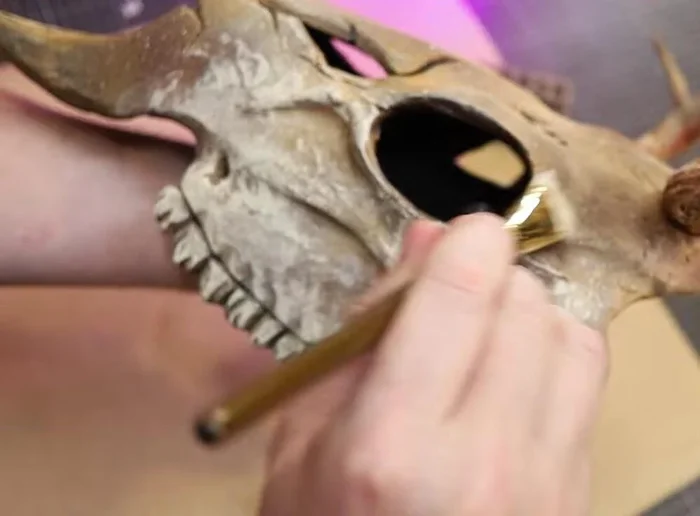
- Prime with red oxide and white flat primers.
- Apply a wash of Raw Sienna, then dry brush with Unbleached Titanium to highlight details.
- Apply a highlight layer of Parchment selectively.
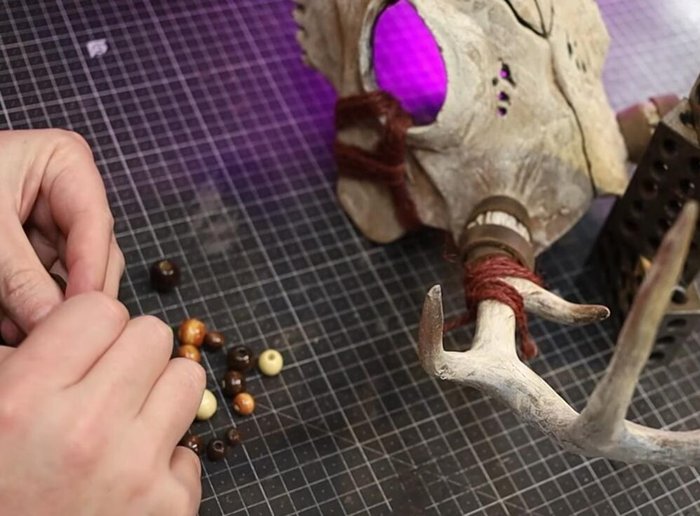
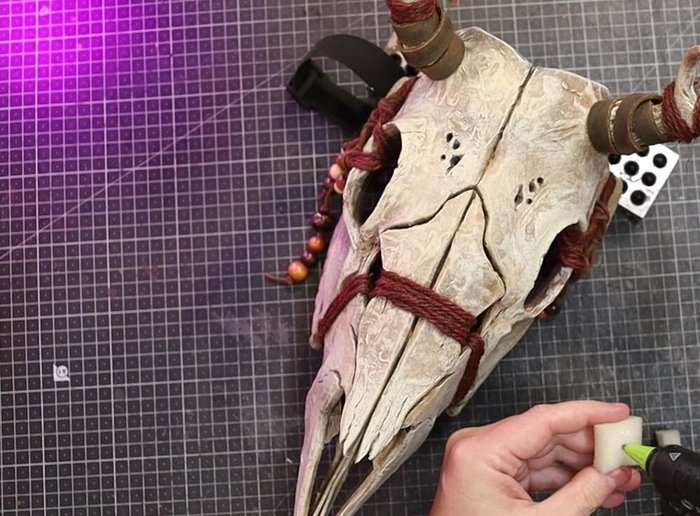
Finishing and Sealing Ritualistic Wrapping
- Dye jute twine with acrylics (Quinacridone Red and Mars Black) and wrap around the skull.
- Add leather strips and wooden beads to the jute wrapping.
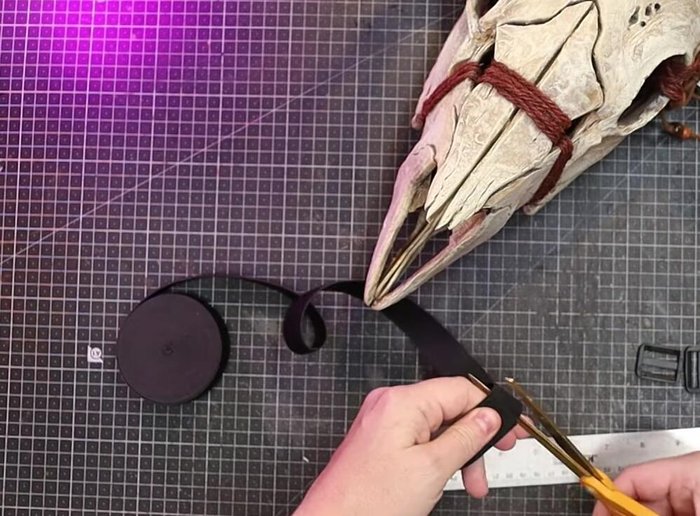
Ritualistic Wrapping Strapping and Comfort
- Attach elastic straps with triglides to the inside of the mask for adjustability.
- Add upholstery foam for comfort.
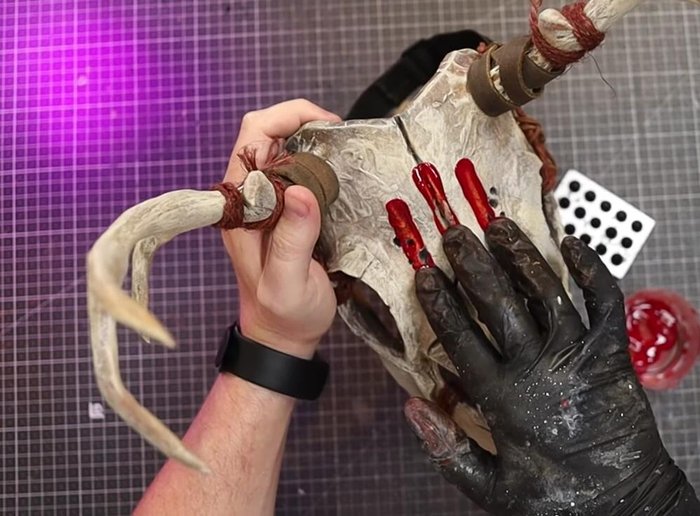
Strapping and Comfort Adding Blood Effects
- Apply Perma blood for a realistic look.
Adding Blood Effects


Read more: Super Crown Cosplay Tutorial: Fabric Covering for a Professional Finish
Tips
- Use a heat tool to smooth the foam edges for a cleaner finish.
- Add more foam clay than needed, as you'll sand away the excess.
- Use tin foil to minimize the amount of foam clay needed and speed up drying time.
- Water helps the foam clay adhere and smooths it out.
- Always wear a respirator when using a heat tool near foam.