Halloween is a time for chilling decorations, and few things set a spooky scene quite like a realistic skull prop. This year, elevate your haunt with a truly terrifyingly authentic creation using the power of composite molding and spray foam. Forget flimsy plastic replicas; we'll guide you through crafting a detailed, bone-chilling skull that will leave your guests speechless – and maybe a little bit scared. This method allows for intricate detail and surprisingly durable results, perfect for indoor or outdoor display.
This comprehensive guide will walk you through the entire process, from initial sculpting and mold-making to the final finishing touches. We'll explore the advantages of using composite molds for strength and detail, and the versatility of spray foam in achieving a lifelike bone texture. Ready to bring your macabre vision to life? Let's dive into the step-by-step instructions and create the most realistic Halloween skull you've ever seen.
Preparation and Safety Guidelines
- Plastic skull
- Drill
- Clay
- Tape
- Tupperware container
- Composite mold material
- Double boiler
- Kitchen knife
- Talcum powder/baby powder
- Great Stuff Pro gap filler foam
- Always wear appropriate safety gear, including a respirator mask, safety glasses, and gloves, when working with spray foam and other potentially harmful materials. Spray foam can be irritating to skin and lungs.
- Work in a well-ventilated area. Spray foam expands rapidly and releases fumes that can be harmful if inhaled. Consider working outdoors or in a garage with open doors and good air circulation.
- Follow the manufacturer's instructions carefully for both the spray foam and any other materials you are using. Improper handling can lead to injuries or poor results.
Step-by-Step Instructions
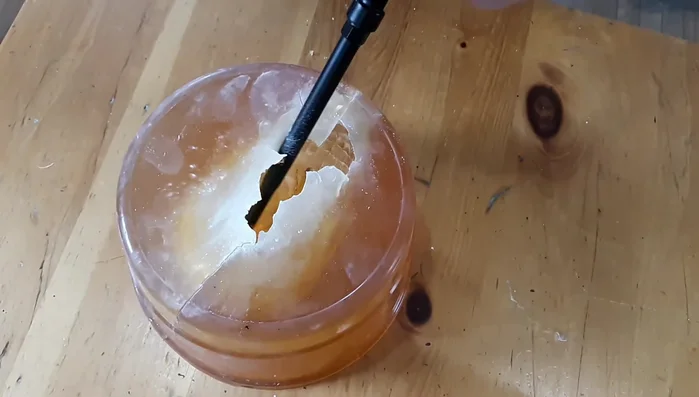
Prepare the Skull
- Drill a hole in the plastic skull, fill it with water (or sand), and secure it with clay and tape.
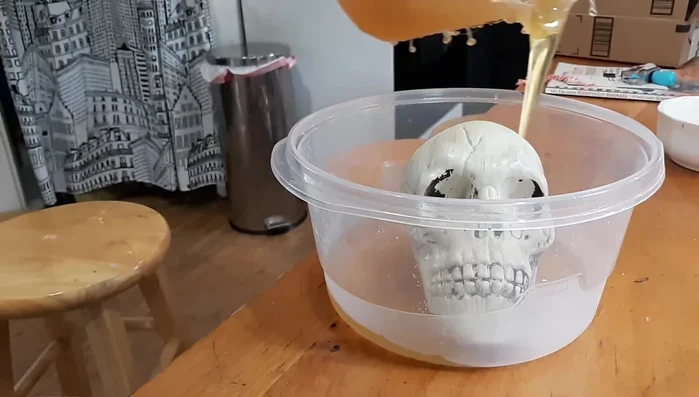
Create the Composite Mold
- Place the prepared skull into a mold box (Tupperware container).
- Melt the composite mold material in a double boiler and pour it into the mold box, completely covering the skull.
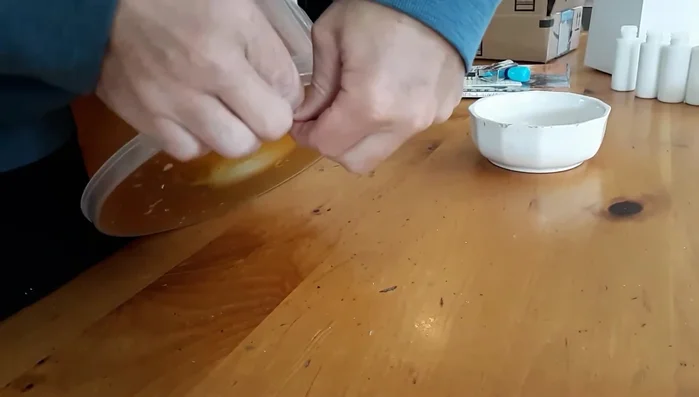
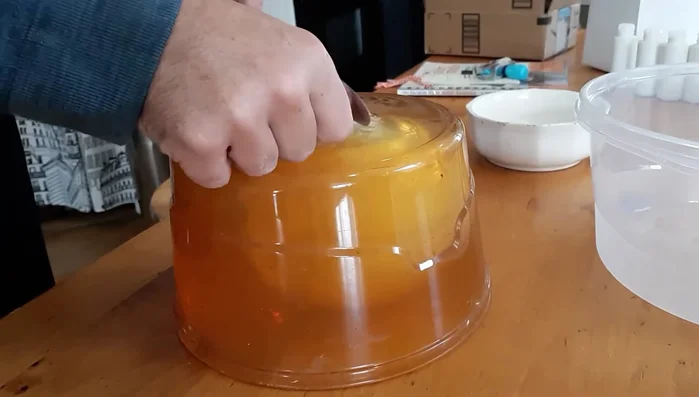
- Let the composite mold cool for 4-5 hours. Carefully remove the mold from the mold box and peel away the composite mold from the skull.

Create the Composite Mold Prepare for Foam Casting
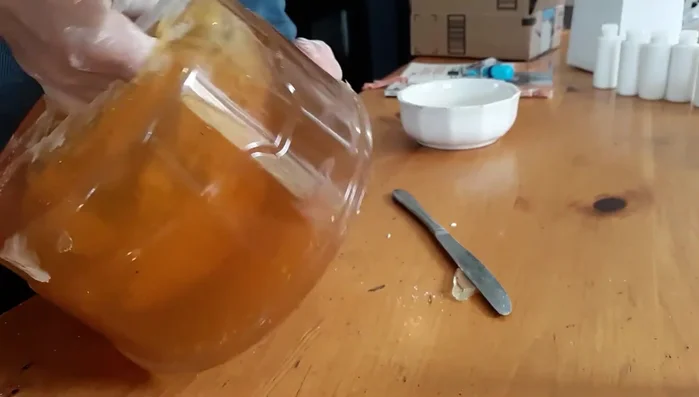
- Use a kitchen knife to cut down the sides of the composite mold to facilitate removal of the casting later.
- Apply a fine coat of talcum powder or baby powder inside the mold as a release agent.
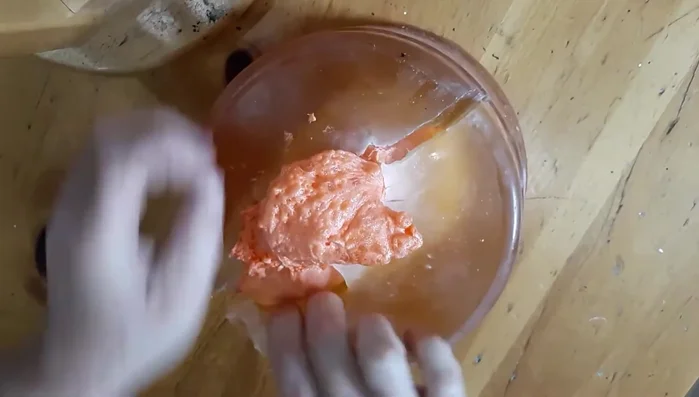
Prepare for Foam Casting Spray Foam and Cure
- Gently spray the Great Stuff Pro gap filler foam into the mold, ensuring all crevices are filled. Allow it to cure and expand.
Spray Foam and Cure Demold the Skull Prop
- After the foam has cured (a couple of hours), carefully peel away the composite mold from the foam casting.
Demold the Skull Prop
Read more: Super Crown Cosplay Tutorial: Fabric Covering for a Professional Finish
Tips
- Using sand instead of water in step 1 will likely produce a better mold, but water is a suitable substitute if sand is unavailable.
- Using a mold release agent (like talcum powder) helps prevent the foam from sticking to the mold and makes demolding easier.
- The composite mold is reusable; it can be re-melted and used to create different shapes.
- Cutting down the sides of the composite mold (Step 5) creates a parting line, making removal of the foam casting much easier and preventing deformation.
- Allow ample curing time for the spray foam to fully expand and harden before demolding.