Are you ready to unleash your inner warrior and craft a truly impressive foam sword? Forget flimsy, store-bought toys; this guide will show you how to build a durable, Level 2 foam sword, perfect for LARPing, cosplay, or even just imaginative backyard battles. We'll take you beyond the basics, exploring techniques to create a robust weapon with exceptional detail and a satisfying heft. This isn't your average foam noodle project; we're diving into advanced shaping, layering, and finishing techniques that will elevate your foam weaponry to the next level.
This guide will cover everything from material selection and cutting strategies to the crucial process of layering and reinforcing your foam core for maximum durability. We’ll also explore advanced techniques for creating realistic details, ensuring your finished sword looks as impressive as it feels. Ready to begin forging your own legendary foam blade? Let's jump into the step-by-step process and create a magnificent Level 2 foam sword!
Preparation and Safety Guidelines
- 2in PVC pipe
- Blue Walmart Camp pad (closed-cell foam)
- 2in thick foam pad
- DAP contact cement
- Duct tape
- Eye protection is mandatory. Foam can break apart and small pieces can easily cause eye injuries.
- Avoid sharp objects during construction. Knives and other sharp tools should only be used by adults with experience, and even then, extreme caution is advised.
- Never use a foam sword as a real weapon. While relatively safe, misuse can lead to injuries to yourself and others.
Step-by-Step Instructions
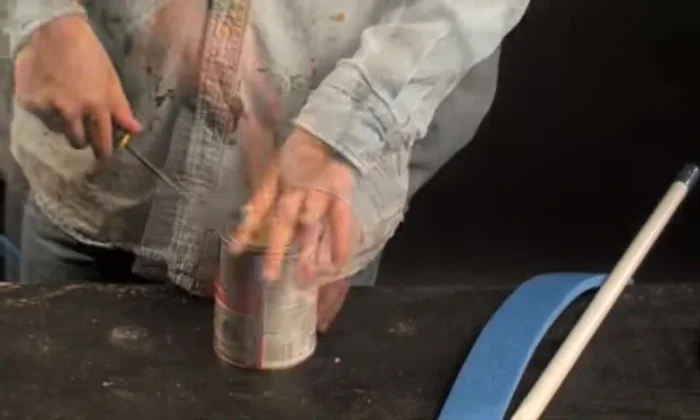
Prepare Core
- Prepare the 2in PVC pipe (sanding and capping). Refer to level one videos if needed.

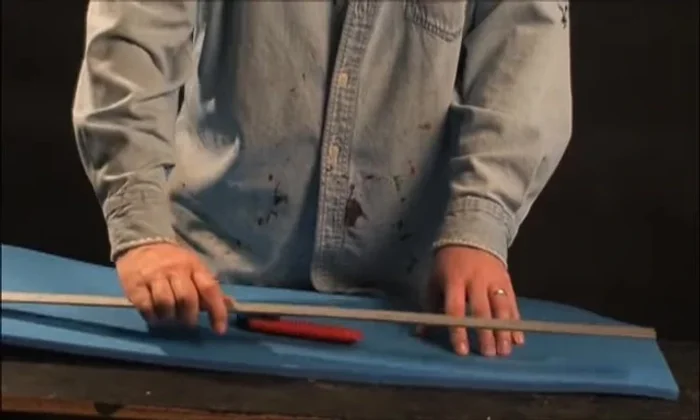
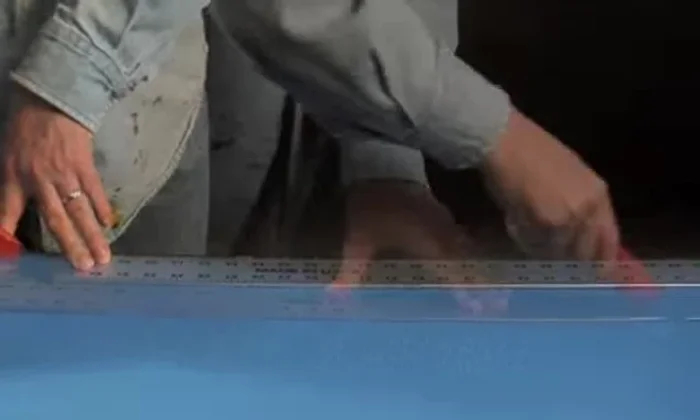
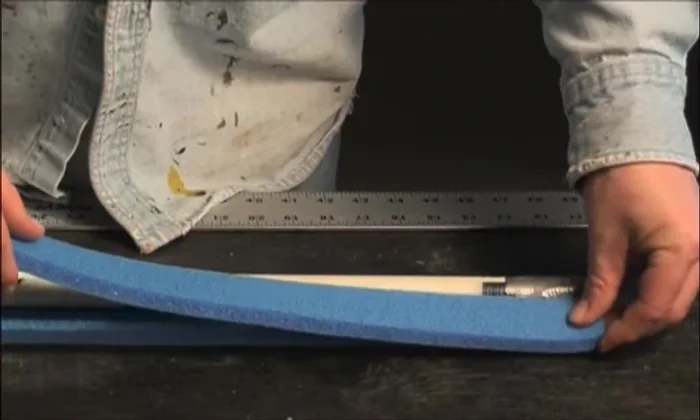
Prepare Core Cut Foam Pieces
- Cut 24in lengths, 1in wide, of the blue foam pad (four pieces).
- Cut two 24in lengths of 2in thick foam pad.
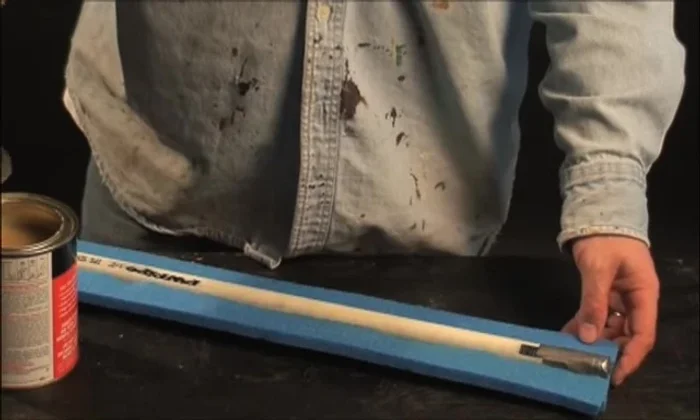
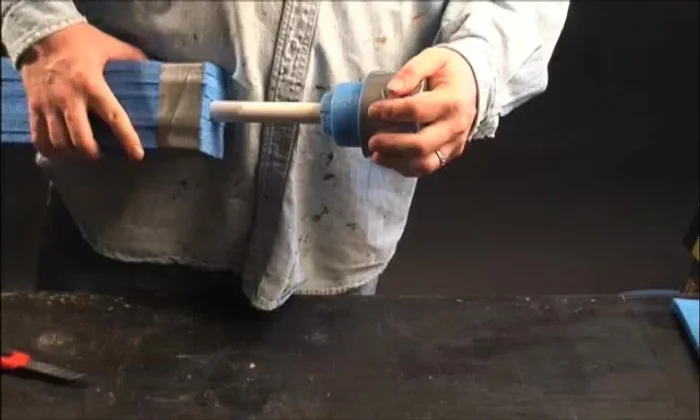
Cut Foam Pieces Apply Adhesive and Assemble Core
- Apply DAP contact cement to both the foam pads and the PVC pipe. Wait at least 5-20 minutes until completely dry and tacky to the touch.
- Carefully align the PVC core in the center of the 2in foam pad. Attach one 1in foam strip to the bottom and edge, ensuring contact cement is fully dry.
- Continue applying contact cement and stacking the remaining 1in foam strips around the PVC core, creating a box shape. Trim excess foam.
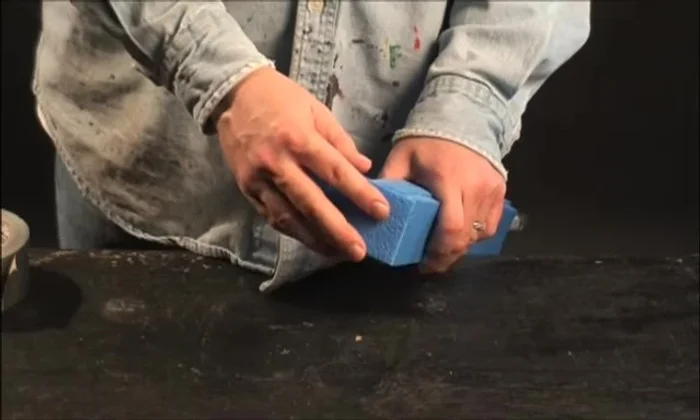
Apply Adhesive and Assemble Core Cap the Foam Box
- Cap the top of the foam box structure with additional foam and secure with duct tape.
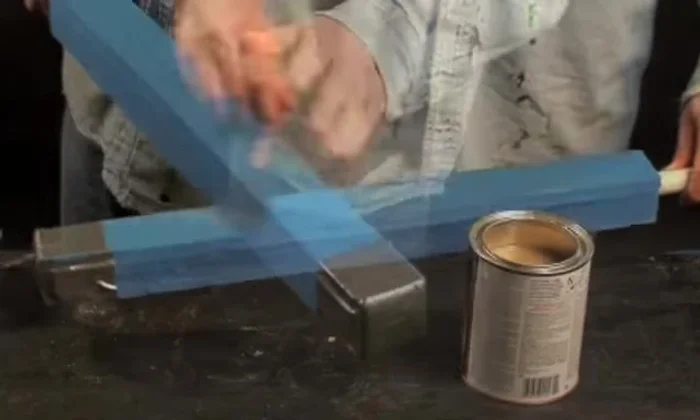
Cap the Foam Box Attach Blades
- Attach the first blade (striking surface) to the smooth side of the foam core, ensuring a firm, tight bond. Secure with duct tape.
- Attach a second blade (striking surface) over the first, maintaining firm pressure and securing with additional duct tape.
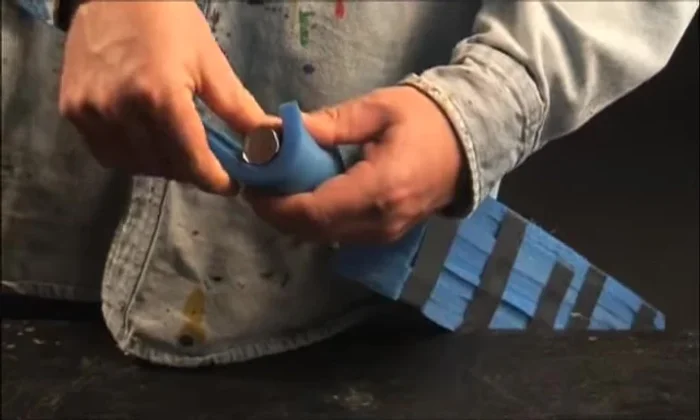
Attach Blades Create and Attach Pommel
- Cut a 3in wide strip of Camp pad, wrap it around the handle bottom to measure, cut, and bevel one side. Apply glue to the surface and beveled edge, attach carefully, ensuring the bottom edges align. Trim excess and cap with another piece of Camp pad. Repeat two more times for extra layers. Secure with duct tape.
Create and Attach Pommel Cover and Finish
- Cover the finished sword with duct tape, a sewn cloth cover (like a sock), or another preferred method. Secure with hockey tape.
Cover and Finish

Read more: Super Crown Cosplay Tutorial: Fabric Covering for a Professional Finish
Tips
- Allow the contact cement to fully dry before adhering surfaces. It should be tacky but not wet.
- Apply contact cement to all surfaces being adhered for a stronger bond.
- Maintain firm pressure when attaching surfaces to ensure a strong bond. The more surface area in contact, the stronger the sword.