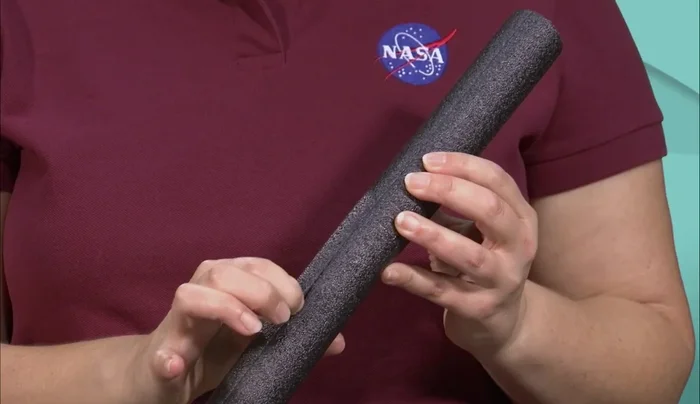
Harnessing the power of compressed air, building a DIY foam rocket is a thrilling science experiment that blends creativity with physics. This project allows for hands-on exploration of fundamental concepts like Newton's laws of motion and the impact of air resistance, all while experiencing the satisfying spectacle of a soaring rocket. The key to maximizing your rocket's flight distance, however, lies in understanding the optimal launch angle—a balance between achieving sufficient vertical height and maintaining forward momentum. Improper angles lead to shorter flights, sacrificing the potential of your carefully crafted projectile.
This article will delve into the fascinating world of projectile motion and its application to foam rocketry. We'll explore the theoretical principles behind finding the perfect launch angle, before moving on to practical considerations for achieving it. Ready to send your foam rocket soaring to new heights? Let's embark on a step-by-step guide to building and launching your own maximum-distance rocket.
Preparation and Safety Guidelines
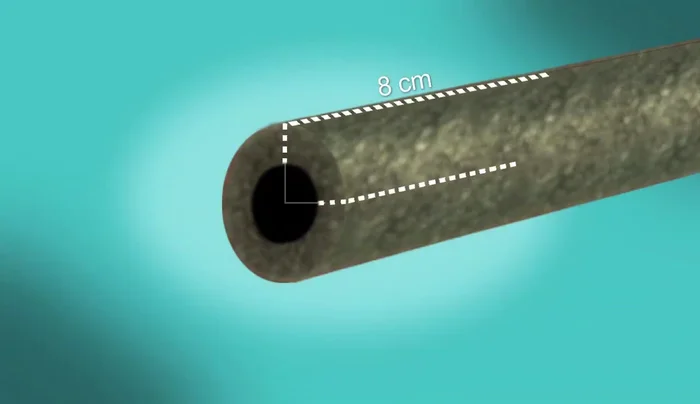
- Foam pipe insulation (half-inch interior diameter)
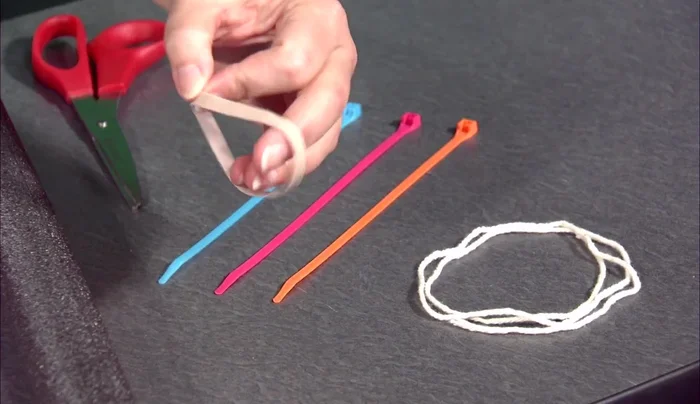
- Scissors
- Zip ties
- String (70cm)
- Fat rubber band
- Stiff material for fins (styrofoam, cardboard, cardstock)
- Meter stick
- Elevation gauge (plans included in PDF)
- Always wear eye protection during the launch and recovery of the rocket. Foam can break apart and pieces could cause eye injury.
- Launch rockets in a wide-open area away from people, buildings, and overhead obstructions. Ensure there are no fragile items in the launch area.
- Never modify the pressure or amount of propellant beyond the recommended instructions. Over-pressurization can lead to dangerous equipment failure.
Step-by-Step Instructions
Rocket Body Construction
- Cut a 30cm length of foam pipe insulation.
- Cut along the pre-scored line the full length of the insulation.
- Make three additional cuts at 90-degree intervals around the circumference, approximately 8cm long, to create a flared base.

Rocket Body Construction Launch Mechanism Preparation
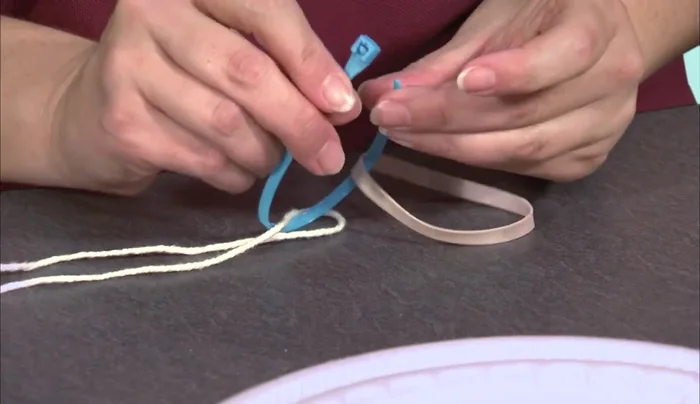
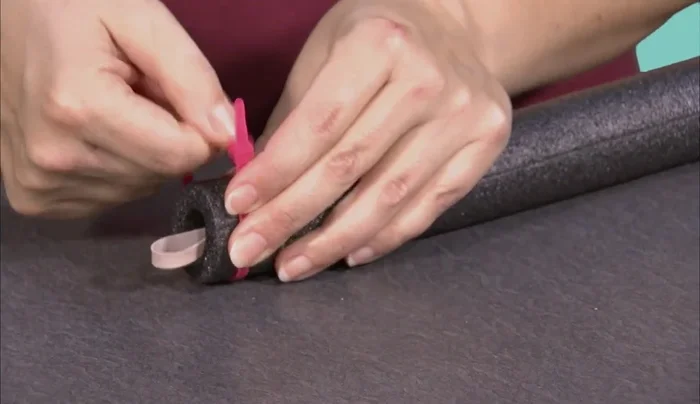
- Tie a strong loop in a 70cm length of string.
- Attach the string to the rubber band.
- Use a zip tie to secure the string and rubber band inside the rocket's top.
- Attach a second zip tie tightly around the nose of the rocket, ensuring the string is pulled down significantly so the rubber band barely protrudes.
Launch Mechanism Preparation Fin Construction and Attachment
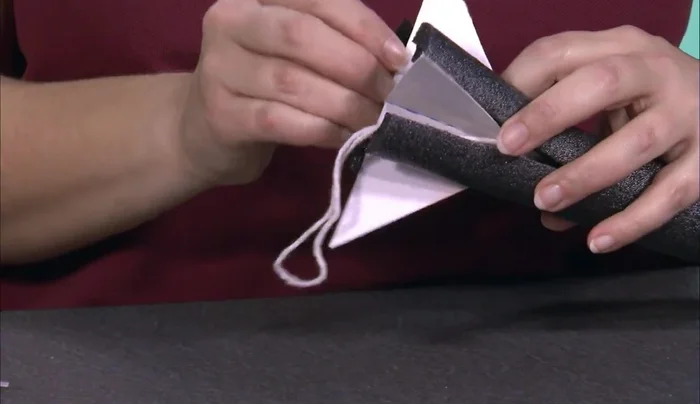
- Create four fins from a square piece of stiff material (approx. 9.5cm x 9.5cm). Cut diagonally to create two triangles, then cut partial altitudes to create four fins.
- Insert the fins into the flared base of the rocket, ensuring the string is clear, and secure with a third zip tie.
Fin Construction and Attachment Launch Stand Preparation
- Prepare the meter stick by attaching the elevation gauge at the 60cm mark.
Read more: Super Crown Cosplay Tutorial: Fabric Covering for a Professional Finish
Tips
- Make sure the string loop is very secure; it’s crucial for the rocket’s function.
- Tighten the zip ties incredibly firmly to prevent the rubber band from slipping out.
- Ensure fins are flush at the bottom for stability.
- Keep the string clear of the fins when inserting them.
- The rubber band should be attached to the zero end of the meter stick for accurate angle measurement, pulling back to 30 centimeters for launch.