Spring has sprung, and what better way to celebrate than by crafting adorable bunny puppets? This simple tutorial will guide you through creating your very own fluffy friend using readily available foam sheets – no complicated sewing or expensive materials required! Forget store-bought toys; unleash your creativity and enjoy the rewarding experience of making something special with your own hands. This project is perfect for children and adults alike, offering a fun and engaging activity that encourages imagination and dexterity. It’s a fantastic way to spend a relaxing afternoon, and the resulting puppet promises hours of imaginative play.
Get ready to hop into a world of fun and fluffy creations because this DIY bunny puppet is easier to make than you think! We'll take you through each step, from cutting out the shapes to adding the finishing touches, ensuring a charming bunny puppet emerges. Let's dive into the step-by-step instructions and bring your adorable bunny to life.
Preparation and Safety Guidelines
- Polymer clay
- Masking tape
- Sharpie
- Xacto knife
- Scissors
- 1-inch foam
- Paper
- Computer
- Tacky glue
- Contact cement
- Ping pong balls (or similar sized spheres)
- 3D printer (optional)
- Wire
- Drill (or lighter)
- Pliers
- Clippers
- Fabric
- Fur
- Paint
- Five-part epoxy resin
- Hot glue
- Sanding drum
- Adult supervision is required, especially when using scissors and glue.
- Be mindful of small parts that could pose a choking hazard for young children. Ensure all parts are securely attached.
- Use non-toxic craft supplies, especially paints and glues, to ensure safety.
Step-by-Step Instructions
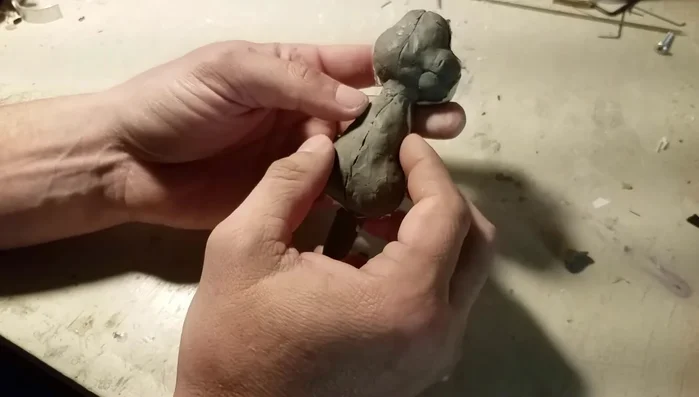
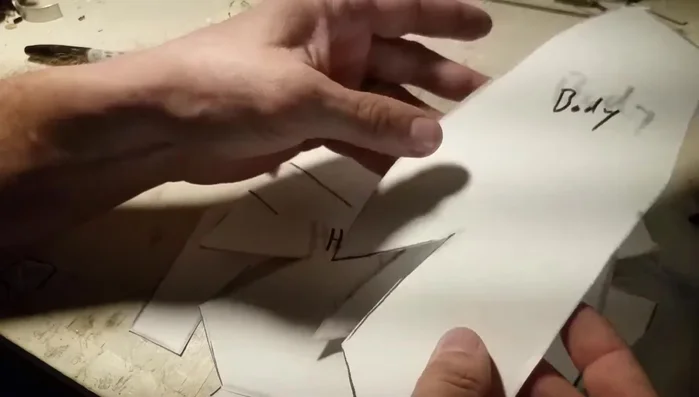
Create Patterns
- Create a clay model and make patterns.

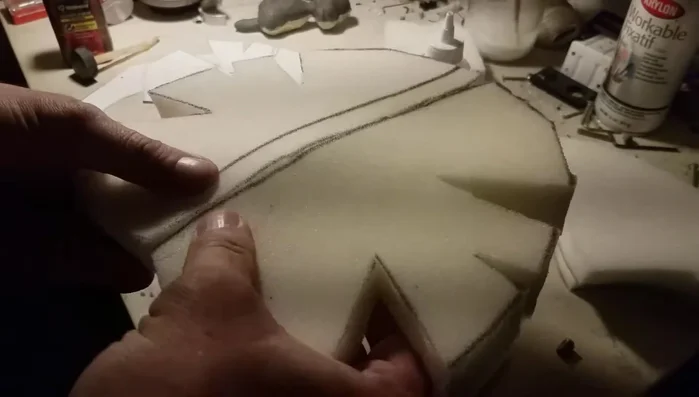
Create Patterns Cut Foam Pieces
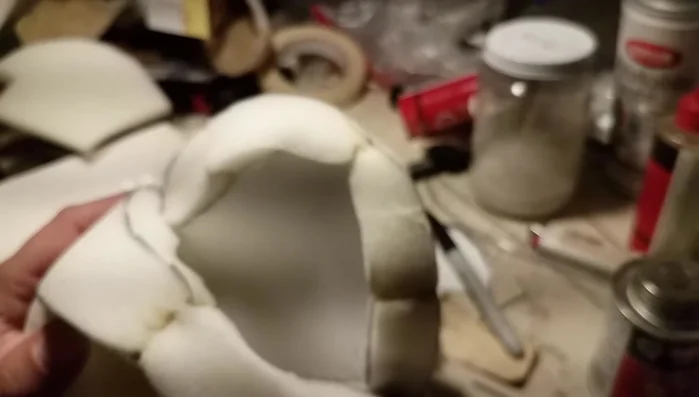
- Transfer patterns onto foam and cut out pieces.
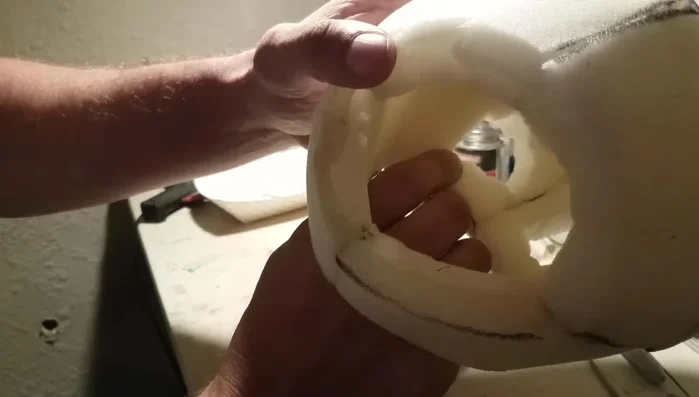
Cut Foam Pieces Assemble Head
- Glue the foam pieces together using contact cement (more effective than tacky glue).
- Cut slits in the head foam to secure the eye mechanism.
- Glue the eye mechanism firmly into the head.
- Glue the top part of the mouth into place.
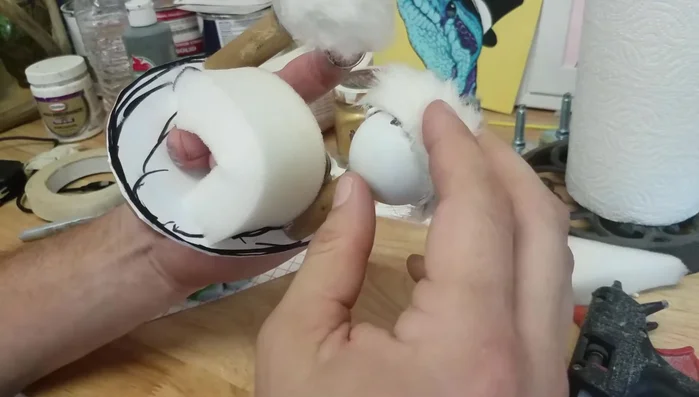
Assemble Head Create Eye Mechanism
- Drill holes (or melt holes with heated wire) in the head for the eye pivot, insert wire, and attach 3D printed eyelids or create eyelids from other materials (e.g., ping pong balls).
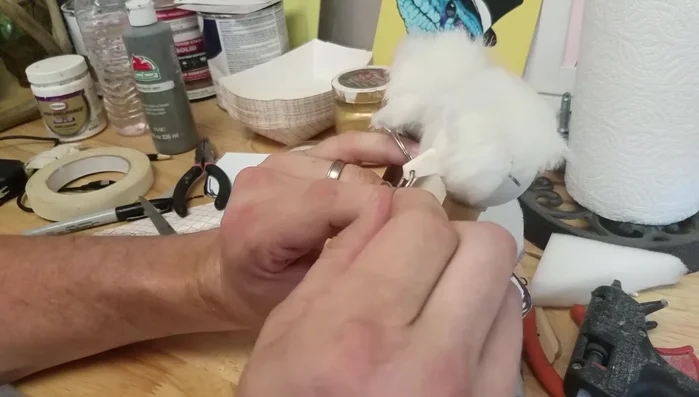
Create Eye Mechanism Secure Eye Mechanism
- Secure the eye mechanism using five-part epoxy resin and hot glue.
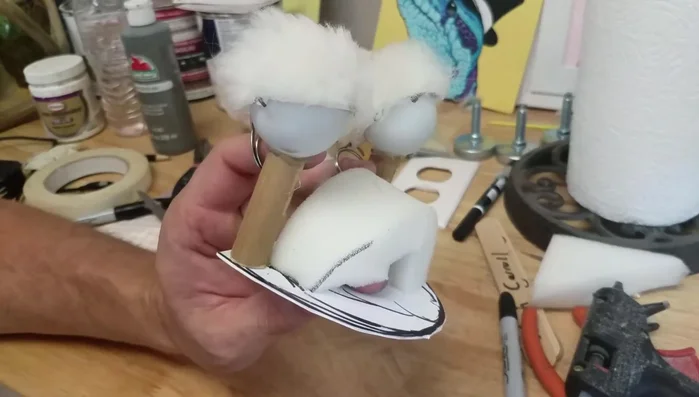
Secure Eye Mechanism Finishing Touches (Head)
- Attach fur to the eyelids.
- Paint the eyeballs.
- Create and attach a foam piece inside the mouth to secure fingers for eye operation.
Finishing Touches (Head) Assemble Body
- Create and attach the puppet's body using the same process as the head.


Read more: Super Crown Cosplay Tutorial: Fabric Covering for a Professional Finish
Tips
- Use contact cement for stronger and faster glueing of foam pieces.
- Use a trash pair of scissors when cutting foam to avoid dulling your good ones.
- If you don't have a 3D printer, use readily available materials like ping pong balls to create the eye mechanism.
- If you don't have a drill, use a heated wire to create holes for the eye mechanism.