Foam board, that ubiquitous crafting material, holds a surprising potential for creating intricate three-dimensional shapes. Often overlooked beyond simple signs and displays, its lightweight yet sturdy nature, combined with its ease of cutting and scoring, makes it a perfect medium for exploring the fascinating world of geometric forms and sculptural design. From elegant origami-inspired creations to complex architectural models, the possibilities are limited only by your imagination and skill in manipulating this versatile material.
This guide will unlock the secrets of mastering foam board folding, transforming it from a flat sheet into a stunning array of 3D structures. We'll delve into techniques for precise scoring, clean cuts, and effective joining methods, empowering you to create increasingly complex and visually captivating models. Ready to explore the exciting world of foam board artistry? Let's begin with our step-by-step process, guiding you through the fundamental techniques and gradually building to more ambitious projects.
Preparation and Safety Guidelines
- Foam board
- Sharp knife
- Straight edge
- Tape (optional)
- Use a sharp utility knife or craft knife with a fresh blade for clean cuts. Dull blades increase the risk of slipping and causing injury.
- Always cut on a self-healing cutting mat to protect your work surface and prevent blade damage. Never cut on a hard surface like glass or metal.
- Foam board can be brittle. Be mindful of applying excessive force while scoring or folding, as it may crack or break unexpectedly.
Step-by-Step Instructions
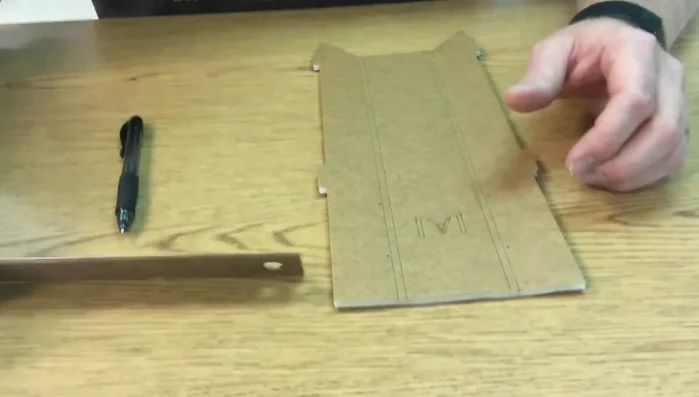
Planning and Marking
- Measure and mark the shapes you need to cut out on the foam board, accounting for the board's thickness (3/16 inch in this example).
- Measure 3/16 inch from your marked line, creating a parallel line. Repeat this at both ends of your cutting area.
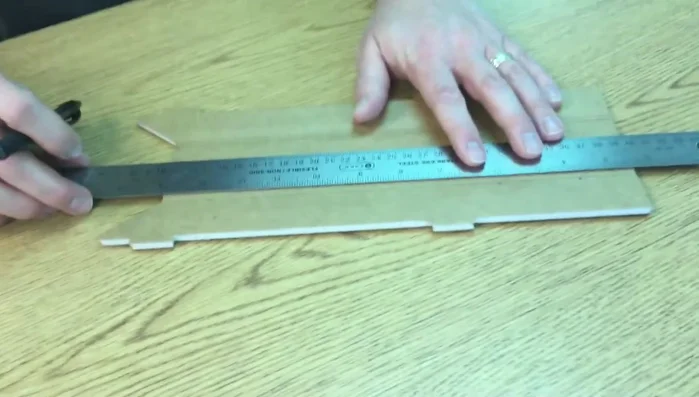
- Using a straight edge, connect the marks to create a straight cutting line.

Planning and Marking Cutting the Foam
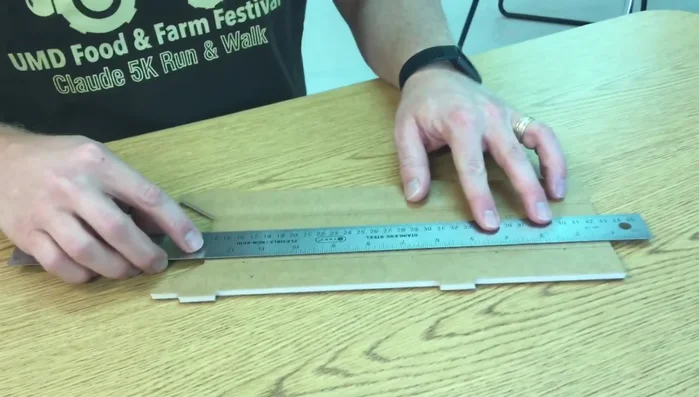
- Using a sharp knife and straight edge, cut through the top layer of paper and about half of the foam. Avoid cutting through the bottom paper layer completely.
- Repeat step 4 for the second parallel line, cutting through about half of the foam.
Cutting the Foam Separating the Foam Layers
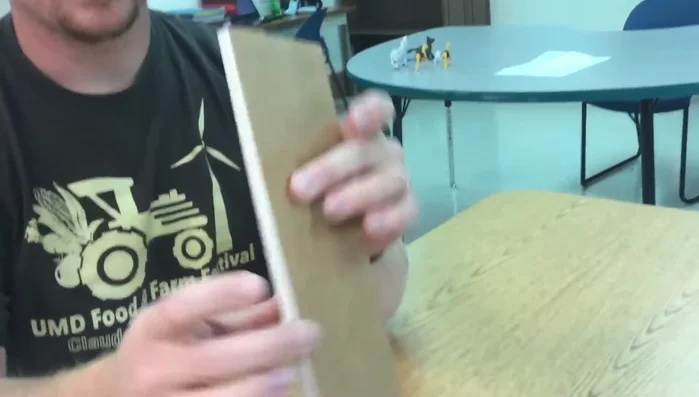
- Carefully break the foam along the cut lines. The bottom paper layer acts as a hinge.
- Using your fingernail, carefully tear away the 3/16 inch section of foam between the cuts, leaving the bottom paper intact.
Separating the Foam Layers Folding the Foam Board
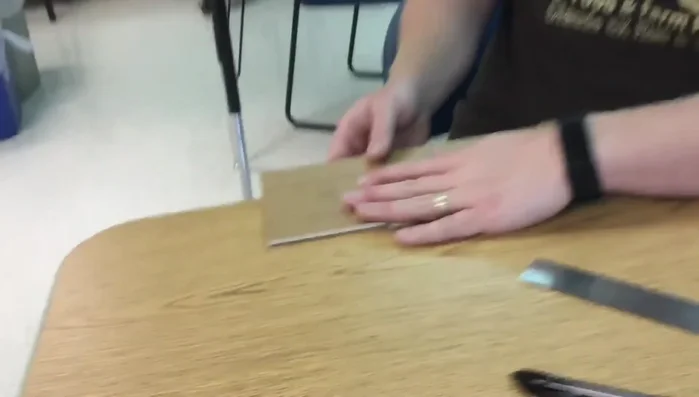
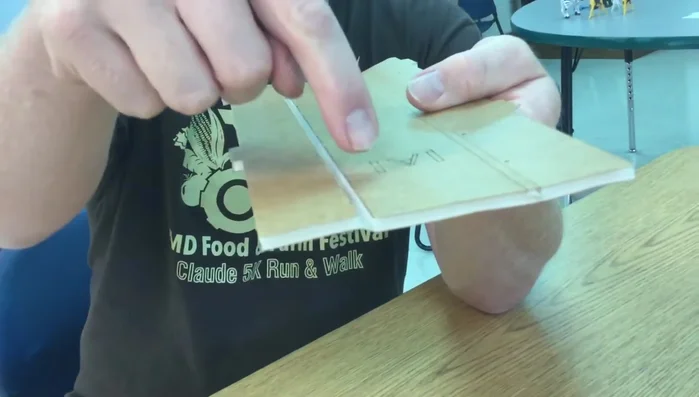
- Fold the foam board along the uncut bottom paper layer.
- Fold the foam board to create either an 'A' fold (side plate above the bottom plate) or a 'B' fold (side plate beside the bottom plate), depending on your project's needs.
Folding the Foam Board


Read more: Super Crown Cosplay Tutorial: Fabric Covering for a Professional Finish
Tips
- If you cut too deeply, use tape on the back to fix it.
- Consider using a box cutter, X-acto knife, or even a sharp kitchen knife if you don't have specialized tools.
- The choice between 'A' fold and 'B' fold affects the dimensions of your final product. Kits will specify which fold to use.