Bring the charm of the countryside into your home with these simple and rustic DIY farmhouse window decorations! Farmhouse style is all about creating a warm, inviting atmosphere, and what better way to achieve this than with charming window accents that reflect the beauty of nature and the simplicity of rural life? Whether you're a seasoned DIY enthusiast or a complete beginner, these projects are designed to be accessible and enjoyable, requiring minimal tools and readily available materials. Forget expensive store-bought decorations; you can create stunning, personalized window dressings that perfectly complement your farmhouse aesthetic.
This tutorial will guide you through several easy-to-follow projects, offering a variety of styles to suit any taste and skill level. From simple burlap bows to more intricate wood and floral arrangements, you'll discover creative ways to transform your windows into captivating focal points. Ready to add a touch of rustic elegance to your home? Let's dive into the step-by-step instructions and start crafting!
Preparation and Safety Guidelines
- Foam board
- Exacto knife
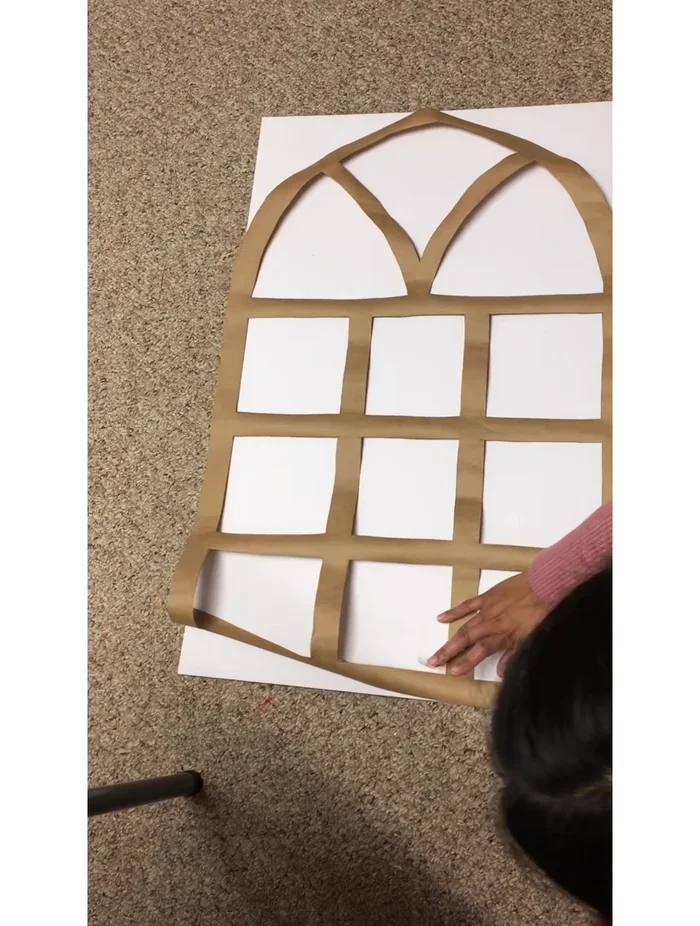
- Template (brown paper)
- Pencil/Pen
- Tape
- Glass (optional, for cutting protection)
- Chalk paint (white)
- Brown paint
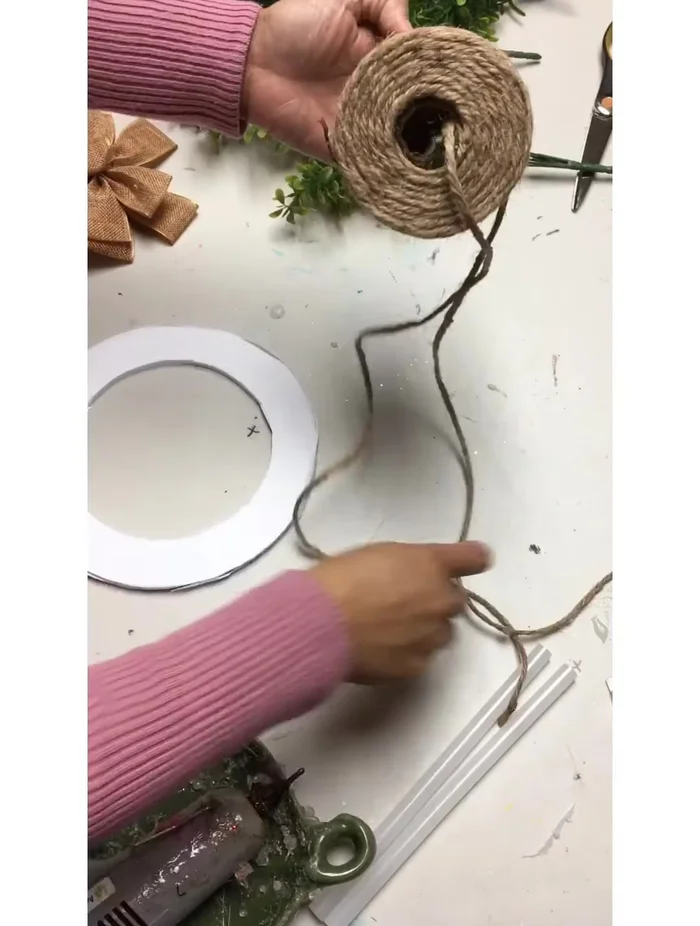
- 8-inch diameter metal wreath frame (or foam board circle)
- Jute
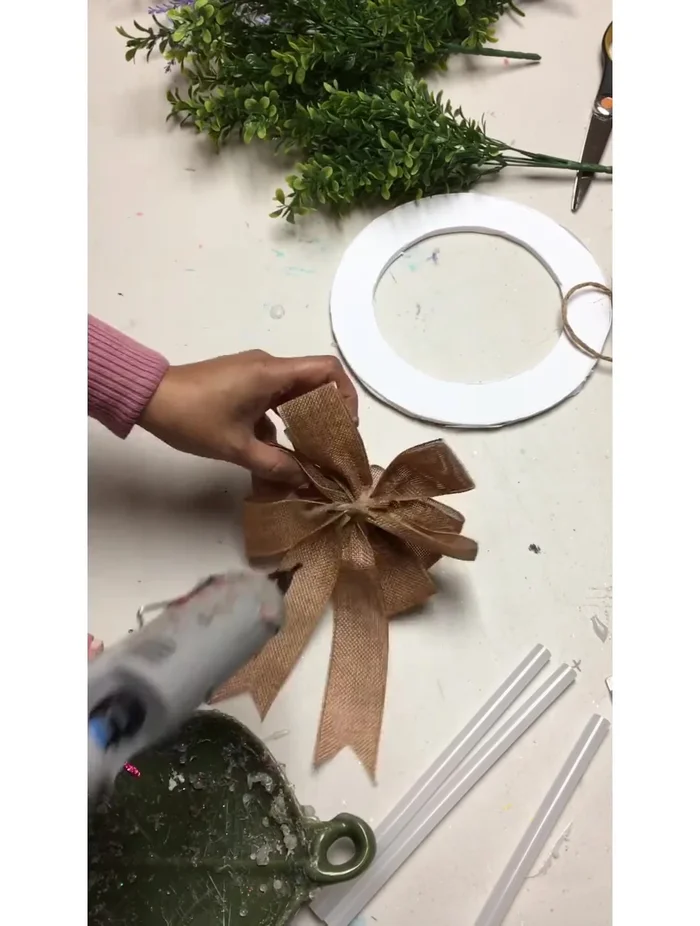
- Burlap ribbon
- Glue
- Boxwood greenery
- Lavender flowers
- Command hook
- Wooden sign (optional)
- Always use appropriate safety glasses when working with tools like saws or hammers, and ensure your work area is well-lit and clear of obstructions.
- If using paint or stain, work in a well-ventilated area and wear a mask to avoid inhaling fumes. Always follow the manufacturer's instructions on paint and stain usage.
- Exercise caution when handling sharp objects like scissors, knives, or broken glass, if repurposing old window frames. Dispose of broken glass properly.
Step-by-Step Instructions
Create the Window Frame
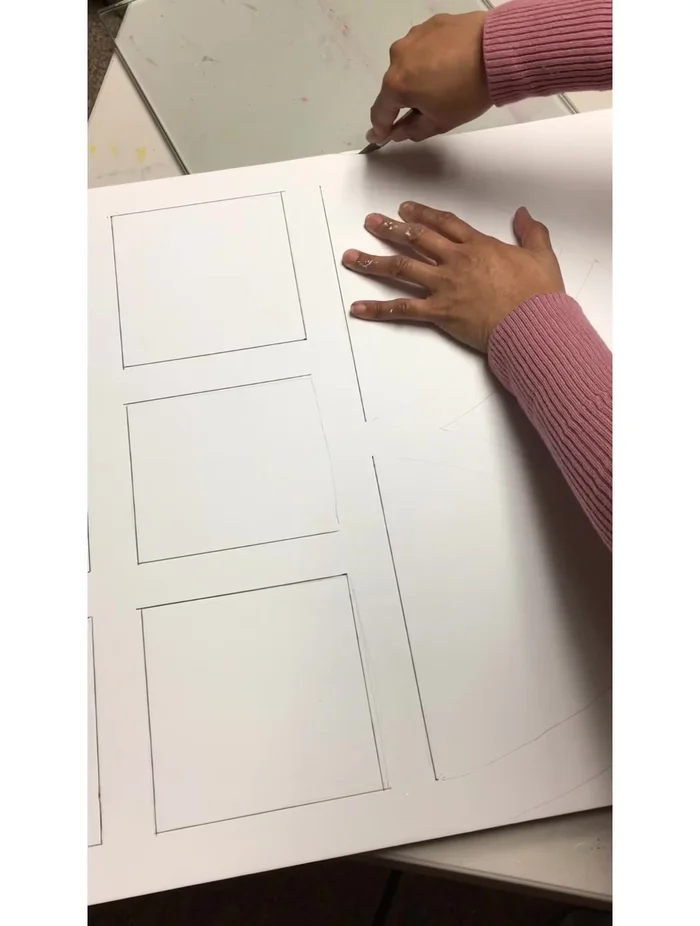
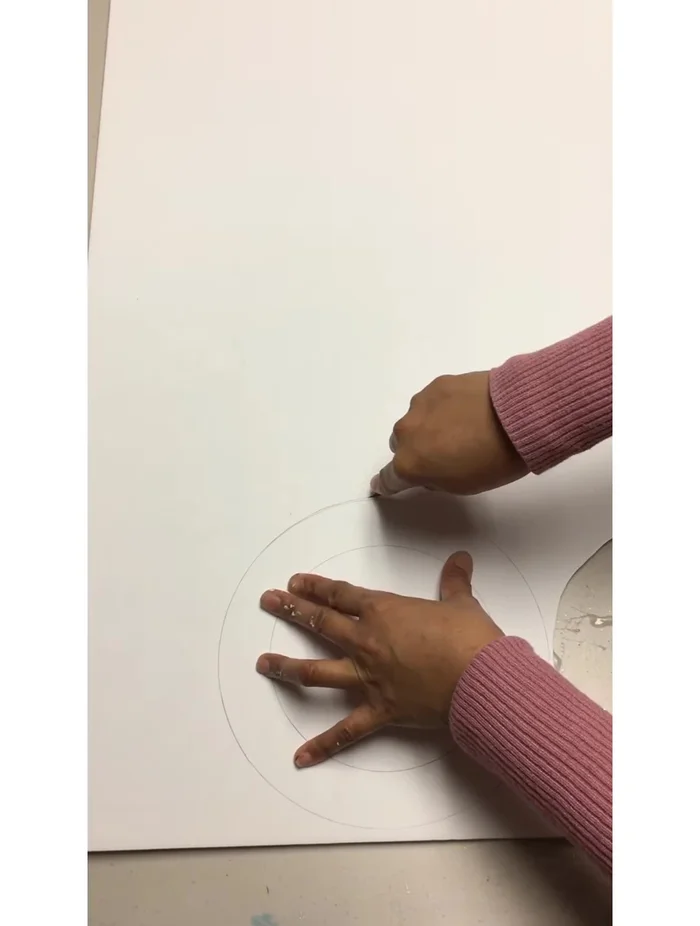
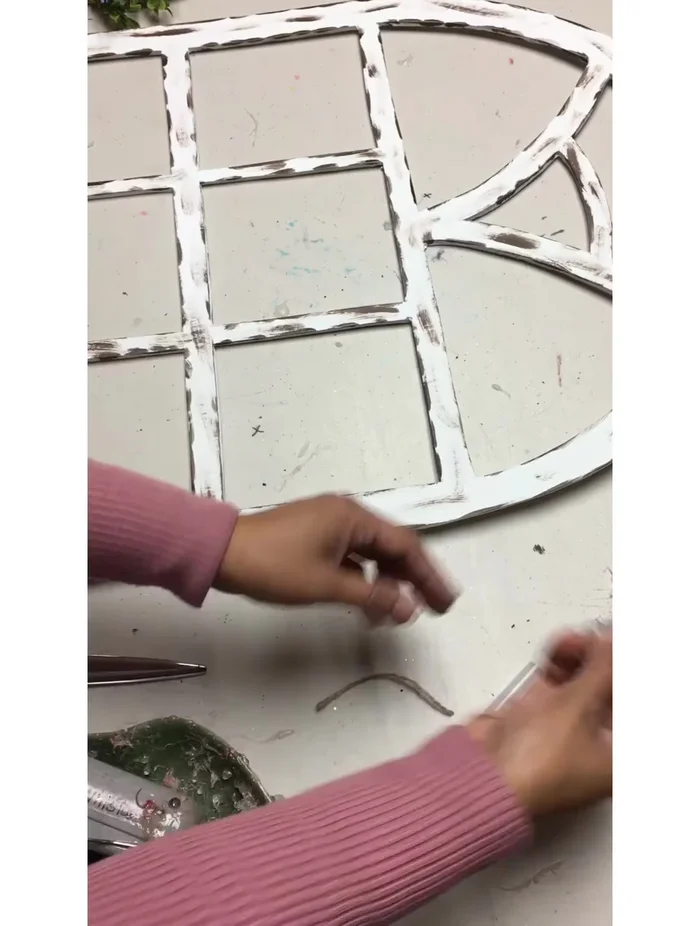
- Trace the template onto a foam board sheet.
- Cut the foam board using an exacto knife, following the traced lines.
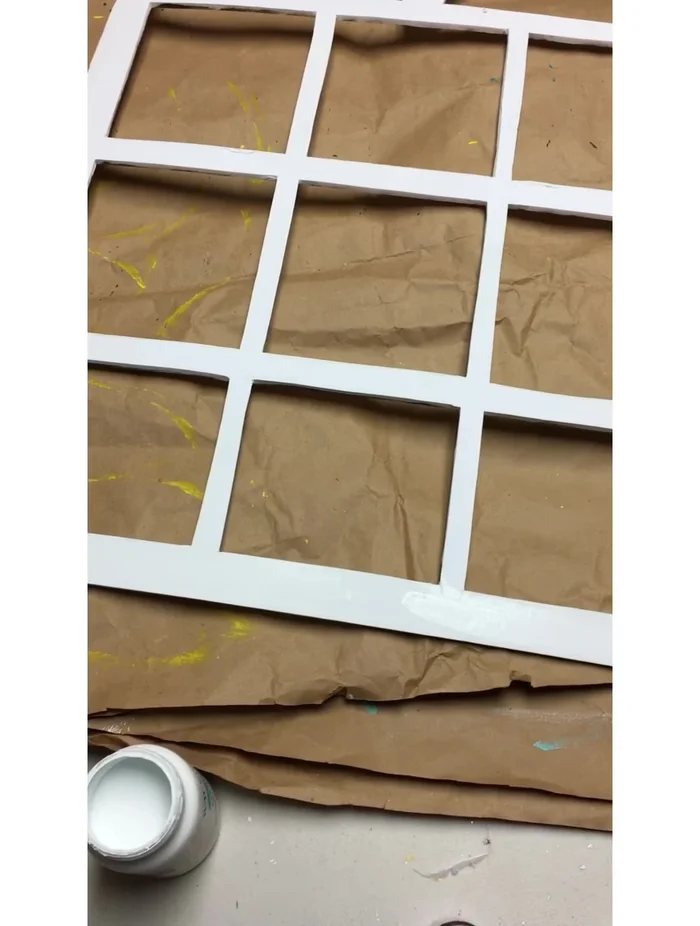
- Paint the foam board window frame with white chalk paint.
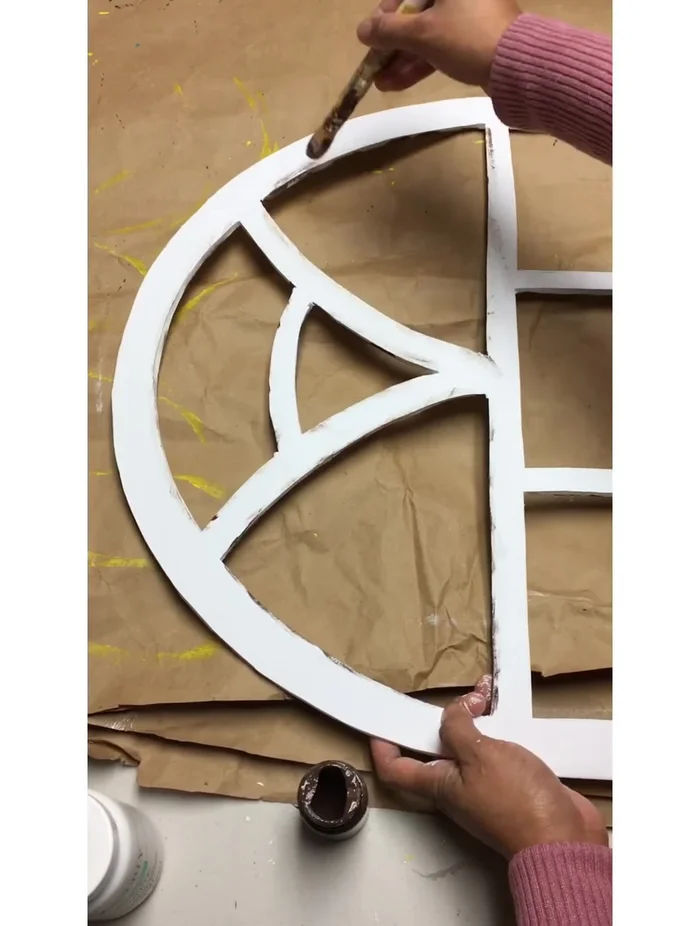
- Add a rustic look by smearing brown paint around the edges.

Create the Window Frame Make the Wreath
- Trace an 8-inch diameter circle on foam board for the wreath.
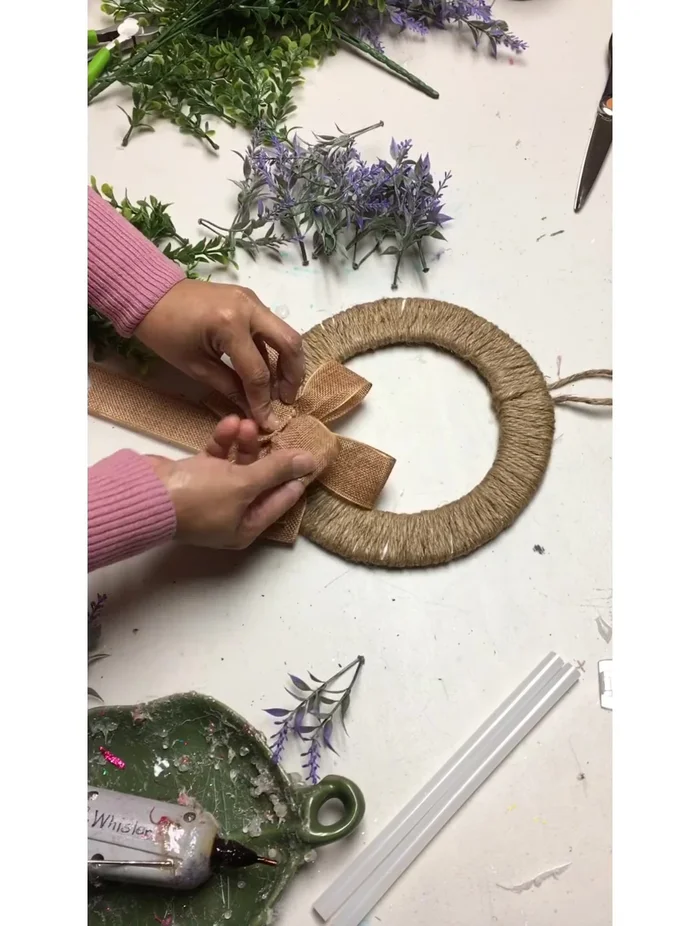
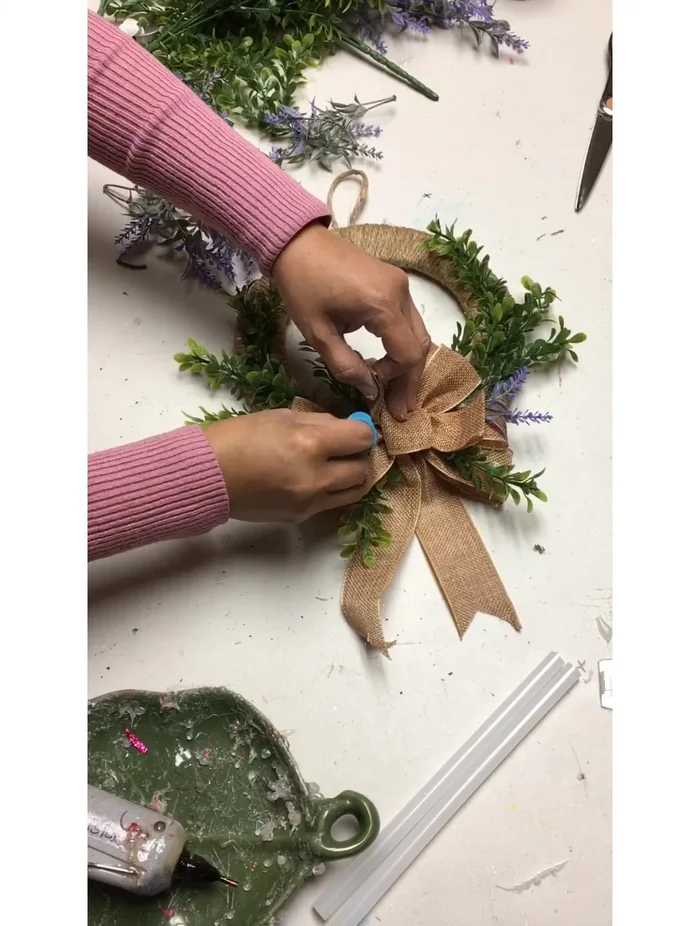
- Wrap the foam board circle with jute, securing with glue and brown paper.
- Create a burlap bow.
- Glue the burlap bow and greenery (boxwood) to the wreath.
Make the Wreath - Add lavender flowers to the wreath.
Make the Wreath Assemble and Hang
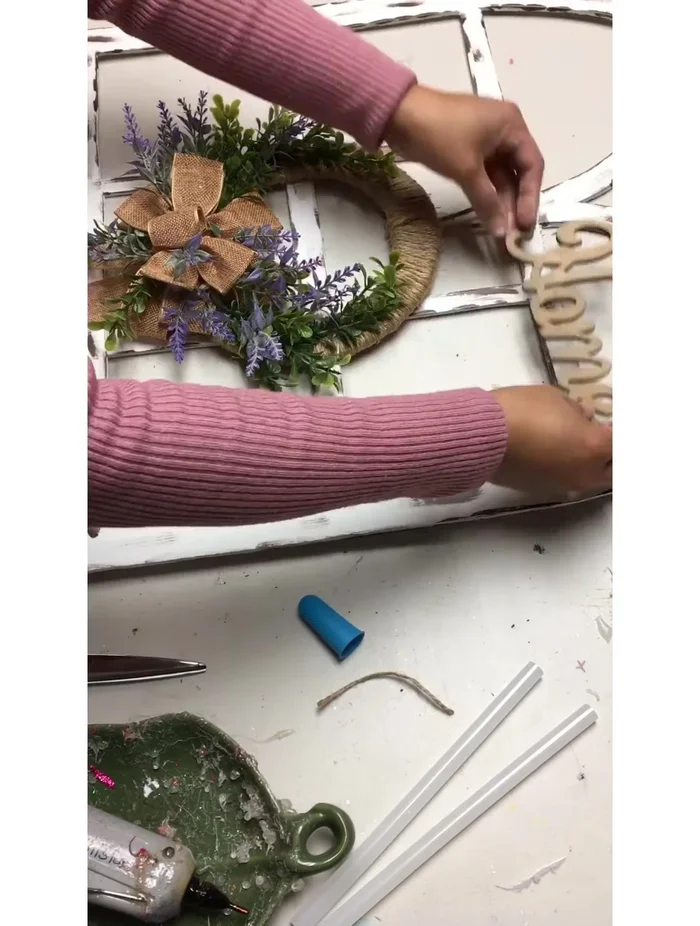
- Hang the window frame using a command hook.
- Attach the wreath and wooden sign (optional) to the window frame.
Assemble and Hang
Read more: Super Crown Cosplay Tutorial: Fabric Covering for a Professional Finish
Tips
- Use tape to secure the template to the foam board for easier tracing.
- Place glass under the foam board while cutting to protect your work surface.
- Check the back of the foam board to ensure all cuts are complete.
- Use a light wreath frame (foam board) to avoid weighing down the window frame.
- Use a glue gun to secure elements onto the wreath for a strong hold.