The allure of crafting something beautiful and functional with your own hands is undeniable, and pottery offers a uniquely rewarding creative outlet. Forget expensive classes and intimidating equipment; the world of DIY pottery is surprisingly accessible, even for complete beginners. Hand-building techniques, in particular, require minimal tools and allow you to explore your creativity without the complexities of a pottery wheel. From simple pinch pots to elegant coils, the possibilities are vast and the satisfaction immeasurable. The tactile nature of working with clay is inherently calming, offering a welcome escape from the digital world.
This article will guide you through several simple hand-building techniques, empowering you to create your own unique pottery pieces at home. We'll delve into step-by-step instructions, covering everything you need to know to get started, from preparing the clay to achieving a professional-looking finish. Let's get our hands dirty and unleash our inner artisans!
Preparation and Safety Guidelines
- Paring knife
- Butter knife
- Spoon
- Credit card
- Gourd scraper (DIY)
- Metal rib
- Wooden shaping tool
- Wire clay cutter
- Sponge
- Work board (plywood)
- Towel
- Pookie (DIY or wooden bowl)
- Bricks
- Charcoal briquettes
- Sand
- Always wear a dust mask when working with dry clay or clay dust to prevent inhaling harmful particles.
- Use caution when working with sharp tools like knives or wire cutters. Keep tools out of reach of children.
- Ensure your workspace is well-ventilated to avoid the buildup of dust and fumes from glazes (if glazing).
Step-by-Step Instructions
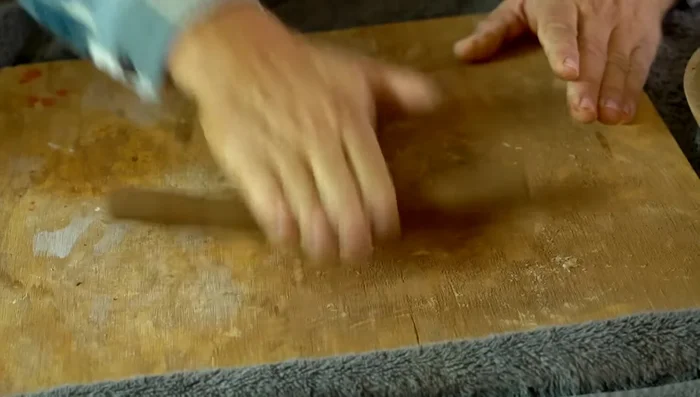
Prepare and Shape the Clay
- Pinch and pat clay into a pancake shape and press it into the pookie.
Add and Attach Coil
- Roll out a coil of clay (thumb-thickness) and attach it to the base, pinching to bond.
- Pinch the seam where the coil joins the base to create a strong bond.

Add and Attach Coil Smooth the Interior
- Use a wet gourd rib to smooth the inside of the pot.
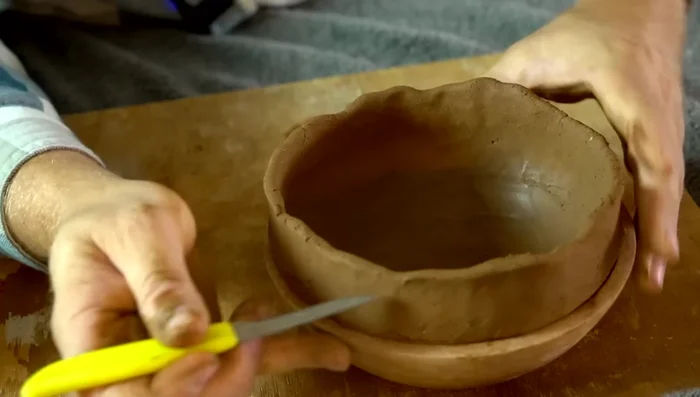
Smooth the Interior Trim and Shape the Rim
- Trim the rim using a paring knife, rotating the bowl to create an even line.
- Dampen the rim and shape it with wet fingers.
Trim and Shape the Rim Drying Process
- Allow the pot to dry completely.
Stone Smoothing
- Stone smooth the surface of the pot using a wet, smooth stone (or the back of a spoon).
Final Polishing
- Once dry, polish the inside of the pot with a dry stone.
Final Polishing Firing the Pottery
- Fire the pottery in a makeshift outdoor kiln using bricks, charcoal briquettes and sand to protect the surface below.


Read more: Easy Clay Heart Sculpting: From Charm to Button
Tips
- Ensure the clay is completely dry before firing to prevent cracking.
- Use a barrier (sand or dirt) between the fire and the pavement to prevent damage.
- Keep the fuel away from direct contact with the pottery to avoid discoloration.
- Add 20-30% temper (non-plastic material like sand) to your clay to increase resistance to thermal shock, especially crucial for outdoor firing.