Unleash your inner artist with this fun and easy DIY project perfect for kids of all ages! Creating beautiful mosaic flower pots is a fantastic way to spend a creative afternoon, resulting in personalized planters that will brighten up any home or garden. Forget messy cutting and complicated techniques; this no-cut method ensures a safe and enjoyable experience for little hands, fostering a love for crafting and a sense of accomplishment. This project uses readily available materials, making it both affordable and accessible. Get ready to transform ordinary terracotta pots into vibrant works of art that are as unique as the child creating them.
Forget glue guns and sharp tools – this project is all about simple, safe fun! We'll guide you through a step-by-step process of covering your terracotta pots with colorful mosaic tiles, using kid-friendly adhesives and techniques that are easy to master. So grab your supplies and let's get started on making these stunning, one-of-a-kind mosaic flower pots!
Preparation and Safety Guidelines
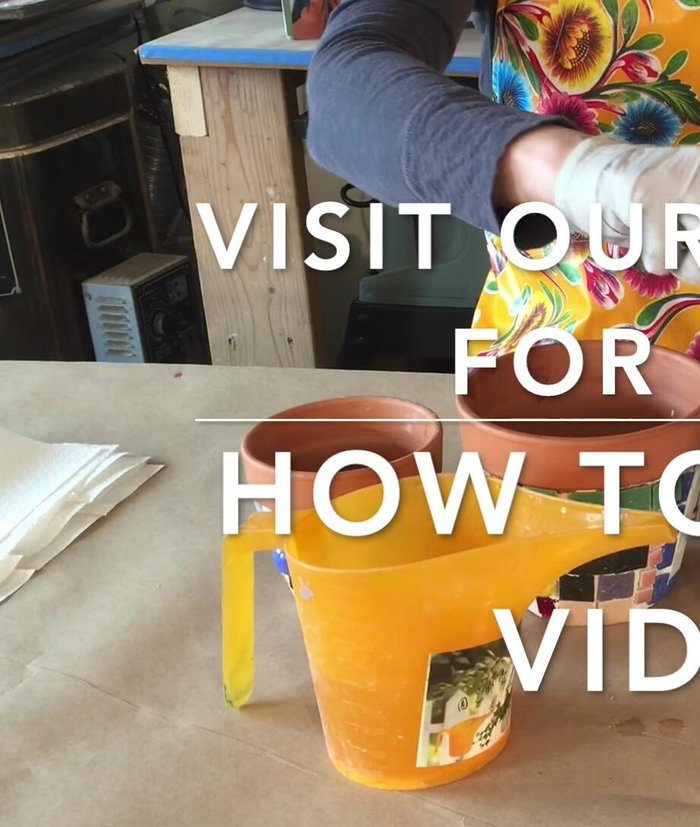
- Terracotta pots
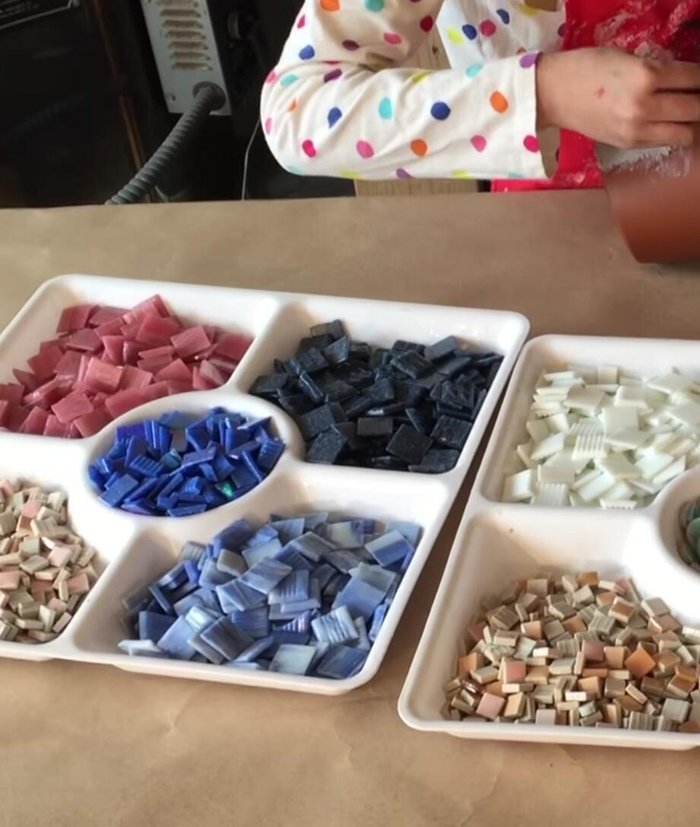
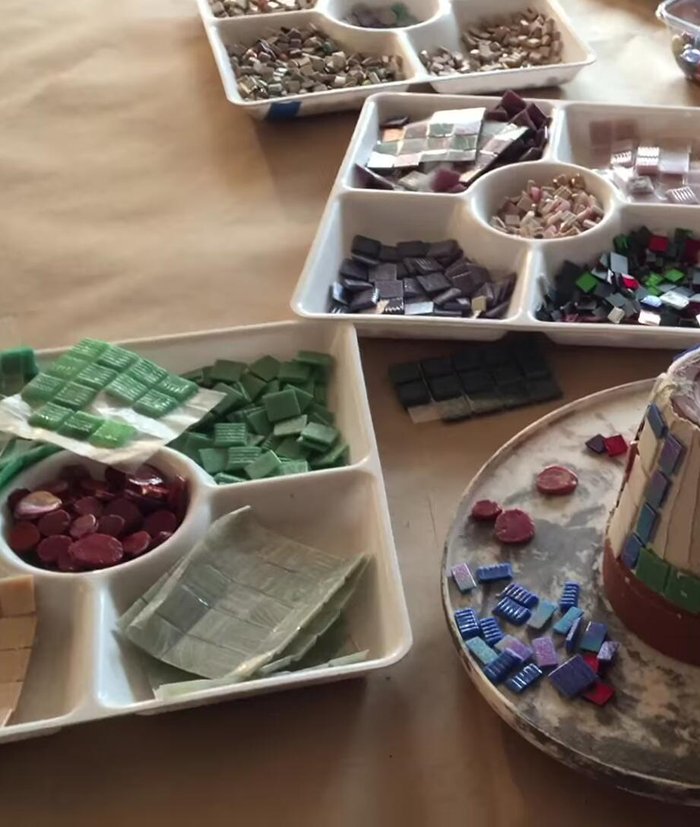
- Mosaic materials (vitreous glass tiles, small ceramic tiles, glass baubles)
- Thin-set adhesive
- Grout (optional)
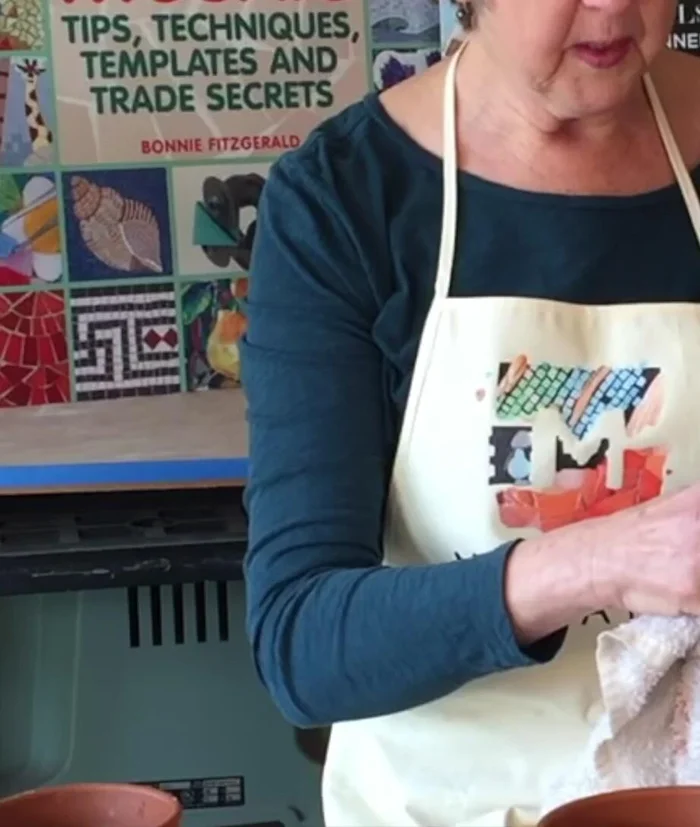
- Damp wet towel
- Lazy Susan (optional)
- Sponge
- Spray bottle
- Tape
- Adult supervision is required at all times. Children should not handle broken tiles or the glue unsupervised.
- Use a non-toxic, child-safe adhesive. Always check the product label before starting the project.
- Ensure the workspace is well-ventilated to minimize exposure to any potential fumes from the adhesive.
Step-by-Step Instructions
Prepare the Adhesive
- Mix thin-set adhesive from powder (if using premix, skip this step).
- Spread the adhesive evenly on the pot.

Prepare the Adhesive Apply Mosaic Materials
- Apply adhesive to the pot.
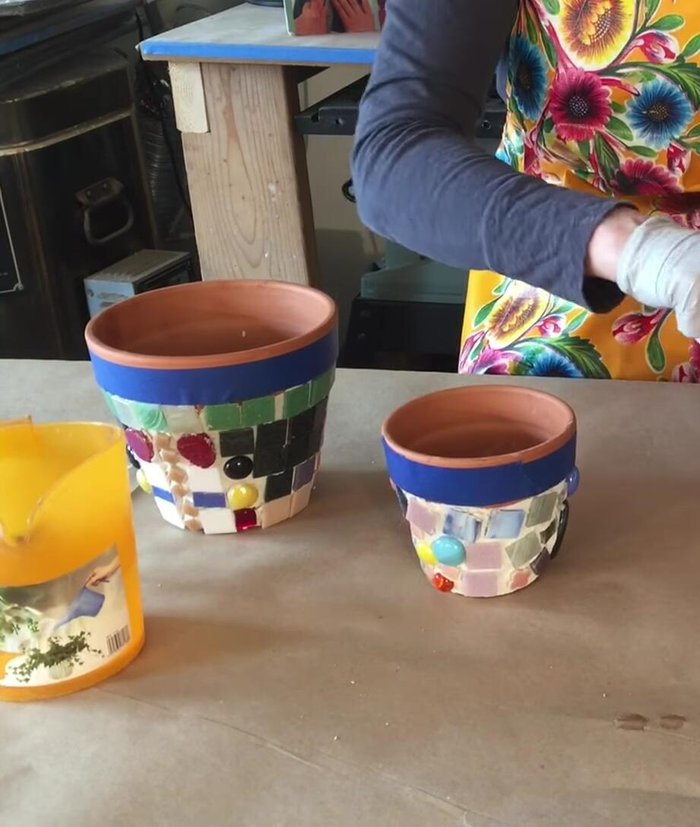
- Kids embed mosaic materials into the adhesive.
- Apply mosaic materials to the adhesive.
Apply Mosaic Materials Clean Up Adhesive
- Clean up excess adhesive with a damp towel.
Clean Up Adhesive Prepare and Apply Grout (Optional)
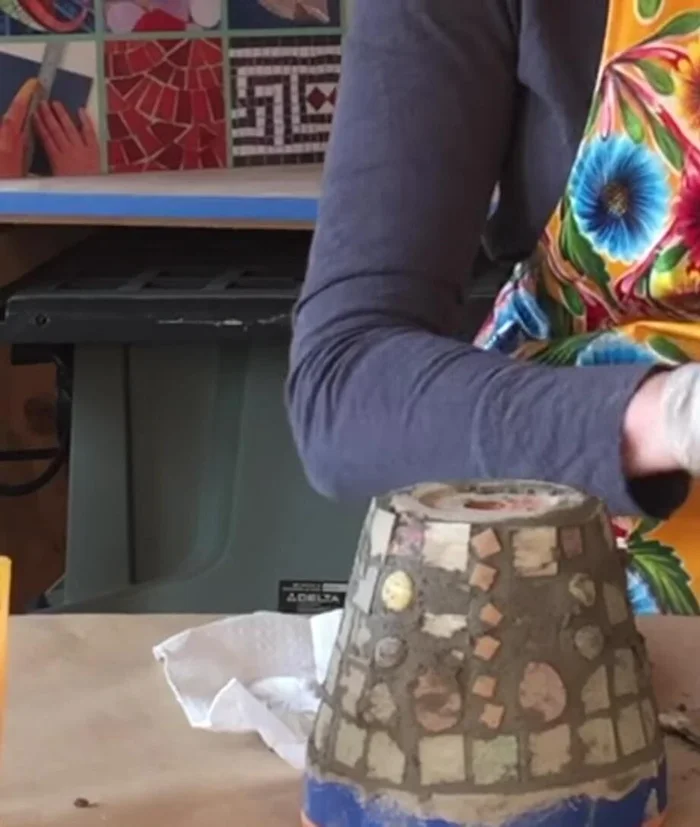
- Mix grout.
- Apply grout to the gaps between tiles.
- Clean excess grout with a damp sponge.
Prepare and Apply Grout (Optional)

Read more: DIY Story Stones: Budget-Friendly Sensory Play for Kids
Tips
- To prevent pieces from sticking too far out, work from the bottom up.
- Use a lazy Susan to easily rotate the pot.
- Space pieces slightly apart for easier grouting.
- Clean excess thin-set immediately; it hardens quickly.
- Use a spray bottle to avoid over-watering the grout.