Gazing at the moon has inspired awe and wonder for centuries. Now, you can bring that celestial beauty into your home with your very own DIY moon sculpture, crafted using the quickest and simplest method available. Forget complicated molding techniques and lengthy drying times; this project is designed for even the most novice crafter, requiring minimal materials and surprisingly little effort. Imagine the satisfying feeling of creating a unique piece of decor that reflects your creativity and adds a touch of cosmic elegance to any room.
Forget expensive, pre-made lunar replicas – this guide will walk you through a surprisingly easy process to construct your own stunning moon sculpture. We’ll utilize readily accessible materials and straightforward techniques, ensuring that even beginners can achieve professional-looking results in a remarkably short time. Ready to embark on this simple yet rewarding journey? Let’s get started with the step-by-step instructions below!
Preparation and Safety Guidelines
- Roll of foil
- Clay (polymer clay or air-dry clay recommended)
- Old toothbrush
- Ball tool
- Acrylic paints (dark gray and light gray)
- Paper towels
- Always use a well-ventilated area when working with expanding foam. The fumes can be harmful.
- Wear gloves and eye protection to prevent skin and eye irritation from the expanding foam and any other materials used.
- Allow the expanding foam to fully cure before handling or painting to avoid damaging the sculpture.
Step-by-Step Instructions
Create the Base
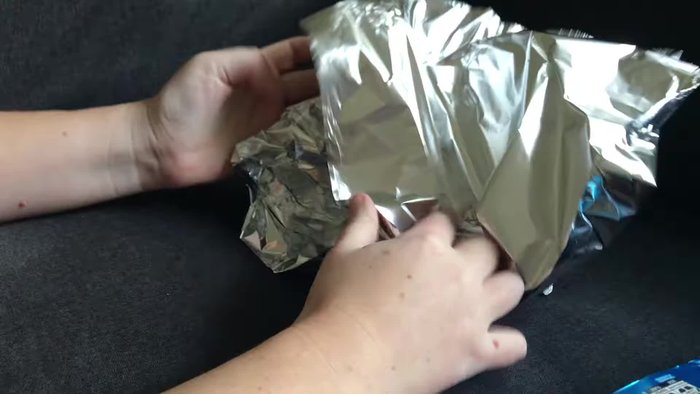
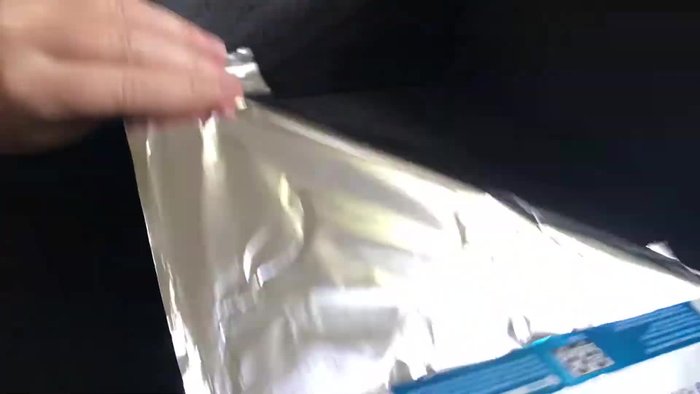
- Create a foil ball base by rolling up a sheet of foil into a tight ball and adding layers for stability.

Create the Base Apply and Smooth Clay
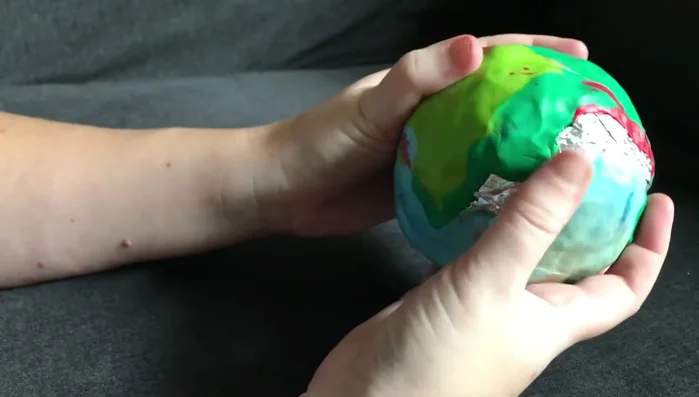
- Apply a layer of clay over the foil ball. Use scrap clay to initially cover the foil, then add more as needed to achieve a smoother surface.
- Smooth out the clay surface using your fingers to fill gaps and create a more uniform shape. Add more clay as necessary.
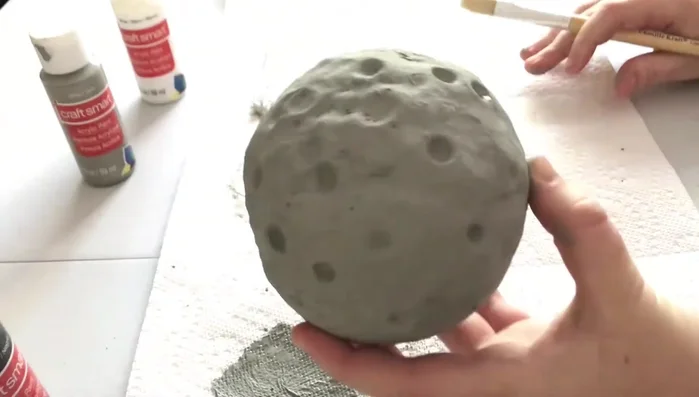
Apply and Smooth Clay Add Texture
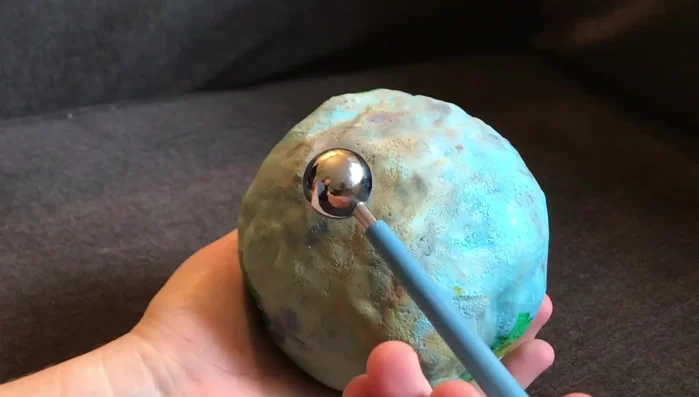
- Add texture to the moon using an old toothbrush. Gently brush the surface to create craters and a more realistic look.
- Use a ball tool (or similar sculpting tool) to create additional indentations and craters for added realism.
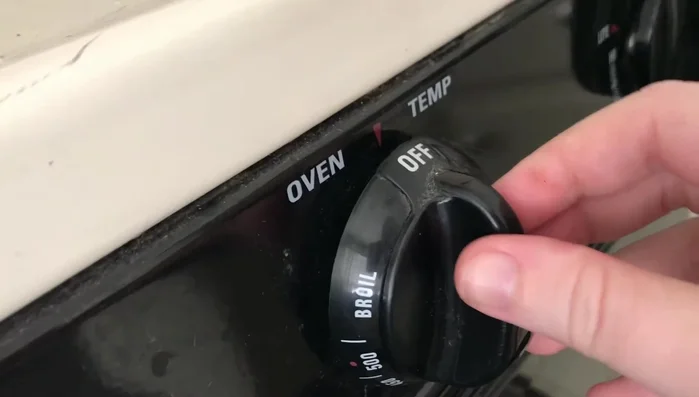
Add Texture Bake the Moon
- Bake the clay moon in the oven at approximately 350 degrees for 10-15 minutes (or until fully baked, depending on clay type).
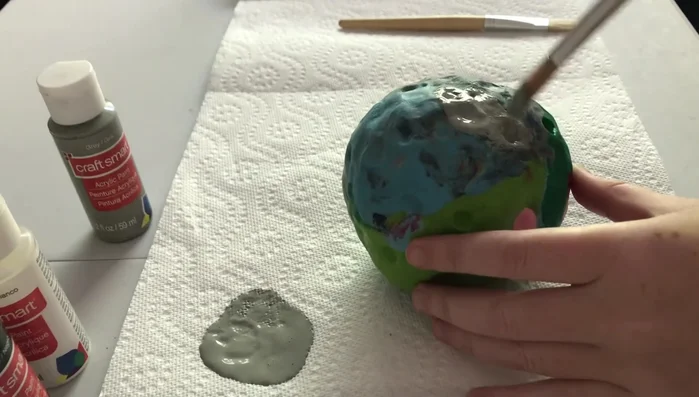
Bake the Moon Paint the Moon
- Paint the moon using acrylic paints. Start with a darker gray to cover the entire surface, making sure to get into the crevices.
- Once the darker gray is dry, mix a lighter gray and lightly brush this over the moon to create highlights and depth.
Paint the Moon

Read more: Easy Clay Heart Sculpting: From Charm to Button
Tips
- Using air-dry clay instead of polymer clay significantly reduces the baking time and simplifies the process.
- Ensure the clay is completely dry before painting to prevent smudging or uneven application.