Creating realistic water effects in model landscapes can be surprisingly challenging, often requiring specialized materials and techniques. Many commercially available products are expensive, and the results can sometimes fall short of expectations. But what if we told you that you could achieve stunning, believable water features using a readily available household item? This article explores a simple yet effective method for creating realistic water effects in your miniature worlds, using nothing more than ordinary toilet paper! Forget the complicated resin pours and expensive paints; this technique offers a cost-effective and accessible alternative for model builders of all skill levels.
This surprisingly versatile method allows you to craft everything from tranquil ponds to rushing streams, adding a touch of realism to your miniature landscapes with ease. From the preparation of the toilet paper to the final application and finishing touches, we’ll guide you through each stage of the process, providing tips and tricks to achieve the best results. Let's dive in and discover how to transform a humble roll of toilet paper into breathtakingly realistic water features in your next model project.
Preparation and Safety Guidelines
- Plywood or similar base
- Toilet paper
- Wood glue
- Water
- Brush
- Acrylic paints (green, ivory black, burnt umber, titanium white)
- High-gloss water-based clear coat
- Small objects (optional)
- Always work in a well-ventilated area. The glue used can release fumes.
- Avoid contact with eyes and skin. Wear gloves and eye protection if necessary.
- Dispose of used materials responsibly. Do not pour glue down the drain.
Step-by-Step Instructions
Prepare the Base
- Use a plywood or stiff foam base.

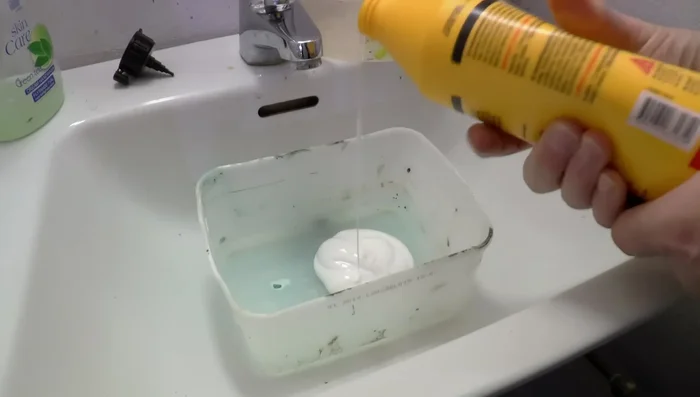
Prepare the Base Prepare the Glue Mixture
- Thin wood glue with water.
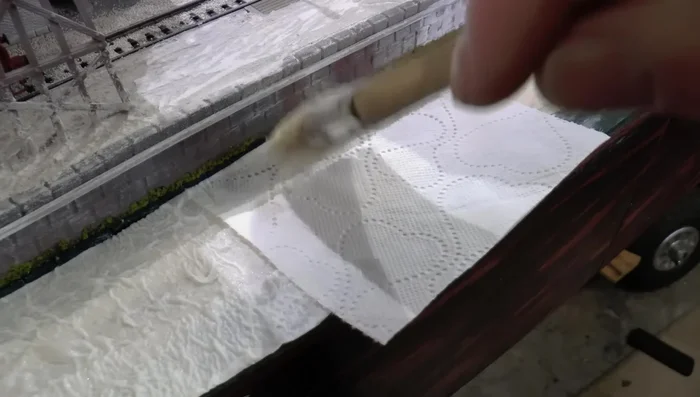
Prepare the Glue Mixture Apply Toilet Paper Layers
- Soak it thoroughly in the glue mixture.
- Also soak it thoroughly in the glue mixture.
- Soak thoroughly and smooth out any patterns or lines with the brush.
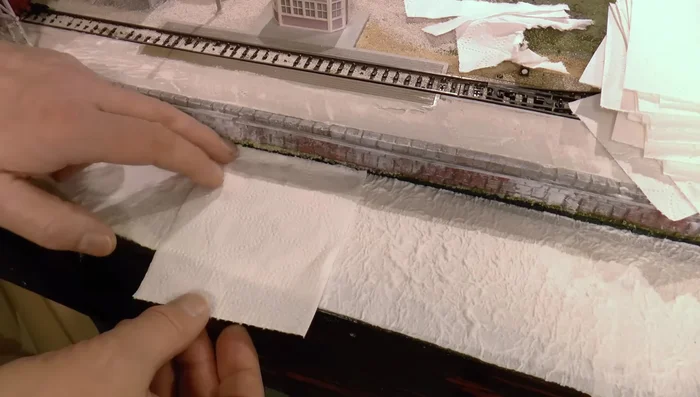
Apply Toilet Paper Layers Create Waves and Water Features
- Use a brush to push and shape the toilet paper into wave formations. Place optional objects to shape waves around them.
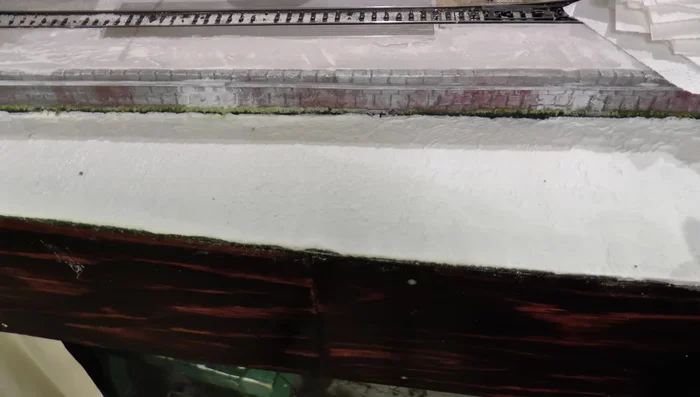
Create Waves and Water Features Paint the Water Effects
- Apply acrylic paints, blending colors to create depth and realism. Start with thick paint and blend using a wet brush for a blurry effect.
Paint the Water Effects Drying Time
- Allow the painted surface to dry completely for at least 72 hours before applying clear coat.
Apply Clear Coat
- Use a high-gloss, water-based clear coat. Apply multiple layers (at least 4) after each layer is completely dry to achieve a glossy finish.


Read more: Super Crown Cosplay Tutorial: Fabric Covering for a Professional Finish
Tips
- Erase toilet paper patterns: Use a brush to smooth out the pattern and lines between sheets for a seamless look.
- Use a soft, round brush for blending paint: This helps create the diffuse, blurry effect of real water.
- Keep paint thick when initially applying: Thin it only when blending.
- Use a high-gloss, water-based clear coat: Avoid solvent-based coats which can yellow over time.