Ever dreamed of owning a majestic castle, complete with soaring towers and intricate details, but lacked the space or budget for a full-scale construction? Then prepare to unleash your inner architect with this ultimate guide to building your very own DIY foam castle! Forget expensive plastic kits and embrace the boundless creativity of crafting miniature kingdoms from readily available foam. This guide will show you how to transform simple sheets of foam into breathtaking, miniature fortresses, perfect for imaginative play, tabletop gaming, or simply adding a touch of whimsical charm to your home. You'll learn techniques for sculpting impressive towers, creating realistic battlements, and adding stunning decorative elements.
From selecting the right type of foam to mastering advanced sculpting techniques, we'll walk you through every step of the process, empowering you to build the castle of your dreams. Get ready to embark on a fun and rewarding crafting journey, and prepare for the detailed step-by-step instructions that will transform your vision into reality. Let's begin constructing your epic foam castle!
Preparation and Safety Guidelines
- Foam sheets
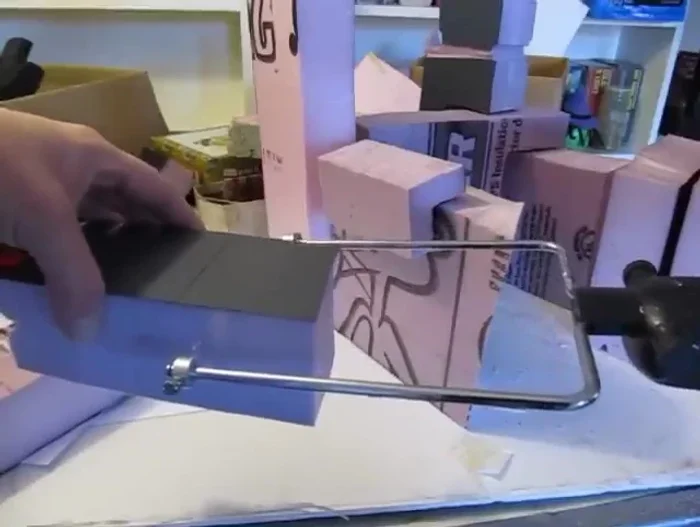
- Hot wire foam cutter (or knife/hacksaw)
- Paint (black, red, gray)
- Glue
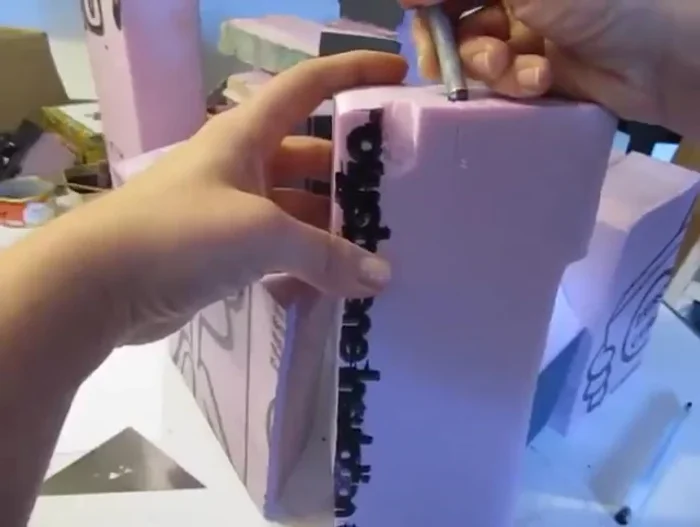
- Ballpoint pen
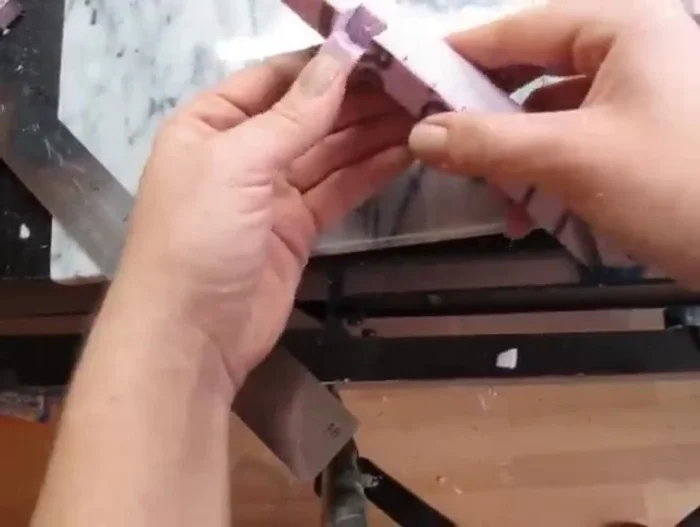
- Sandpaper (optional)
- Exacto knife (optional)
- Adult supervision is required at all times, especially when using sharp tools like craft knives or hot glue guns.
- Ensure adequate ventilation when using spray adhesive or foam paints as they can release fumes.
- Handle foam carefully to avoid cuts or splinters. Consider wearing gloves.
Step-by-Step Instructions
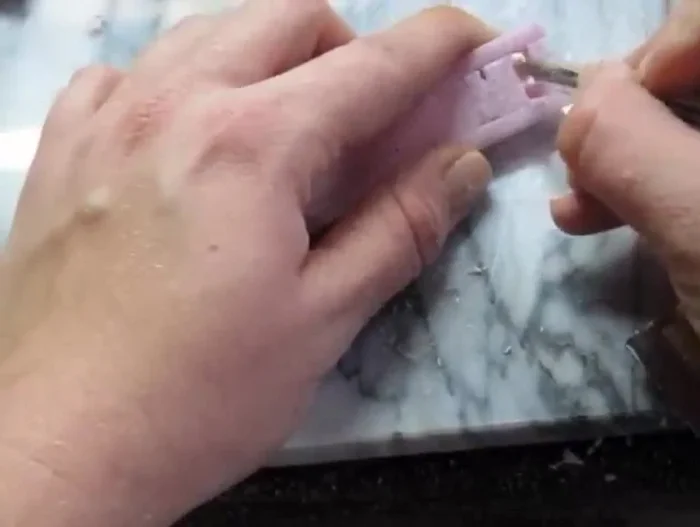
Foam Cutting and Shaping
- Cut foam pieces into various shapes for castle walls, towers, and walkways. Vary the heights and widths for a more realistic look.

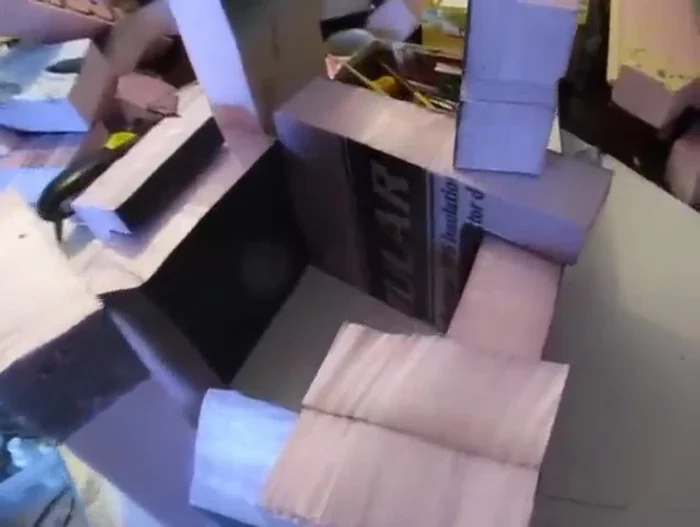
Foam Cutting and Shaping Basic Castle Assembly
- Assemble the basic block shapes of the castle, creating an irregular courtyard in the middle.
Basic Castle Assembly Adding Detailed Features
- Add details such as crenellations (battlements) to the towers and walkways. Use a knife or other suitable tool to carve these details.
- Create additional details, like balconies and windows, using foam cutouts. Glue them onto the main structure.
Adding Detailed Features Fitting and Gluing
- Ensure all pieces fit together perfectly before gluing to avoid cracks.
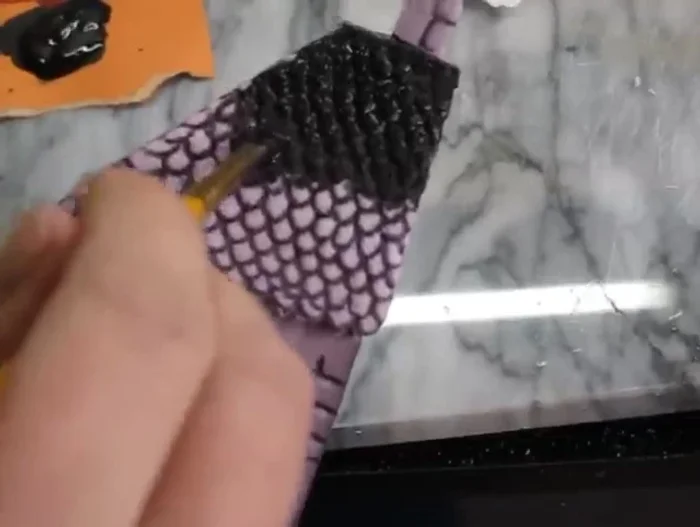
Fitting and Gluing Black Wash Painting
- Paint all the parts that have lines (bricks, stones, etc.) with a thick layer of black wash. Allow it to run into the grooves to enhance depth.
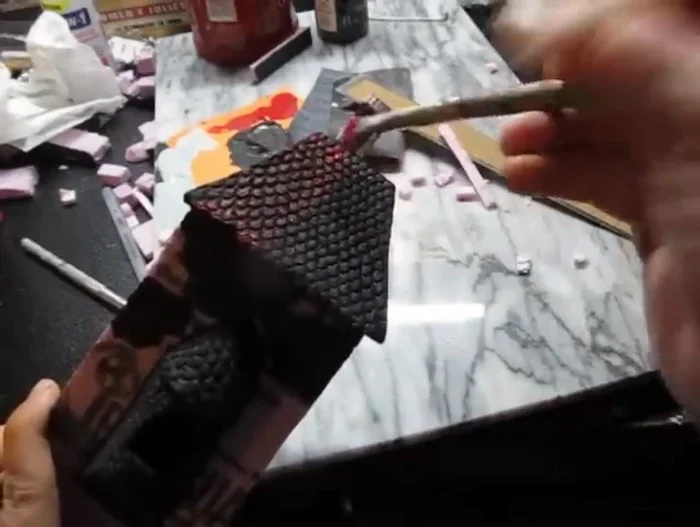
Black Wash Painting Dry Brushing
- Dry brush with red paint for the roofs and gray for the walls. This technique highlights the texture and creates a realistic look. Use a dry brush with little paint on it; lightly brush over the surfaces.
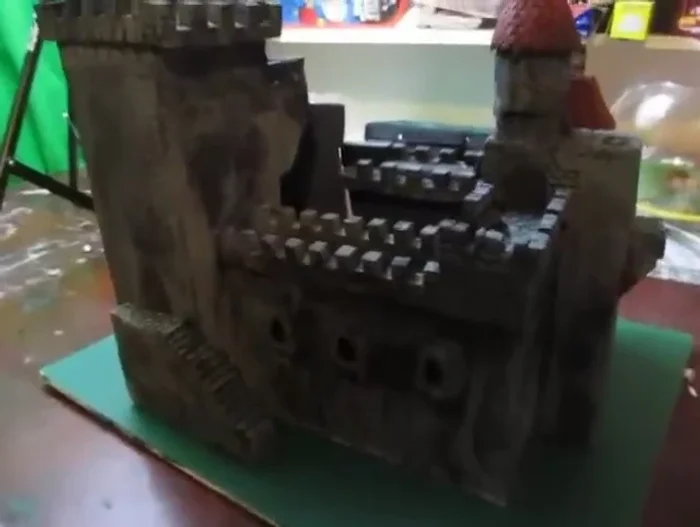
Dry Brushing Final Assembly and Base
- Glue the castle onto a painted foam board base (green in this case).
Final Assembly and Base
Read more: Super Crown Cosplay Tutorial: Fabric Covering for a Professional Finish
Tips
- Use a hot wire foam cutter for cleaner cuts. However, a knife or hacksaw works fine too.
- Irregular shapes and varied heights add realism and visual interest.
- Use a ballpoint pen to create brick and shingle textures. Experiment with line depth.
- The black wash and dry brushing techniques create amazing depth and texture, making the castle look highly realistic.