Transform your garden into a whimsical wonderland with these adorable, personalized stepping stones! Creating DIY handprint stepping stones with your kids is a fantastically fun and rewarding project that combines creativity with outdoor fun. It's a perfect way to spend a sunny afternoon crafting lasting memories, while simultaneously adding a unique touch to your garden path or play area. These charming stepping stones are surprisingly easy to make, even for little hands, and require only readily available materials. They're also a wonderful opportunity to teach children about nature and the creative process.
Forget expensive, impersonal garden ornaments; let your children's creativity blossom with this simple yet effective project. This guide will provide you with a step-by-step process to create these beautiful handprint stepping stones, ensuring a stress-free and enjoyable crafting experience for everyone involved. So gather your supplies and prepare to be amazed by the results!
Preparation and Safety Guidelines
- Milestone kids stepping stone kit
- Bucket
- Water
- Old newspapers
- Dry paintbrush
- Yard and garden durable outdoor paint
- Small paintbrush
- Cement glue (optional)
- Adult supervision is required at all times. Children should not handle cement mix or sharp tools.
- Wear protective gloves and eye protection when working with cement. Cement can irritate skin and eyes.
- Work in a well-ventilated area. Cement dust can be harmful if inhaled.
Step-by-Step Instructions
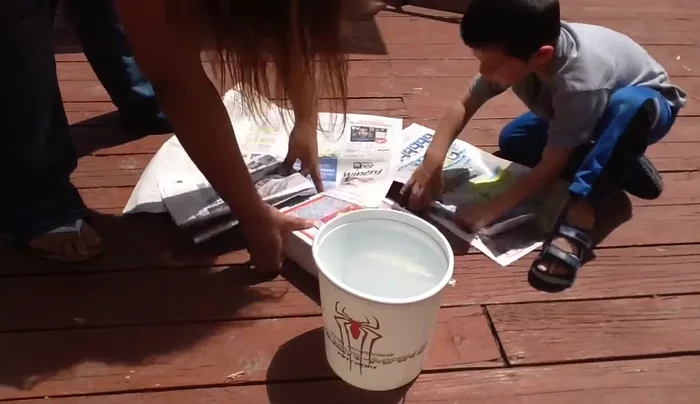
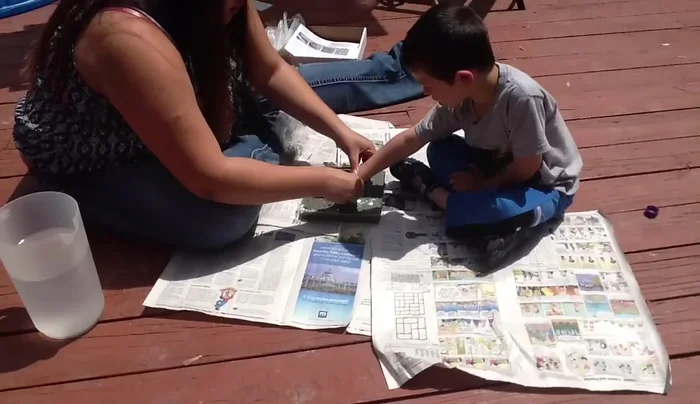
Prepare the Workspace
- Prepare your workspace by laying down newspapers.

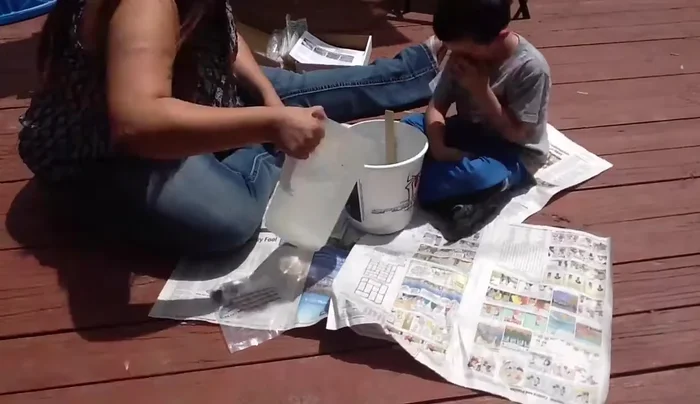
Prepare the Workspace Mix the Concrete
- Mix the concrete according to the kit's instructions. Add water gradually until you reach the right consistency. Keep children away from the concrete dust.
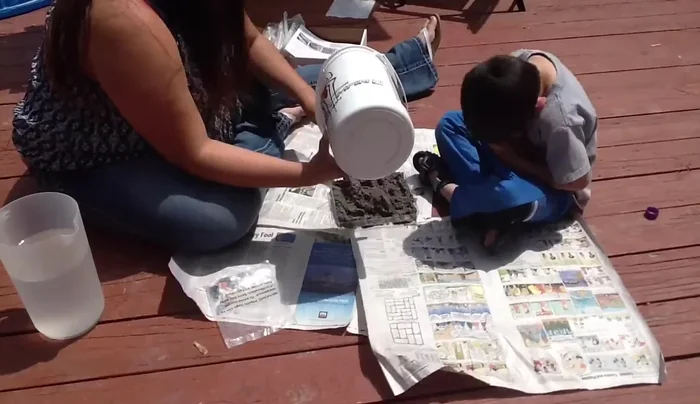
Mix the Concrete Prepare the Mold
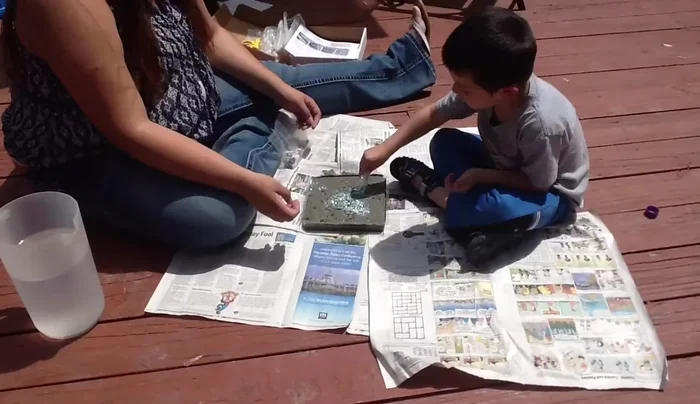
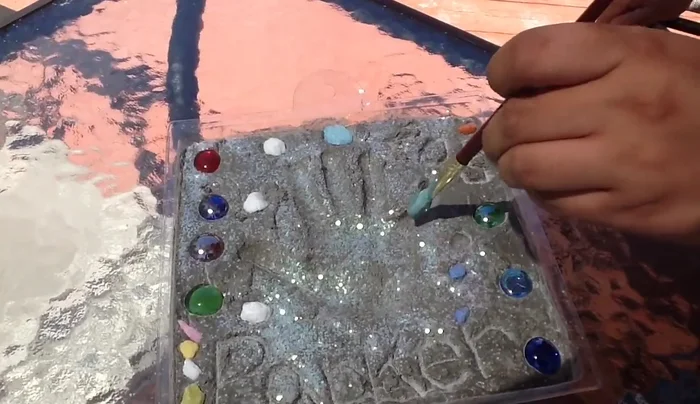
- Spread the concrete mix evenly into the provided mold.
- Add glitter to the concrete.
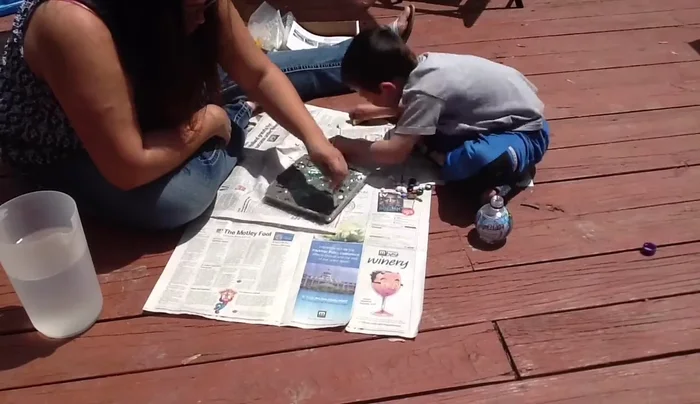
Prepare the Mold Create the Handprint
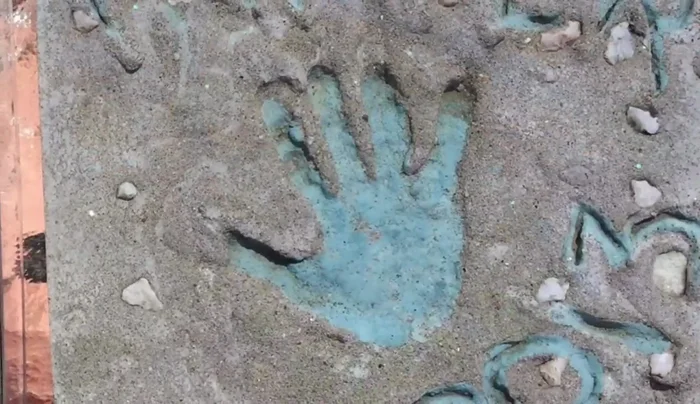
- Press the child's hand firmly into the concrete.
- Immediately wash the child's hands.
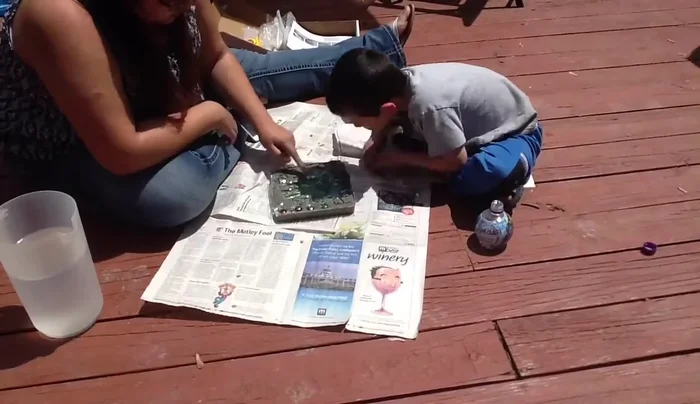
Create the Handprint Add Details
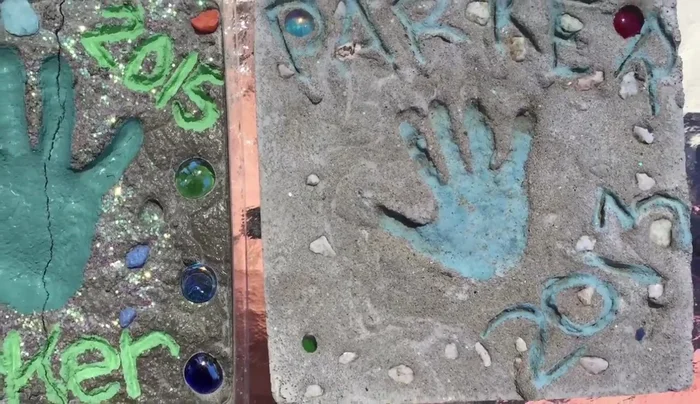
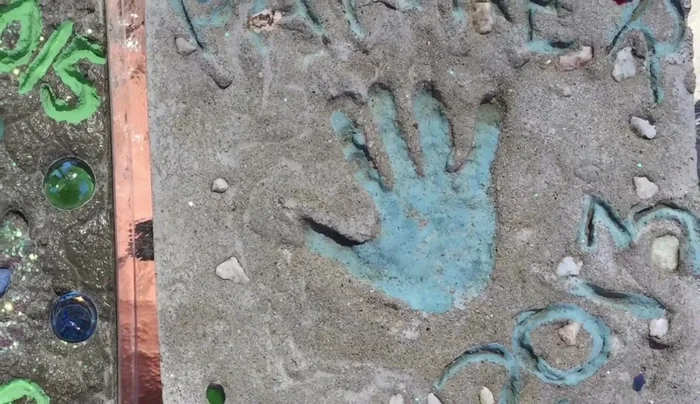
- Write the child's name and the date using the provided tool.
- Add decorative stones to any empty spaces.
Add Details Drying and Finishing
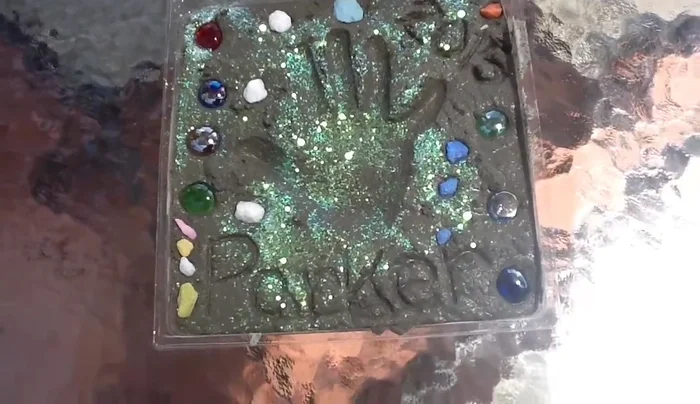
- Let the stepping stone dry completely for at least 24 hours in a flat, dry area.
- Once dry, gently brush off any excess glitter.
- Paint the handprint using outdoor paint and a small paintbrush, using dabbing motions to fill crevices.
- Allow the paint to dry completely.
Drying and Finishing Repair (if needed)
- If cracks appear, use cement glue to repair.
Repair (if needed) Display
- Place your finished stepping stone in your garden.
Display


Read more: DIY Story Stones: Budget-Friendly Sensory Play for Kids
Tips
- Protect your work surface with newspapers.
- Keep children away from the wet concrete mix to prevent them from breathing in the dust.
- Use a dabbing motion when painting to ensure even coverage in the crevices.