Halloween's just around the corner, and what better way to celebrate than by crafting your own unique and spooky decorations? This year, ditch the carving knives and embrace the earthy charm of DIY pumpkin pottery using the simple yet effective pinch pot method. Forget mass-produced plastic pumpkins; let's get our hands dirty and create charming, rustic Halloween accents that perfectly capture the autumnal spirit. Imagine the satisfaction of shaping your own miniature pumpkin, complete with whimsical details and a personalized touch. This method is surprisingly easy, even for beginners, requiring minimal tools and materials.
Forget store-bought decorations; this tutorial guides you through each step of creating adorable, hand-pinched pumpkin pottery, perfect for adding a touch of homemade Halloween magic to your home. From preparing the clay to adding those final, spooky details, get ready to unleash your creativity and transform humble clay into delightfully creepy, or charmingly cute, miniature pumpkins. Let’s get started!
Preparation and Safety Guidelines
- Clay
- Wooden sculpting tools (curved knife, curved spoon)
- Water
- Sponge
- Always supervise children closely when using sharp tools like knives or sculpting tools. Adult assistance is crucial for cutting pumpkins and handling clay.
- Ensure your work area is well-ventilated, especially when using paints or glazes. Use appropriate safety equipment like gloves and eye protection if necessary.
- Avoid touching your face or eyes after handling raw clay or paints. Wash your hands thoroughly with soap and water after completing your project.
Step-by-Step Instructions
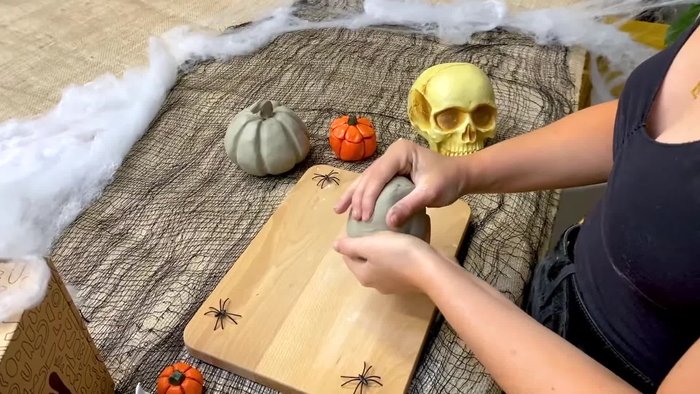
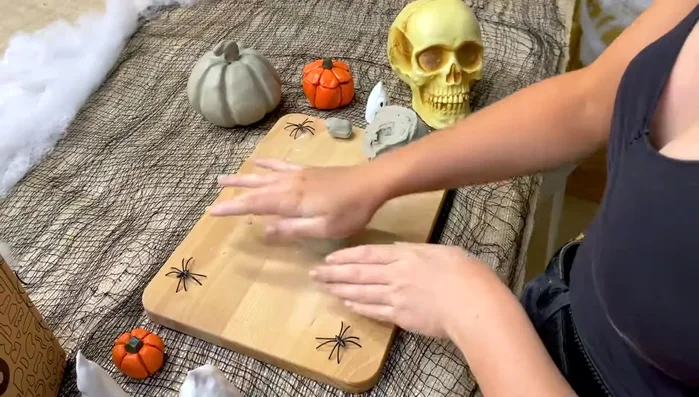
Prepare the Clay
- Tear off a piece for the stem and split the rest in half.

Prepare the Clay Create Pinch Pots
- Roll each clay half into a ball, then use your thumb to create a well in the center. Pinch the clay between your thumb and fingers, rotating as you go, to form a bowl shape.
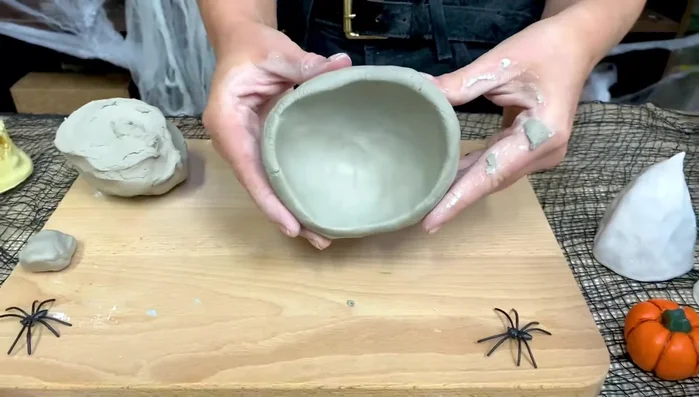
Create Pinch Pots Shape Pinch Pots
- Once you have two bowl shapes, smooth out cracks and creases. Pinch and roll outwards the rim of one bowl.
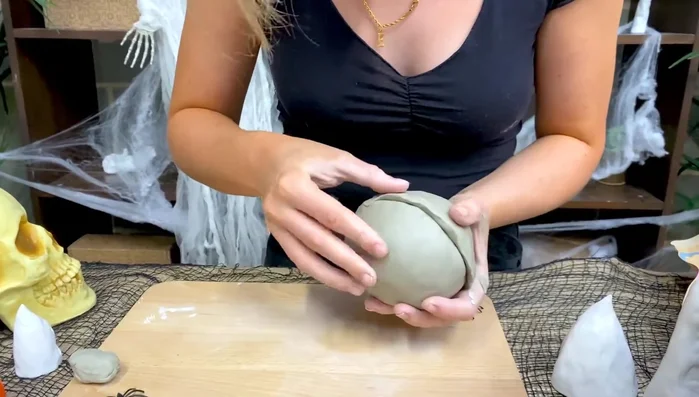
Shape Pinch Pots Assemble the Pumpkin
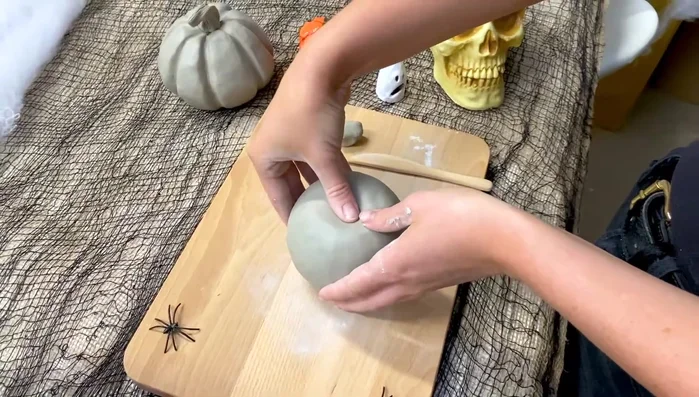
- Place one bowl on top of the other, ensuring edges match. Smooth the top bowl onto the bottom using your fingertips or wooden tools until a smooth, round ball is formed.
Assemble the Pumpkin Shape the Pumpkin Body
- Use your thumb to indent the top for the stem. Gently press the sides to create a pumpkin shape, not a sphere.
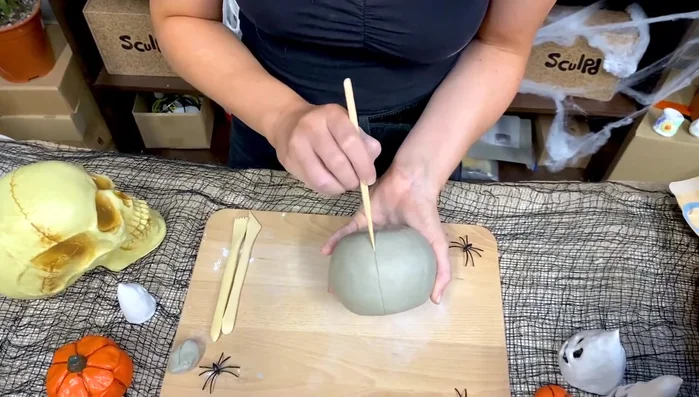
Shape the Pumpkin Body Carve the Ridges
- Use a knife tool to carve in the pumpkin's ridges. Vary the width between ridges for a more natural look.
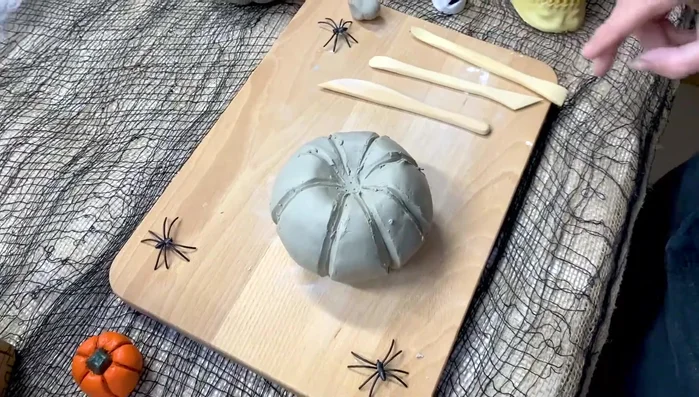
Carve the Ridges Deepen and Smooth Grooves
- Use a curved spoon tool to deepen the creases, being careful not to pierce the pumpkin.
- Smooth out the grooves with your fingertips or tools to create a natural look. A damp sponge can help with smoothing.
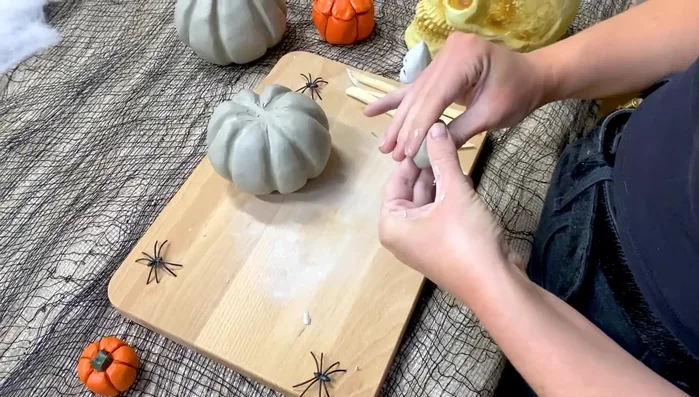
Deepen and Smooth Grooves Create and Attach Stem
- Roll a small amount of clay into an oblong shape, molding it into your desired stem shape. Score the base of the stem and the top of the pumpkin, add water, and attach.
Create and Attach Stem

Read more: Easy Clay Heart Sculpting: From Charm to Button
Tips
- Pinch gently when creating pinch pots to avoid thin walls.
- Be patient with smoothing; it may take time.
- Don't press too hard when deepening grooves to avoid piercing the pumpkin.
- Scoring and adding water to the stem and pumpkin helps them adhere better when drying.