Love handmade jewelry but intimidated by complex techniques? Then this DIY clay bead bracelet tutorial is perfect for you! We're going to create adorable, personalized bracelets using nothing more than polymer clay, basic tools, and a little bit of creativity. Forget expensive jewelry stores – you'll be amazed at how easy it is to craft unique and stylish accessories right from the comfort of your home. These bracelets make fantastic gifts, are great for self-expression, and are surprisingly addictive to make. The possibilities for color combinations and designs are endless!
Get ready to unleash your inner artist and discover the joy of crafting! This tutorial will guide you through each step, from preparing your clay to finishing your beautiful bracelet. Let's dive into the simple, step-by-step process and create some truly cute and easy clay bead bracelets!
Preparation and Safety Guidelines
- Clay beads (various colors and shapes)
- Tweezers
- Scissors
- Clasp
- Jump rings
- String/cord
- Always supervise children when working with polymer clay and avoid letting them put unbaked clay in their mouths.
- Bake clay according to the manufacturer's instructions. Improper baking can result in cracked or brittle beads.
- Use a well-ventilated area when baking clay, as fumes can be released during the process.
Step-by-Step Instructions
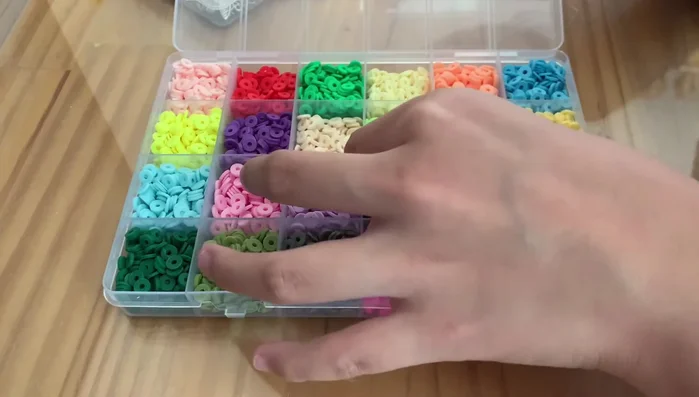
Unboxing and Inventory
- Unboxing the clay bead kit and inspecting the contents.

Unboxing and Inventory Clay Bead Examination
- Examining the texture of the clay beads (slightly squishy but firm).
Clay Bead Examination Bracelet Design Selection
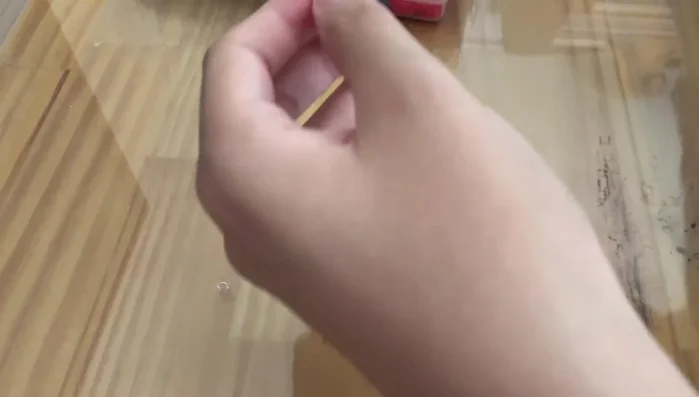
- Selecting beads and string for the bracelet.
Bracelet Design Selection Bead Stringing
- Stringing the beads onto the cord.
Bead Stringing Clasp and Finishing
- Adding the clasp and jump rings to complete the bracelet.
Clasp and Finishing Admiration and Showcase
- Trying on and admiring the finished bracelet.
Admiration and Showcase


Read more: Easy Clay Heart Sculpting: From Charm to Button
Tips
- Consider the texture of the clay beads – they are firmer than expected.
- Take your time choosing colors and patterns for your bracelet.
- Use tools like tweezers to carefully handle small beads.