Transform your garden from ordinary to extraordinary with a charming, personalized pathway – all without breaking the bank! DIY stepping stones offer a delightful blend of creativity and practicality, allowing you to add unique character to your outdoor space while significantly reducing landscaping costs. Forget expensive pre-made options; this project empowers you to craft beautiful, durable stones using readily available materials and simple techniques. Whether you envision rustic, mosaic-style, or sleek minimalist designs, the possibilities are truly endless, limited only by your imagination and the contents of your recycling bin.
Creating your own stepping stone pathway is surprisingly straightforward, and far more rewarding than buying ready-made ones. From choosing the perfect mold to selecting your decorative elements, this budget-friendly project is perfect for beginners and seasoned DIY enthusiasts alike. To embark on this exciting journey of garden enhancement, let's delve into the step-by-step instructions outlined below.
Preparation and Safety Guidelines
- Grocery store half sheet cake pans
- Cooking spray
- 6x6 tiles
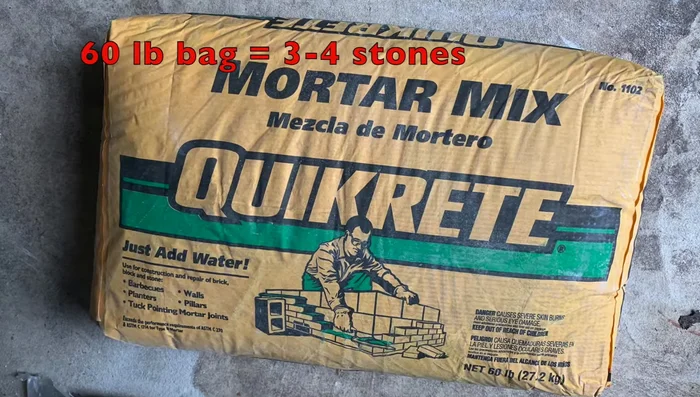
- Quikrete mortar
- Chicken wire
- Wheelbarrow
- Gloves
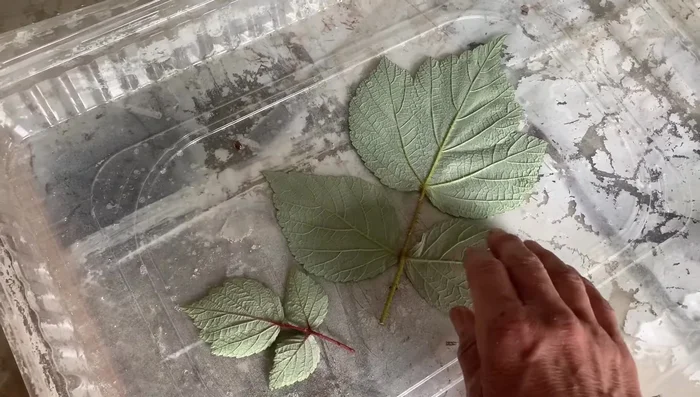
- Leaves
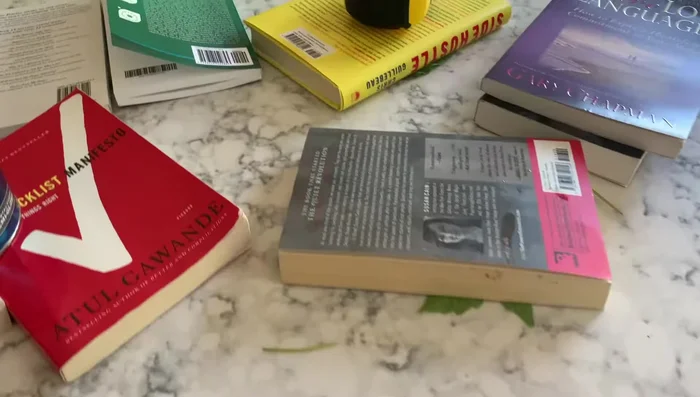
- Books
- Putty knife
- Paint (watered down)
- Tile, stone, and grout sealer
- Polyurethane
- Always wear safety glasses to protect your eyes from flying debris when mixing and working with concrete.
- Work in a well-ventilated area when mixing concrete; the fumes can be harmful.
- Allow the stepping stones ample time to cure completely (at least 24-72 hours) before walking on them to ensure their durability and prevent cracking.
Step-by-Step Instructions
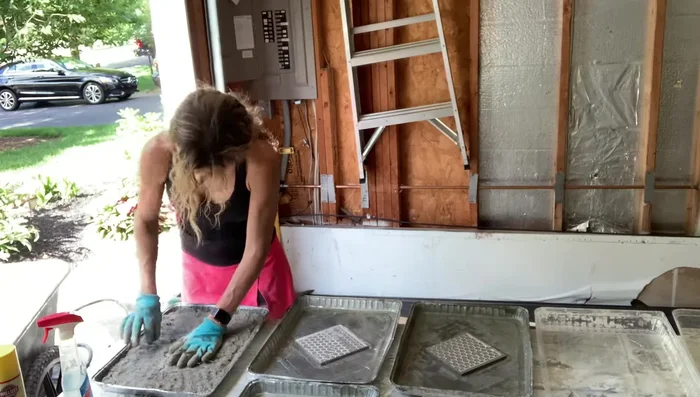
Prepare the Forms
- Spray the cake pans with cooking spray.
- Place 6x6 tiles upside down in the center of each cake pan.
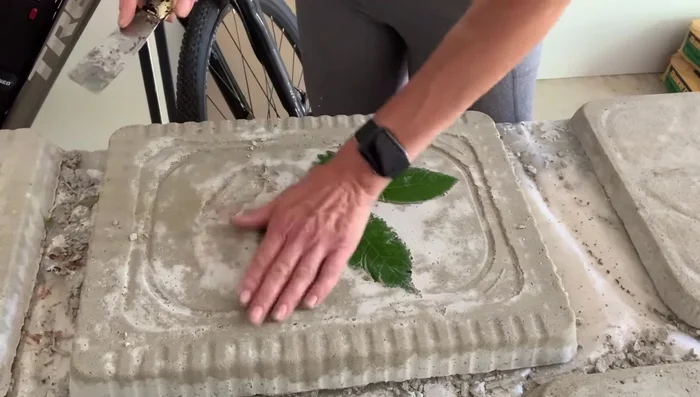
- Place leaves upside down in the center of the cake pan lids, veiny side up. Flatten with books for a few minutes.
- Spray the back of the leaves with cooking spray to help them release from the cement later.

Prepare the Forms Add Mortar and Reinforcement
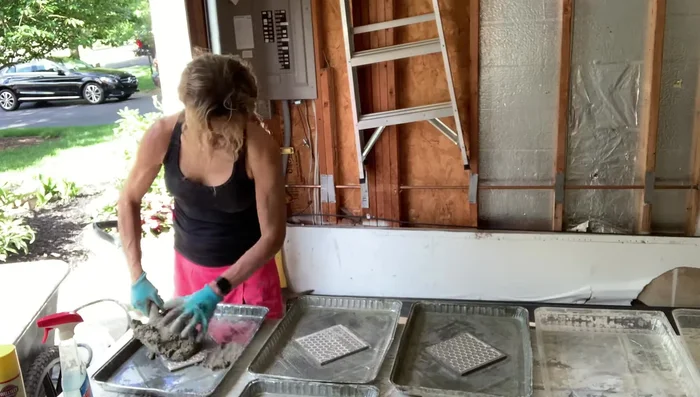
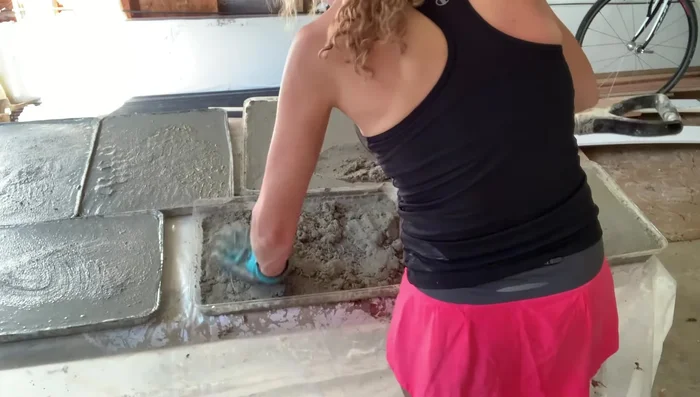
- Fill each pan halfway with mortar. Add crumbled mortar on top of leaves to prevent slipping.
- Place a piece of chicken wire in the middle of the mortar.
- Fill the pans completely with mortar.
Add Mortar and Reinforcement Curing
- Let the pans sit for about a day and a half.
Curing Remove from Forms
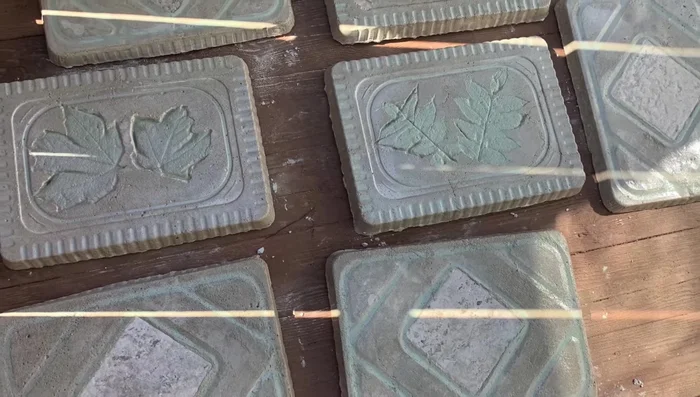
- Carefully flip the pans over to release the stepping stones.
Clean and Detail
- Gently scrape away any leaves that are stuck to the cement.
Clean and Detail Decorate (Optional)
- Paint the stones while they are still damp or wet with watered-down paint.
Seal and Protect
- Seal the stones with tile, stone, and grout sealer, and polyurethane.
Seal and Protect Install Stepping Stones
- Dig a flat spot for the stone, place it, backfill around the stone, and let the dirt settle.
Install Stepping Stones


Read more: DIY Story Stones: Budget-Friendly Sensory Play for Kids
Tips
- Use a wheelbarrow to mix the mortar, adding water gradually.
- Wear gloves when mixing mortar to protect your hands.
- Don't spray cooking spray on the tiles, only on the pans before placing the tiles.
- Crumble mortar on top of the leaves to help prevent them from slipping.
- Add crumbled mortar on top of the chicken wire to hold it in place.