Dive into the world of clay sculpting with this quick and easy tutorial on creating your very own adorable whale! No prior experience is necessary – this project is perfect for beginners, children, or anyone looking for a fun and relaxing crafting activity. Whether you're looking for a charming addition to your home décor, a unique gift idea, or simply a creative outlet, this simple whale model is guaranteed to bring a smile to your face. We'll use readily available materials and techniques that are straightforward enough for even the youngest crafters to master.
Get ready to roll, shape, and sculpt your way to a magnificent marine mammal! This tutorial will guide you through each step of the process, from preparing your clay to adding those finishing touches that will bring your whale to life. Let's embark on this creative journey together and discover the joy of making your own charming clay whale.
Preparation and Safety Guidelines
- Gray, black, and white clay
- Clay tools (optional, toothpick can substitute)
- Cookie cutter (optional)
- Adult supervision is required, especially for young children. Clay can be a choking hazard if ingested.
- Ensure the workspace is well-ventilated to avoid inhaling excessive clay dust. Consider working outside or near an open window.
- Wash hands thoroughly with soap and water after handling clay.
Step-by-Step Instructions
Prepare the Clay
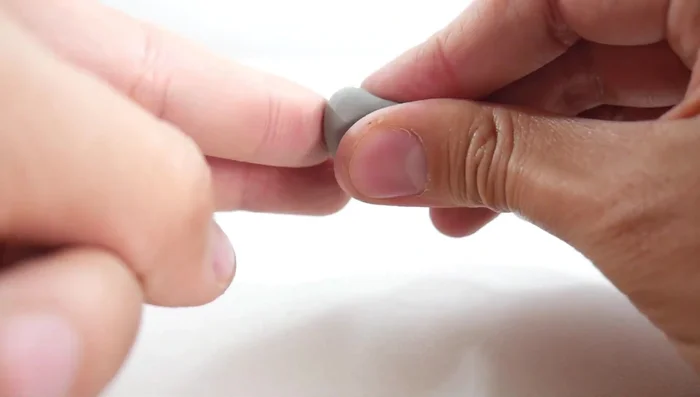
- Divide gray, black, and white clay into ball-shaped pieces of varying sizes. Pause the video to determine appropriate sizes.

Prepare the Clay Sculpt the Body and Tail
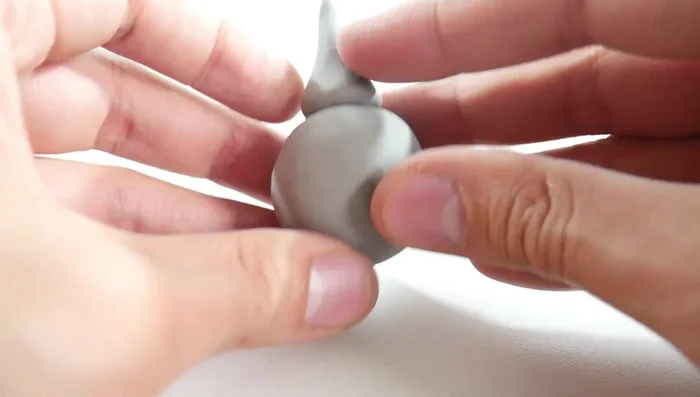
- Form a medium-sized gray clay ball into a cone shape for the whale's tail.
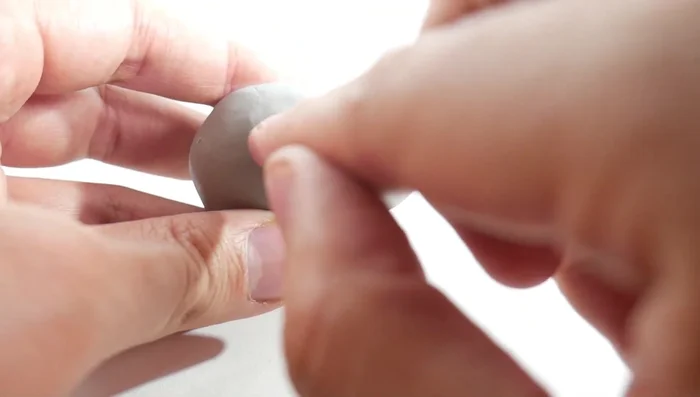
- Join the cone-shaped tail to the largest gray clay ball (the body) by kneading slowly until they blend.
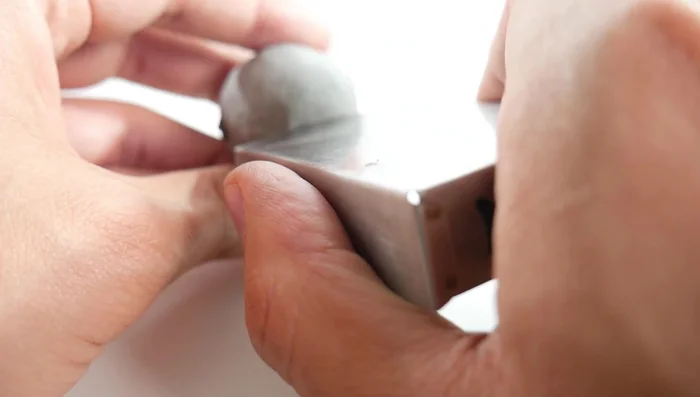
- Gently press the entire whale figure against a table to flatten the bottom.
- Lift the tip of the tail slightly.
Sculpt the Body and Tail Add Facial Features
- Attach two small black clay balls for the eyes, and add tiny white clay balls for highlights.
- Use a cutter to make a mouth line, then use a toothpick or pointed tool to create small holes at the corners for expression.
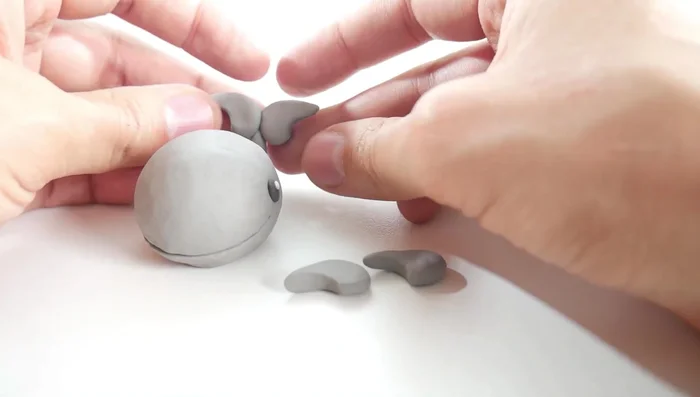
Add Facial Features Create and Attach Fins
- Flatten gray clay balls between your thumb and index finger, pinch one end to create a comma shape. Repeat to make four identical pieces.
- Attach two comma-shaped pieces to the back for the tail fins, and two to the sides for the side fins.
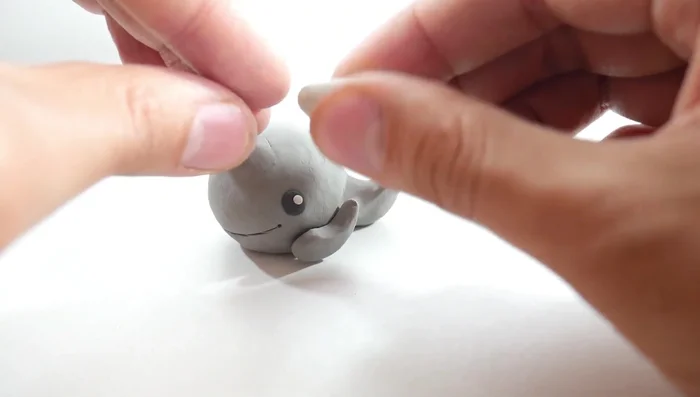
Create and Attach Fins Add Finishing Touches
- Create a white clay cylinder, shape the top into a spout, and place it on top of the whale.
Add Finishing Touches


Read more: Easy Clay Heart Sculpting: From Charm to Button
Tips
- Pause the video to accurately measure clay amounts for each part.
- Kneading helps to seamlessly blend the clay pieces together.
- Use a toothpick or any pointed tool if you don't have a specialized clay tool.