Owls, with their wise eyes and fluffy feathers, have captivated hearts for centuries. Their endearing charm translates beautifully into the world of crafting, making them a perfect subject for a fun and rewarding clay project. Whether you're a seasoned sculptor or a complete beginner, creating your own adorable clay owl is surprisingly simple and incredibly satisfying. The tactile nature of working with clay allows for unique expression and personalization, resulting in a truly one-of-a-kind keepsake or charming gift. Imagine the delight of creating a miniature woodland creature, perfectly sized for a desk or shelf.
This step-by-step guide will walk you through the entire process of making your own delightful clay owl, from preparing the clay to adding those final, finishing touches. Get ready to unleash your creativity and discover the joy of bringing these wise and wonderful birds to life, one pinch, roll, and sculpt at a time.
Preparation and Safety Guidelines
- 1 ounce package of Crayola Model Magic (white, blue, yellow, red, brown, black)
- Cutting tool (e.g., cut yogurt carton)
- Piece of drinking straw
- Eye hole tool (e.g., baked polymer clay, pencil end)
- Paper for drying
- Paper for working
- Always supervise children when using clay and tools. Small pieces can be choking hazards.
- Ensure the workspace is well-ventilated, especially when using air-dry clay which can release some dust.
- Adult supervision is required when using baking clay and ovens. Follow oven temperature guidelines carefully to avoid burns or fire.
Step-by-Step Instructions
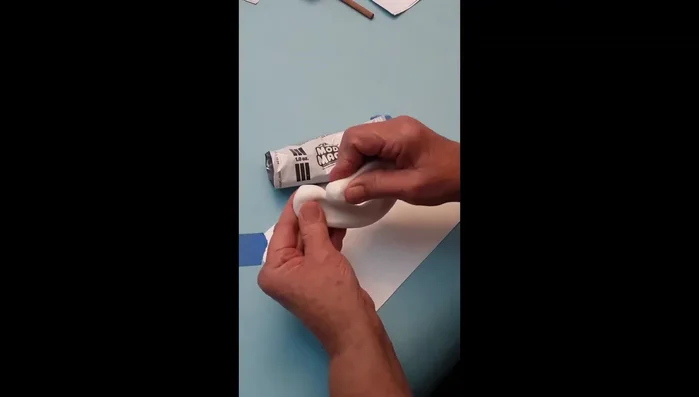
Prepare Materials
- It's stretchy and sticks to itself. If stuck, reform into a ball and start over. Keep unused clay in a plastic bag to prevent drying.

Prepare Materials Learn Basic Clay Shapes
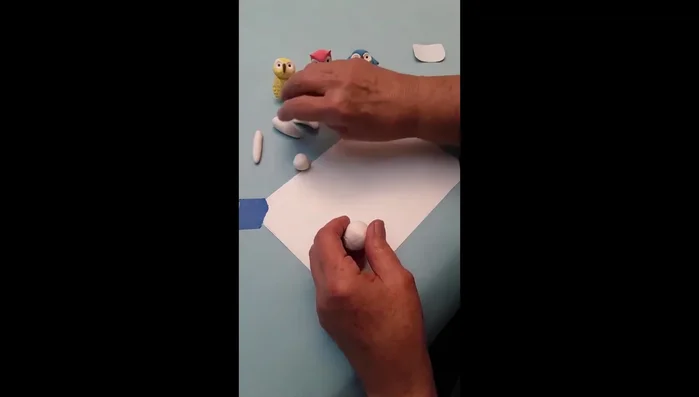
- Create balls (roll gently between hands), ropes (roll with one or two fingers), carrot shapes (roll a ball, then flatten one side), and petal shapes (flatten a carrot shape).
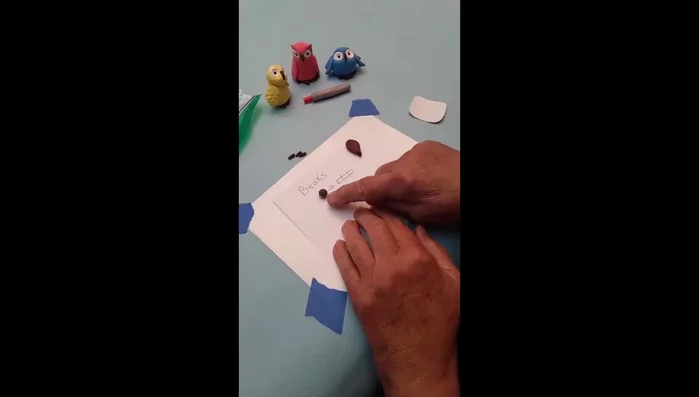
Learn Basic Clay Shapes Make and Dry Beaks
- Roll brown clay into small balls, shape into short carrots, and let them dry completely.
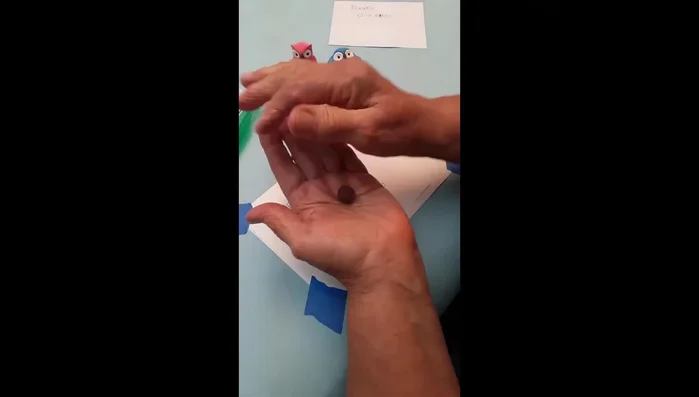
Make and Dry Beaks Make and Dry Feet
- Roll brown clay into a rope, cut into three pieces, roll each into short carrots, and let them dry.
Make and Dry Feet Mix and Prepare Colored Clay
- Mix white Model Magic with desired colors (red, yellow, blue) to create colored clay for owl bodies. Keep in plastic bags.
Mix and Prepare Colored Clay Assemble the Blue Owl (Hoodie)
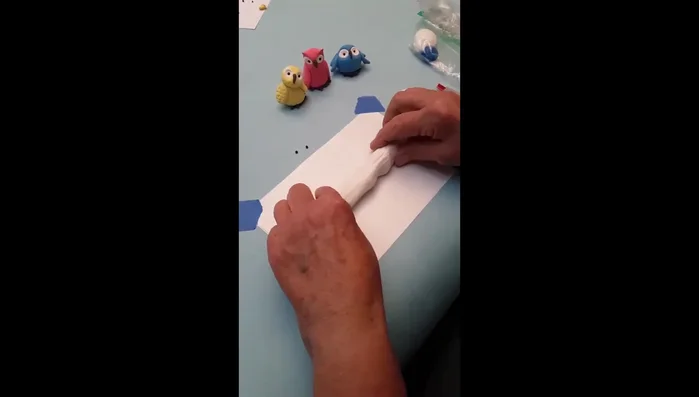
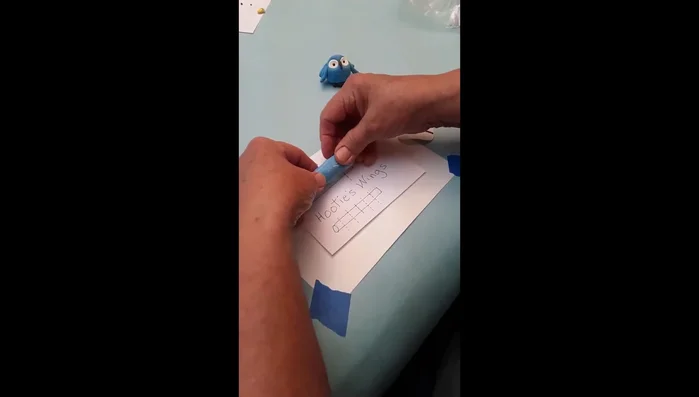
- Roll blue clay onto the pattern, cut, and shape wing pieces. Form body and head. Make eye sockets, add white and black eye details, attach beak. Use straw tool to create feather markings. Attach feet and wings.
Assemble the Blue Owl (Hoodie) Assemble the Red Owl (Hootsley)
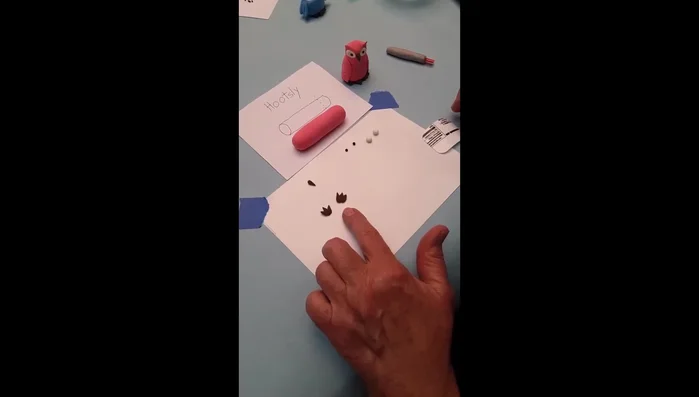
- Repeat steps similar to Hoodie, using red clay and different feather patterns.
Assemble the Red Owl (Hootsley) Assemble the Yellow Owl (Hootsmoor)
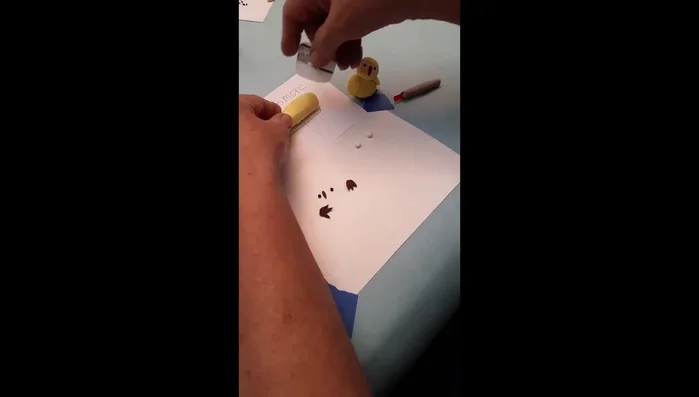
- Repeat steps similar to Hoodie and Hootsley, using yellow clay and shaping the head for 'ears'.
Assemble the Yellow Owl (Hootsmoor)
Read more: Easy Clay Heart Sculpting: From Charm to Button
Tips
- Handle clay gently to avoid losing shape.
- Make beaks first to prevent them from being smushed.
- Use a little water to help pieces stick together, but avoid making it too wet.