Have you always admired the graceful elegance of a giraffe but lacked the artistic skills (or patience) to sculpt one? Fear not! This tutorial will guide you through creating your very own charming clay giraffe, even if you’re a complete beginner. Forget the complicated techniques and hours of painstaking work often associated with clay sculpting; this method prioritizes speed and simplicity without sacrificing a delightful final product. We'll focus on creating a recognizable and adorable giraffe with minimal tools and techniques, making it a perfect project for kids and adults alike.
Forget intimidating clay sculptures! This easy and fast tutorial will walk you through creating a delightful clay giraffe in just a few simple steps. Get ready to unleash your inner artist and discover the joy of crafting a whimsical animal figurine. Prepare your clay, gather your tools, and let's dive into the step-by-step process that will transform a lump of clay into a magnificent giraffe!
Preparation and Safety Guidelines
- Clay (yellow, brown, black, white)
- Rolling Pin (optional)
- Small Stick or Tool
- Always supervise children when working with clay. Small pieces can be a choking hazard.
- Ensure adequate ventilation when working with air-dry clay to avoid inhaling dust. Consider working in a well-ventilated area or wearing a dust mask.
- Clay can stain clothing and surfaces. Protect your work area with newspaper or a drop cloth.
Step-by-Step Instructions
Prepare the Clay
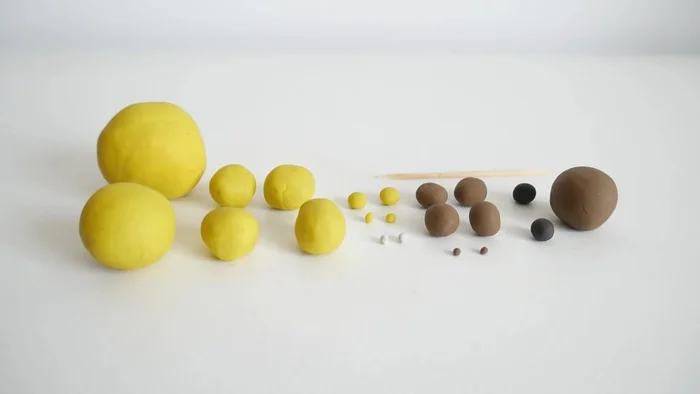
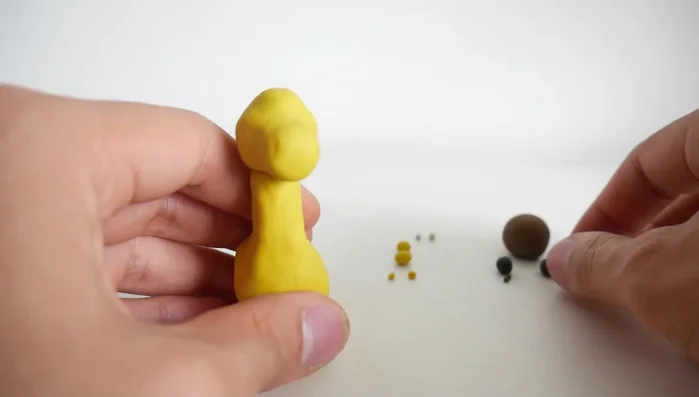
- Prepare clay balls of yellow, brown, black, and white.

Prepare the Clay Build the Body
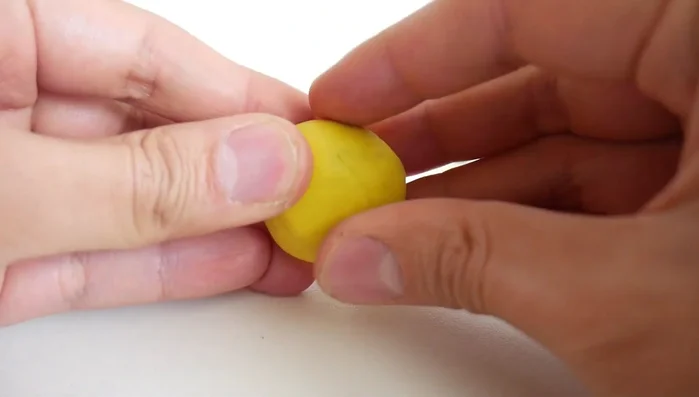
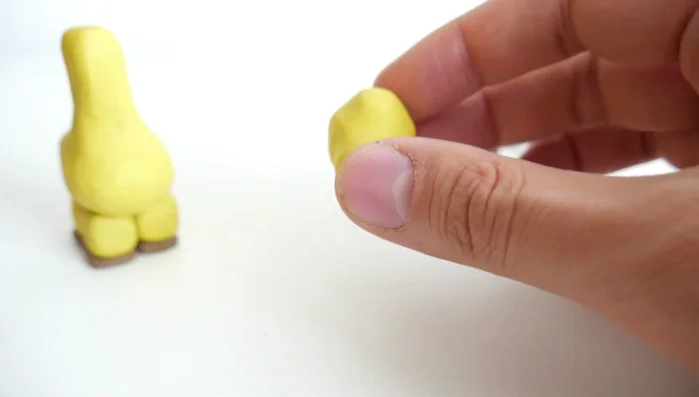
- Create the giraffe's body using the largest yellow clay ball, shaping it into an oval.
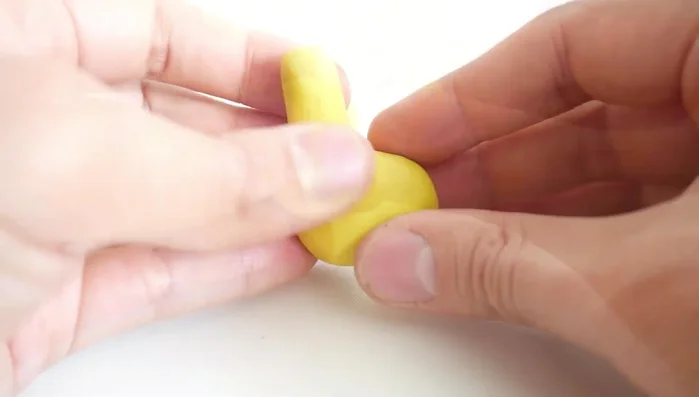
- Make the neck by kneading a portion of the body.
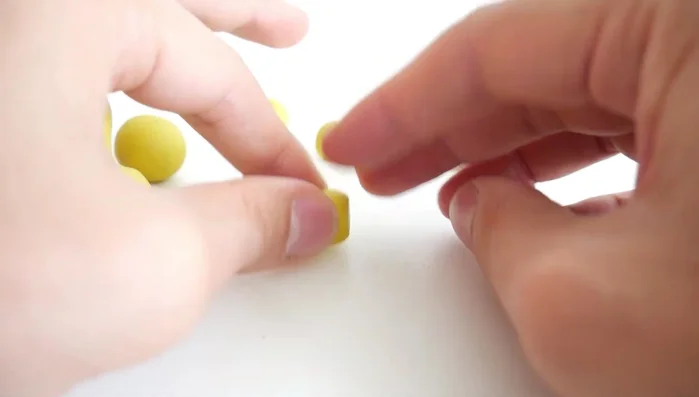
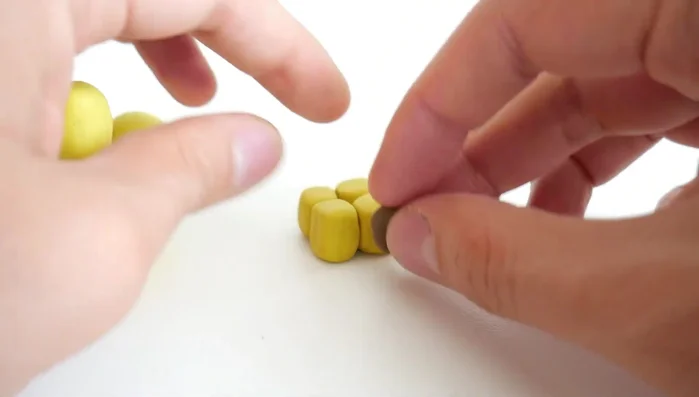
- Form four identical cubes from yellow clay for the legs.
- Attach brown clay hooves to the bottom of each leg.
Build the Body - Attach the legs to the body.
Build the Body Shape the Head
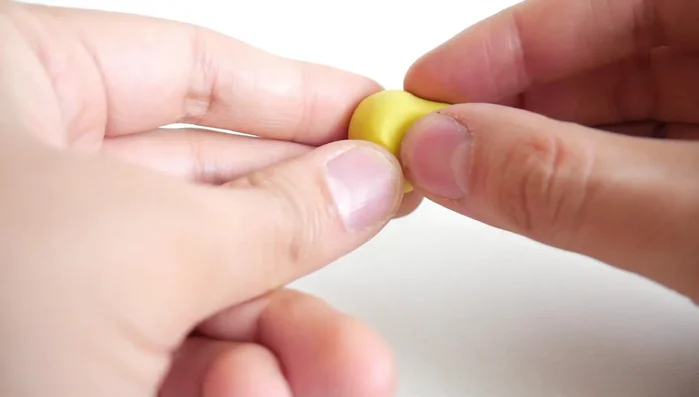
- Shape the head from a yellow clay ball into a pear shape.
- Flatten the front of the head.
- Attach the head to the neck.
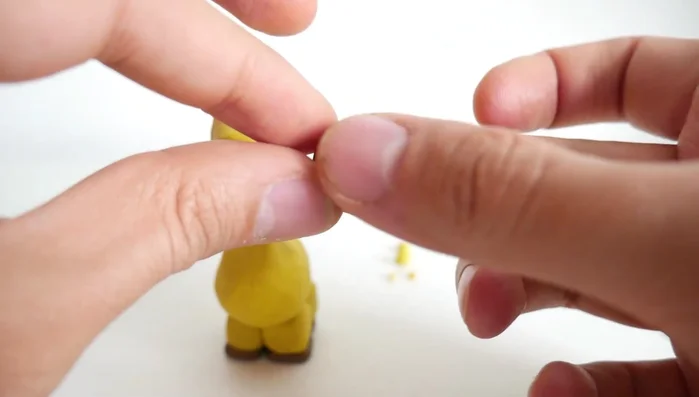
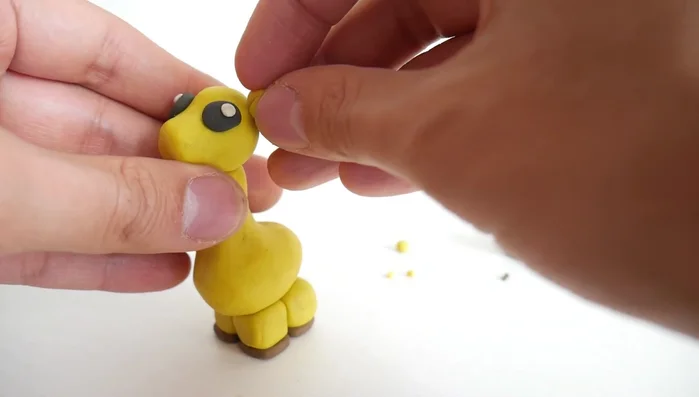
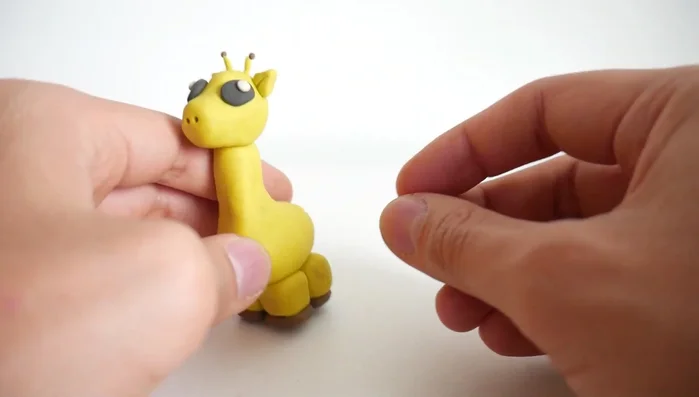
Shape the Head Add Facial Features
- Create eyes using black and white clay.
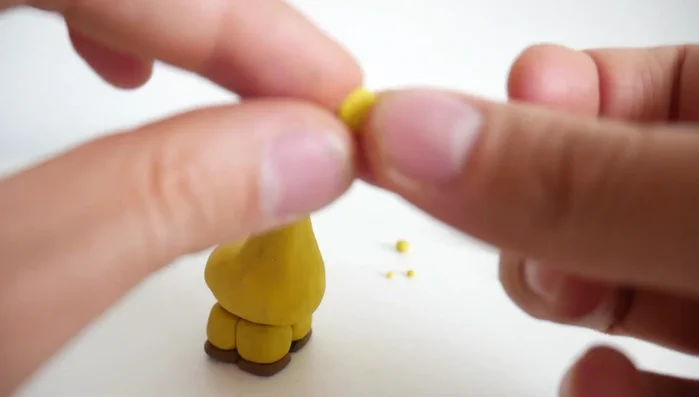
- Make ears from yellow clay, shaping them into triangles.
- Attach ears to the top of the head.
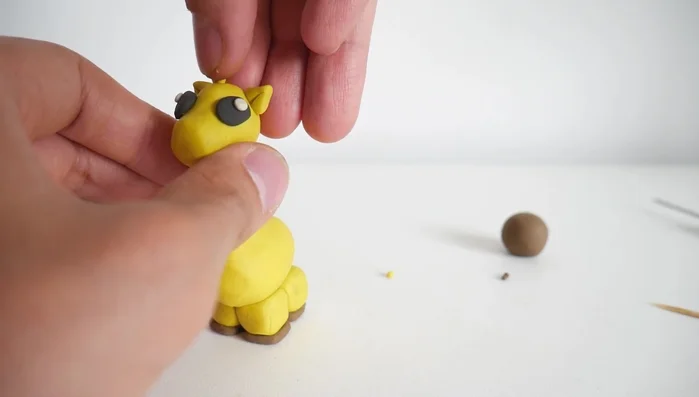
- Create horns (ossicones) from small yellow clay strips, adding small brown clay balls to the tips.
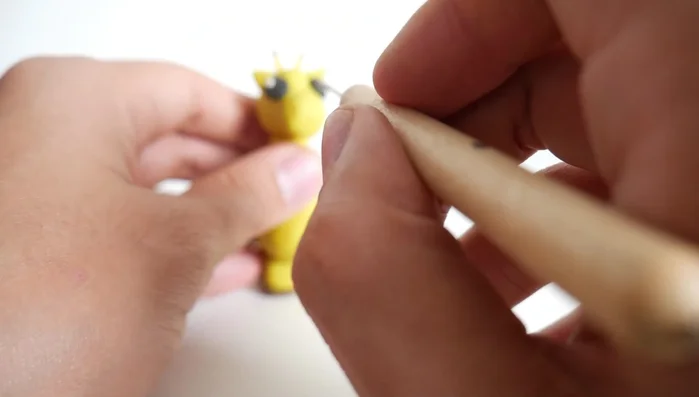
Add Facial Features - Make nostrils using a stick or pointed tool.
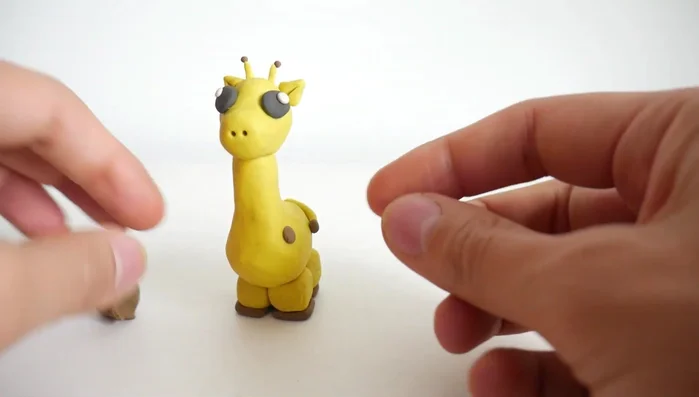
Add Facial Features Complete the Details
- Add a tail using a small yellow clay strip and a brown clay ball at the end.
- Add spots using small brown clay balls all over the body.
Complete the Details

Read more: Easy Clay Heart Sculpting: From Charm to Button
Tips
- N/A