Dive into a world of creativity and fun with this easy clay fish craft, perfect for kids of all ages! There's nothing quite like the tactile satisfaction of molding clay, and this project allows for boundless imagination and self-expression. Forget complicated instructions and expensive materials; this craft utilizes simple supplies readily available in most homes, making it an ideal activity for rainy days, school projects, or simply a fun afternoon pastime. The process is wonderfully adaptable too, encouraging children to personalize their fish with vibrant colors and unique details.
Get ready to unleash your inner artist and create a shimmering school of clay fish! This step-by-step guide will walk you through each stage of the process, from shaping the body and fins to adding those finishing touches that make each fish truly one-of-a-kind. Let’s get started on creating these delightful aquatic creatures!
Preparation and Safety Guidelines
- Natural sculpting clay
- Bowl of water
- Sequins
- Toothpicks
- Paint (stock paint or acrylics)
- Fish cut out
- Old paint brush
- Rag
- Rolling pin
- Adult supervision is required at all times. Clay can be a choking hazard for young children.
- Ensure the work area is well-ventilated to avoid inhaling dust from the clay.
- Wash hands thoroughly with soap and water before and after handling the clay.
Step-by-Step Instructions
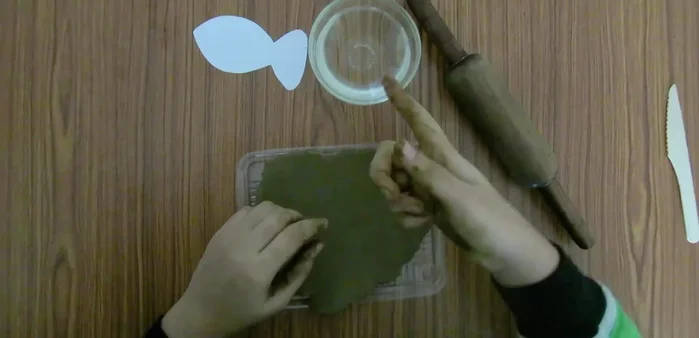
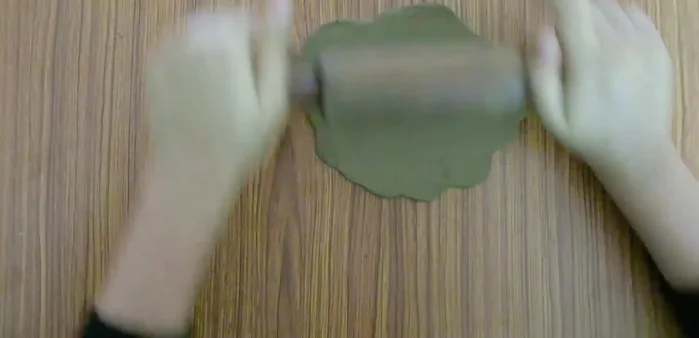
Prepare the Clay
- Knead clay with water, flatten, and smooth with a rolling pin.

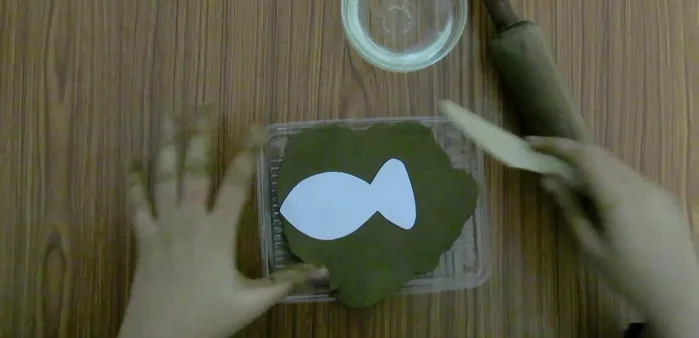
Prepare the Clay Cut Out the Fish Shape
- Place fish cut out on the clay and cut around it.
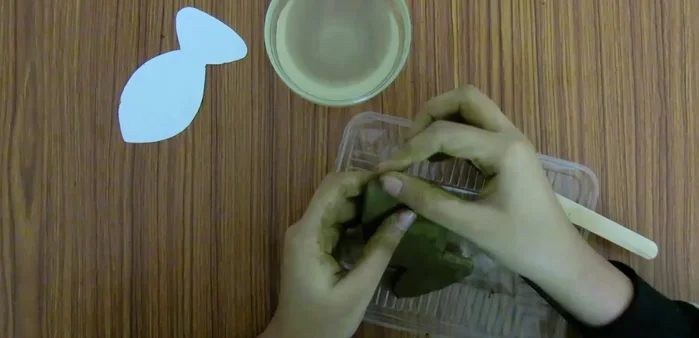
Cut Out the Fish Shape Smooth the Fish
- Smooth the edges of the clay fish using water and your fingers or a brush.
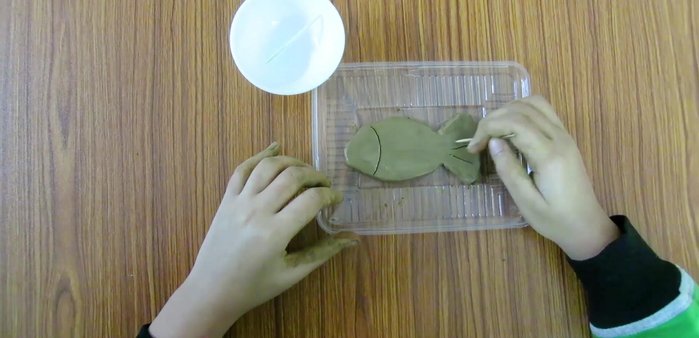
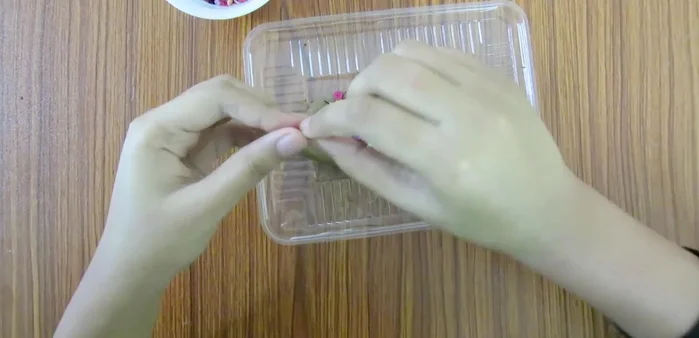
Smooth the Fish Add Facial Features
- Use toothpicks to create space for the eyes and mouth.
- Add sequins for the eyes.
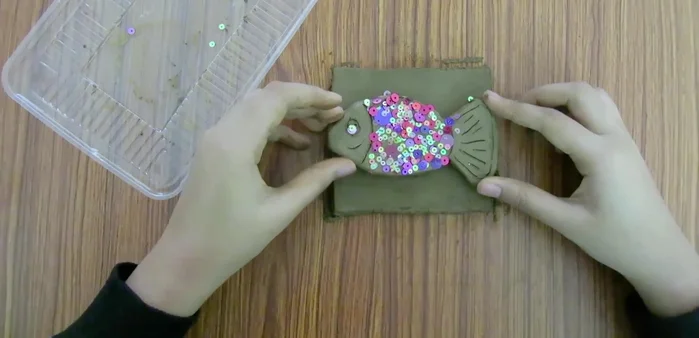
Add Facial Features Create and Attach the Base
- Make a tablet for the fish using extra clay and smooth the edges.
- Place the fish on the tablet and let it dry.
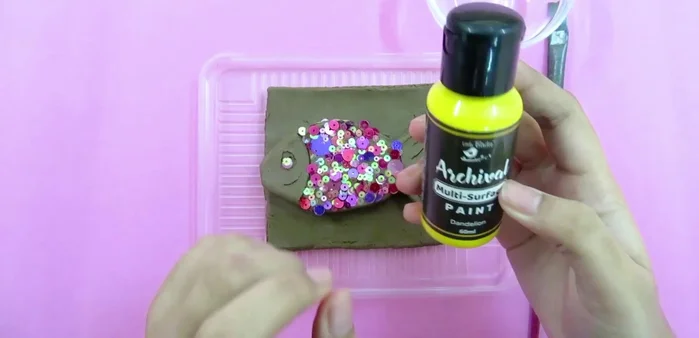
Create and Attach the Base Paint the Fish
- Paint the dried clay fish.
Paint the Fish
Read more: Easy Clay Heart Sculpting: From Charm to Button
Tips
- Use a brush with water to help smooth the clay edges for a cleaner finish.