Unleash your inner artist and discover the surprisingly simple joy of clay face sculpting! This accessible craft offers a fantastic creative outlet, regardless of your experience level. Forget the intimidation factor often associated with sculpting; this guide is specifically designed for absolute beginners, using readily available materials and straightforward techniques. You'll be amazed at what you can achieve with a little patience and a playful approach. There’s no need for expensive tools or years of training; we'll focus on fundamental shaping and expressive techniques that even first-timers can master.
This introductory guide will lead you through each stage of the process, building confidence with every step. From preparing your clay to adding those crucial finishing touches, we'll equip you with the knowledge and skills to create your very own charming clay faces. Get ready to get your hands dirty and prepare for the rewarding experience of bringing your creative visions to life, one sculpted feature at a time. Let’s begin!
Preparation and Safety Guidelines
- Clay
- Popsicle stick or similar tool
- Pencil (optional)
- Always work in a well-ventilated area. Clay dust can irritate lungs.
- Wash your hands thoroughly before and after handling clay. Some clays can contain irritants.
- Avoid contact with eyes and mouth. If contact occurs, rinse immediately with plenty of water and seek medical advice if needed.
Step-by-Step Instructions
Prepare the Clay
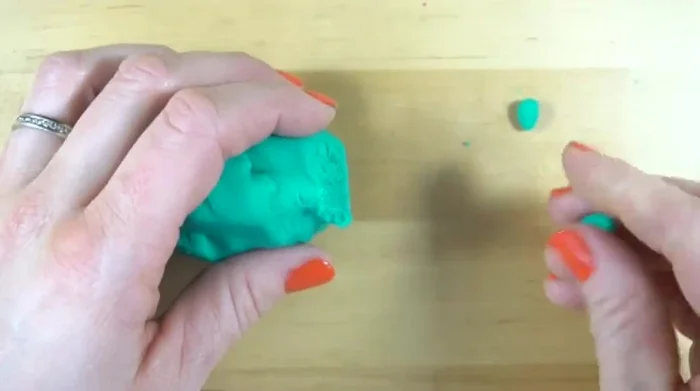
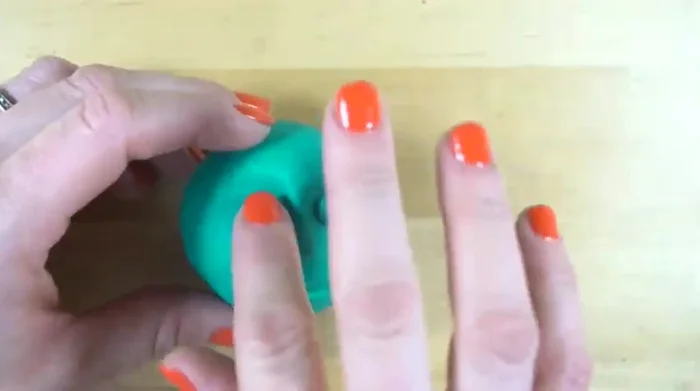
- Separate clay into two small pieces and one large piece. Roll each into a ball.

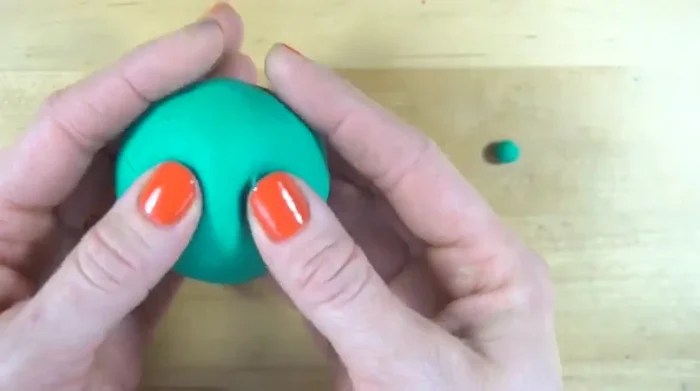
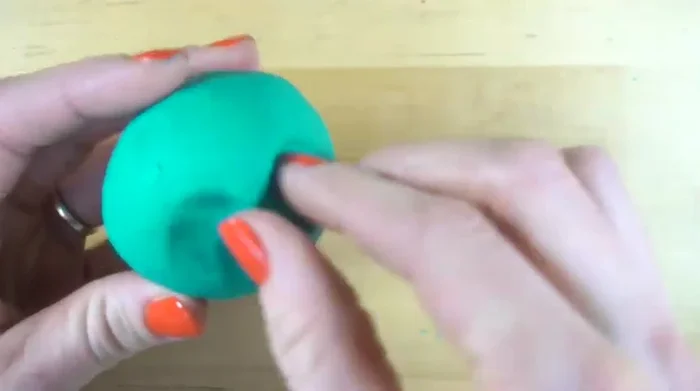
Prepare the Clay Shape the Face
- Use two fingers to push out the eye area on the large ball.
- Pull the clay below the eyes upward to form a triangle for the nose.
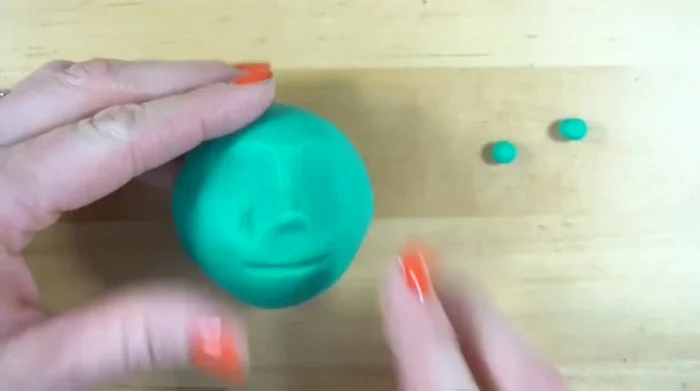
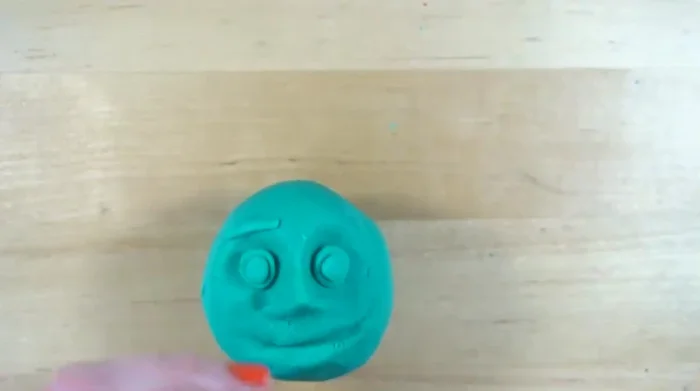
Shape the Face Add Facial Features
- Use a popsicle stick to press in the mouth.
- Add details like hair, eyes (using clay or pencil holes).
Add Facial Features Refine Details (Optional)
- Refine the mouth using a pencil (optional).
Refine Details (Optional)
Read more: Easy Clay Heart Sculpting: From Charm to Button
Tips
- Experiment with different facial expressions (happy, angry, sad, etc.).
- Add more detail to create unique characteristics.