Have you always admired the intricate beauty of elephant sculptures but felt intimidated by the prospect of creating one yourself? Forget complicated techniques and lengthy projects! This tutorial will guide you through crafting a charming clay elephant, perfect for beginners and seasoned crafters alike, in surprisingly little time. We'll focus on simplicity and speed, utilizing easy-to-follow steps that even the most novice clay enthusiast can master. No special tools or prior experience are required; just a little patience and a dash of creativity.
This quick and easy project is perfect for a fun afternoon activity, a classroom project, or even a unique handmade gift. Get ready to unleash your inner artist and discover the joy of creating something beautiful with your own hands. Let's dive into the step-by-step process and sculpt your very own adorable clay elephant!
Preparation and Safety Guidelines
- Gray clay
- Black clay
- White clay
- Toothpick
- Clay tools (cutter or tool with sharp edge)
- Always supervise young children when working with clay to prevent accidental ingestion.
- Ensure adequate ventilation when working with air-dry clay to avoid inhaling dust particles.
- Clean up any spills immediately to avoid hardening and making the workspace difficult to clean.
Step-by-Step Instructions
Prepare the Clay
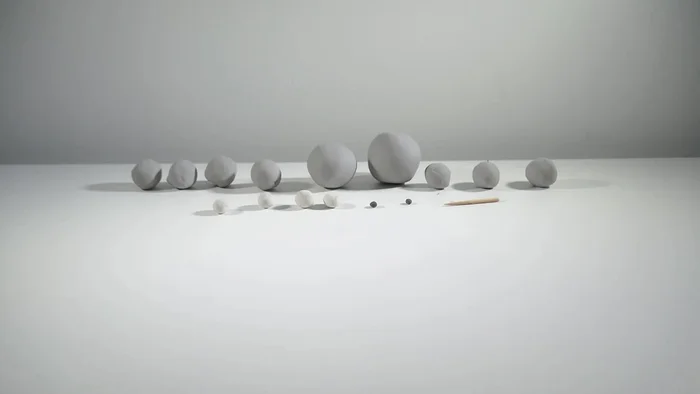
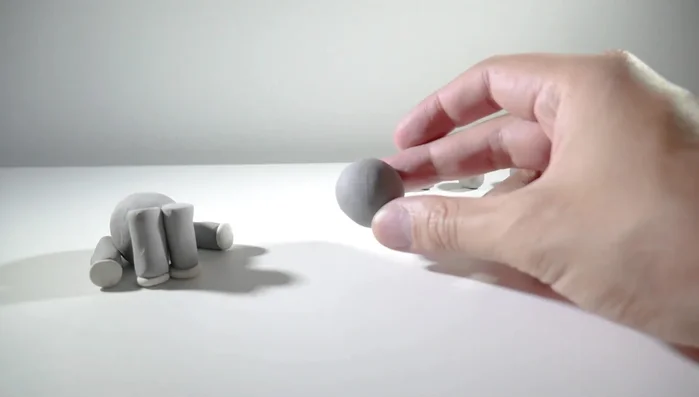
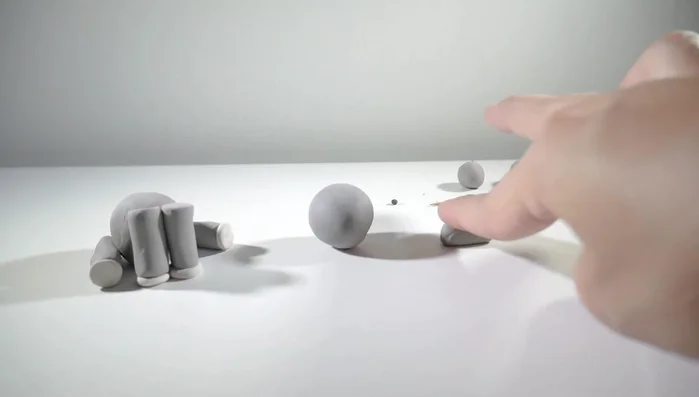
- Prepare clay balls of different sizes in gray, black, and white.

Prepare the Clay Assemble the Body
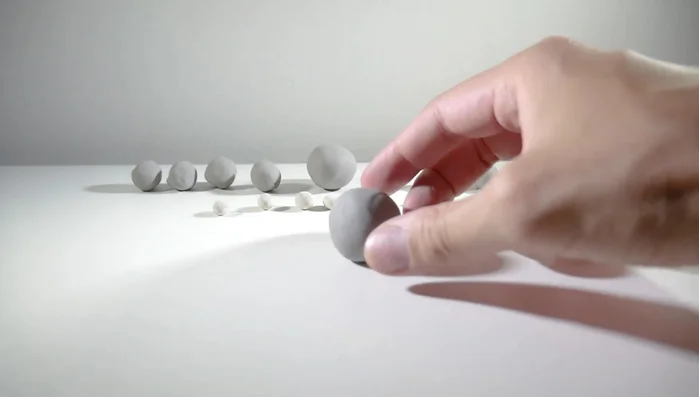
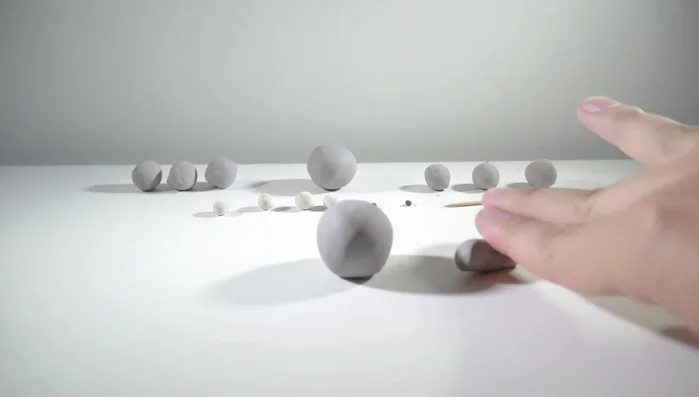
- Place the largest gray ball (body) in the center of your workspace.
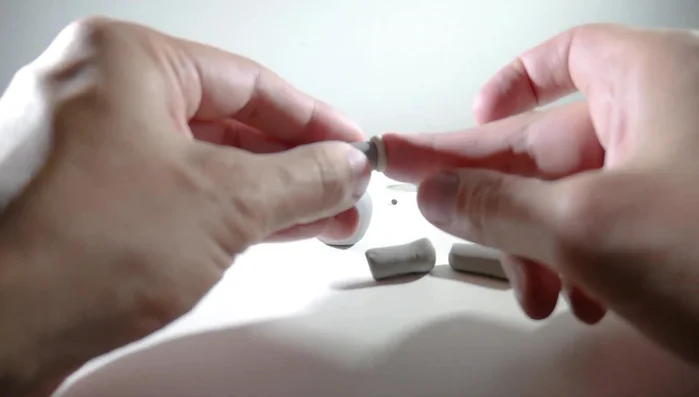
- Shape four smaller gray balls into cylinders for legs, same height as the body. Attach them to the body.
Assemble the Body Create the Legs
- Add flat white clay balls to the bottom of each leg to create hooves.
Create the Legs Make the Head
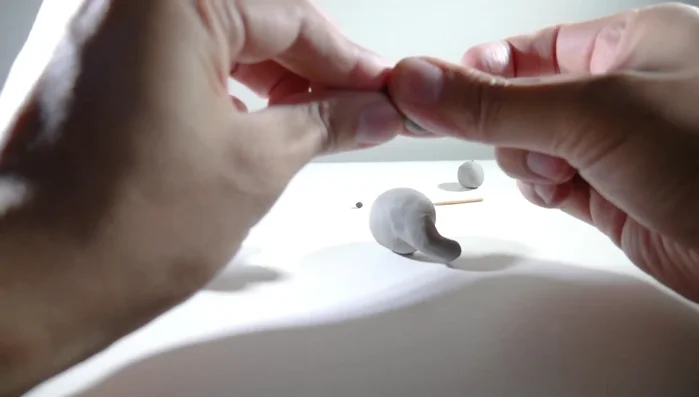
- Make the head using another large gray ball as the base.
- Create the trunk by stretching a smaller gray ball and attaching it to the head. Smooth the clay.
- Make two pointed ears from flattened gray clay balls and attach them to the head.
Make the Head Attach Head and Body
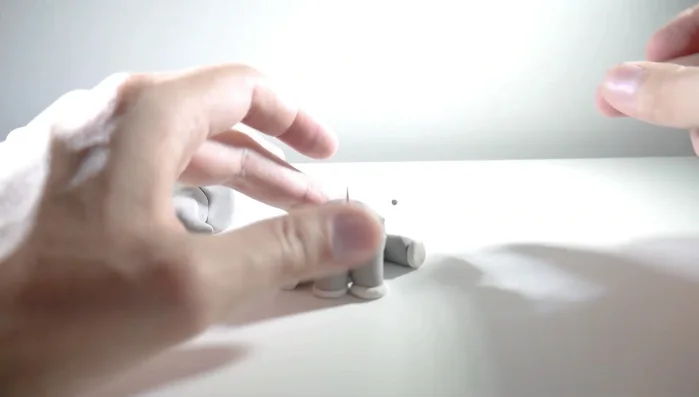
- Attach the head to the body, using a toothpick for extra support.
Attach Head and Body Add Facial Features
- Add small black clay balls for eyes, and tiny white clay balls for highlights on the eyes.
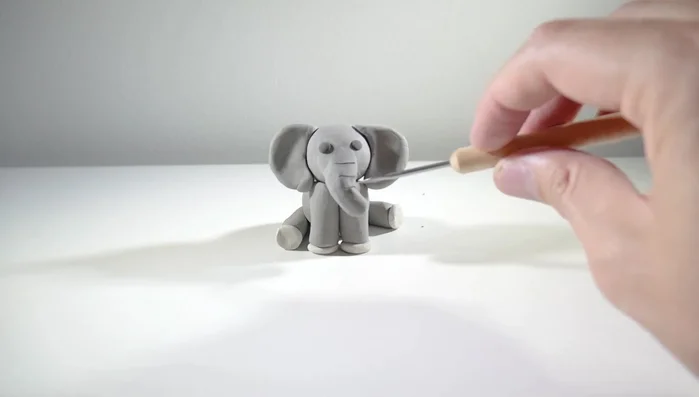
Add Facial Features Add Texture and Detail
- Add texture to the trunk and legs using a tool with a sharp edge to create small lines mimicking wrinkled skin.
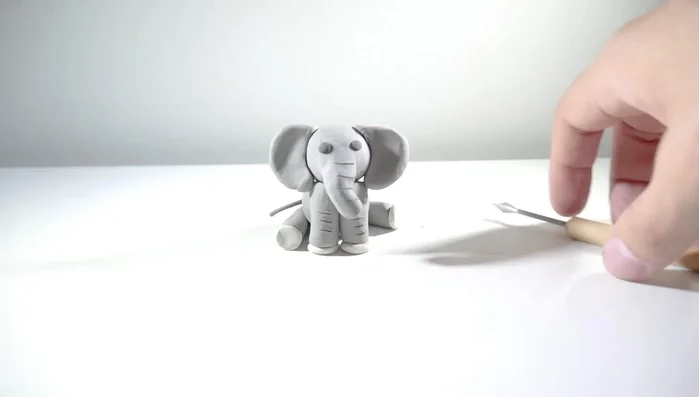
- Make a tail from a small gray ball, shape it into a thin strip and attach it to the back.
Add Texture and Detail

Read more: Easy Clay Heart Sculpting: From Charm to Button
Tips
- Feel free to pause the video to see the exact quantity and size of each clay ball.
- Smooth out the clay so it blends seamlessly.