Have you ever wondered why some objects float while others sink? The answer lies in a fascinating interplay of forces, primarily buoyancy and density. This experiment explores these concepts in a fun and hands-on way, using the humble material of clay to build miniature boats. We'll delve into the physics behind why certain shapes and sizes of clay boats stay afloat, while others meet a watery end, demonstrating the crucial role of density in determining buoyancy. Understanding these principles is fundamental to comprehending a wide range of phenomena, from the design of ships to the behavior of objects in different fluids.
This experiment offers a simple yet effective method to explore these fundamental scientific principles. By building and testing various clay boat designs, we'll visually demonstrate how manipulating the shape and weight of an object directly impacts its ability to displace water and remain buoyant. Let's get started with a step-by-step guide on building your own clay boat and observing the principles of density and buoyancy in action.
Preparation and Safety Guidelines
- Clay
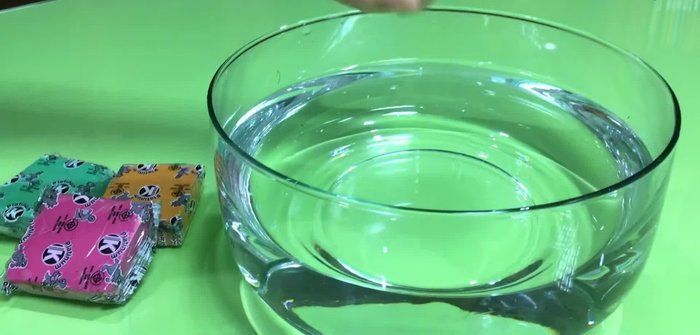
- Water
- Small, rounded clay pieces (10 per student)
- Adult supervision is required at all times. Clay can be messy and water presents a drowning hazard, especially for younger children.
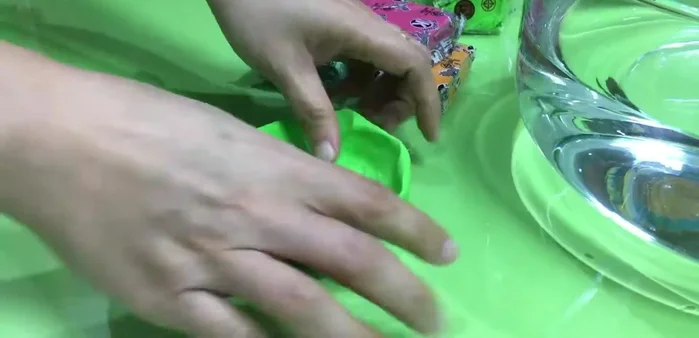
- Ensure the workspace is adequately protected from the mess. Use a waterproof surface or a large tray to contain the clay and water.
- Avoid using overly large amounts of clay. Overly heavy boats will sink regardless of shape, and cleanup will be more difficult.
Step-by-Step Instructions
Introduction and Density Discussion
- Introduce the concept of density. Ask students if clay will sink or float in water. They will likely say it sinks.
- Discuss density and explain why clay sinks (its density is higher than water).

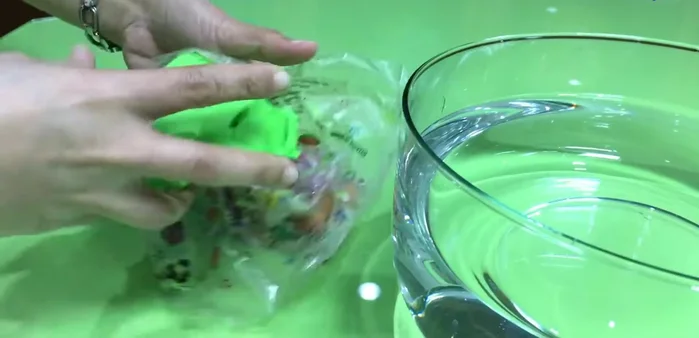
Introduction and Density Discussion Clay Boat Construction
- Instruct students to design and create a boat out of their clay that will float.
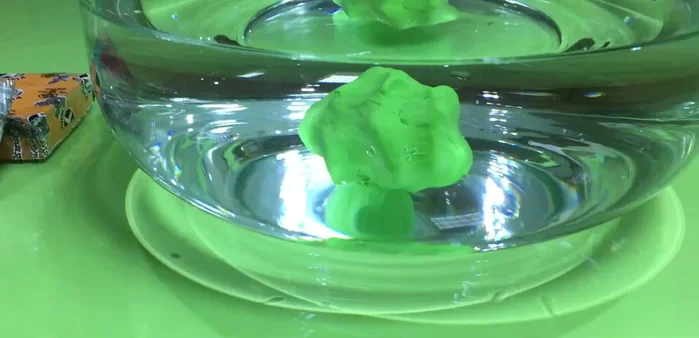
Clay Boat Construction Initial Floatation Test
- Students test their boats in water, one by one, to see if they float.
Initial Floatation Test Load Testing and Refinement
- Introduce the concept of load testing. Each student adds 10 small clay pieces (one at a time) to their boat to see how much weight it can carry before sinking.
- Students can continue to improve their boat designs based on the results of their tests.
Load Testing and Refinement

Read more: Easy Clay Heart Sculpting: From Charm to Button
Tips
- Ask probing questions to encourage deeper understanding of buoyancy and density: What makes the clay float? Does changing the volume of the clay affect its buoyancy? Why do steel ships float but a steel needle sinks?