Unleash your inner artisan and craft a whimsical haven for tiny woodland creatures with this delightful DIY project! Transform humble ceramic materials into an enchanting toadstool fairy house, perfect for adding a touch of magic to your garden, shelf, or even a child's playroom. Imagine the possibilities – a miniature dwelling complete with vibrant colors, charming details, and a uniquely personalized design, all created by your own hands. This charming toadstool is not only visually appealing but also a rewarding and accessible craft for both beginners and experienced crafters alike.
This tutorial will guide you through each step of the process, from preparing the basic ceramic forms to adding the final decorative touches. Get ready to embark on a creative journey as we build this adorable toadstool fairy house, transforming simple materials into a magical miniature world. Let's get started!
Preparation and Safety Guidelines
- Clay
- Rolling pin
- Clay slab
- Slip
- Cutting tools
- Modeling tools
- Always supervise children when using sharp tools like knives or sculpting tools. Ceramic work can involve sharp edges and breakage.
- Ensure adequate ventilation when working with ceramic clay and glazes. Some clays and glazes release fumes that can be harmful if inhaled.
- Use oven mitts or gloves when handling hot ceramic pieces from the kiln. Allow ample time for cooling before touching fired items.
Step-by-Step Instructions
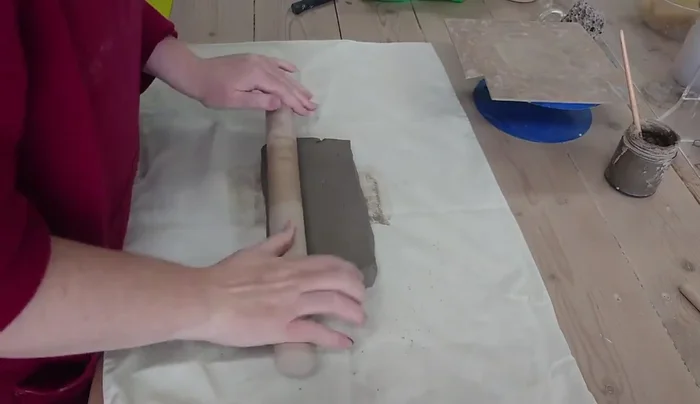
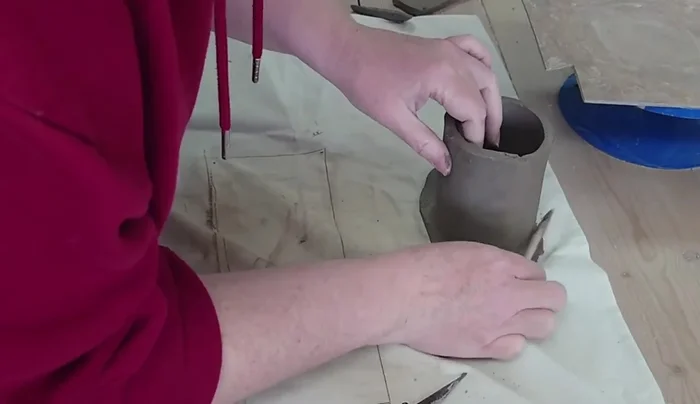
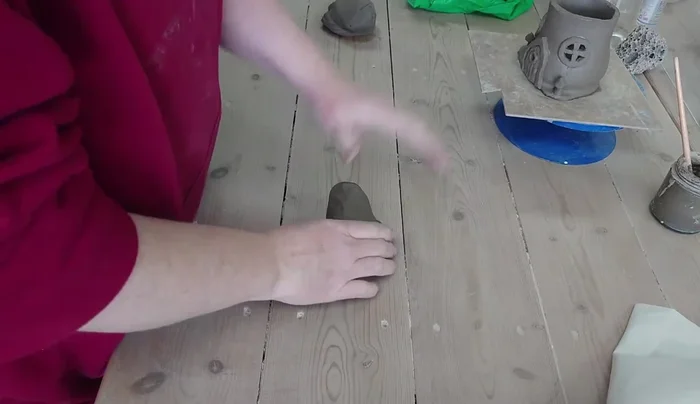
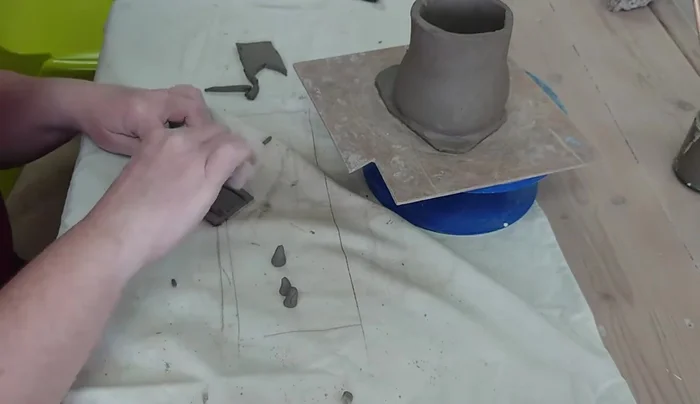
Prepare the Clay Slab
- Roll out a slab of clay to about 6mm thickness, flipping regularly to ensure even drying.
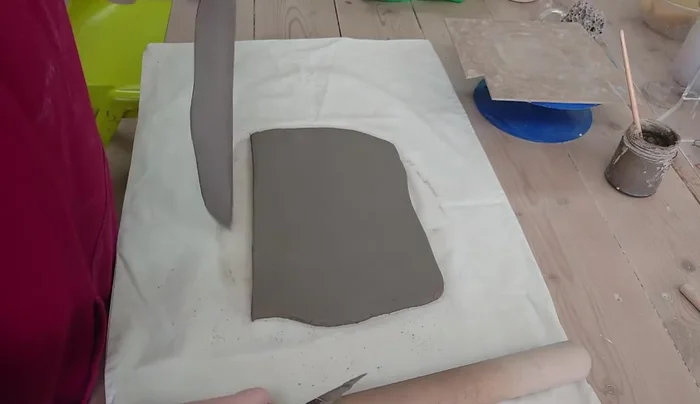
- Trim the clay slab to the desired height for the mushroom base (around 6mm thick).
- Trim a piece of clay for the mushroom base, creating a slightly wider circle than the height of the mushroom.

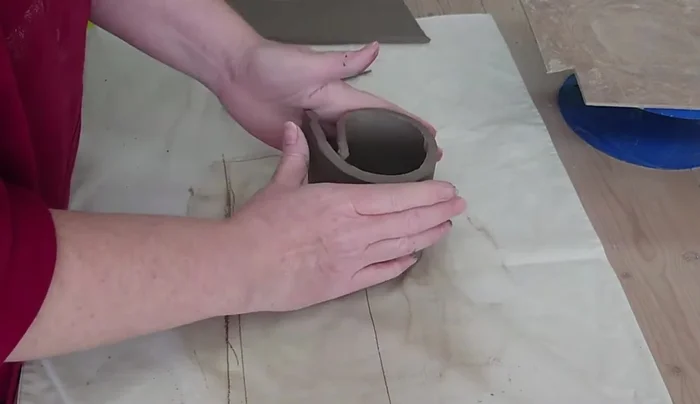
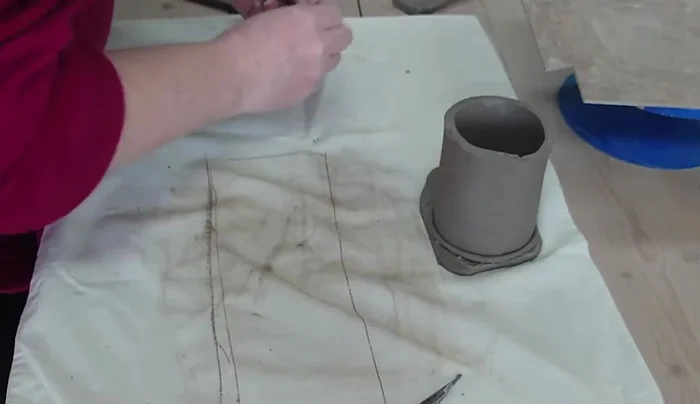
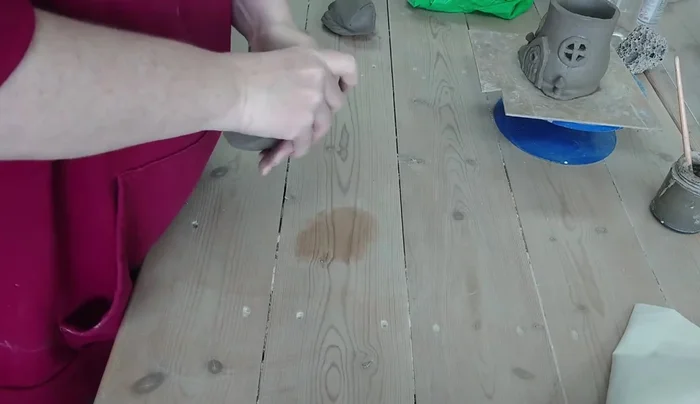
Prepare the Clay Slab Assemble the Mushroom Base
- Score and join the base and the top, using slip to help adhere the clay pieces together.
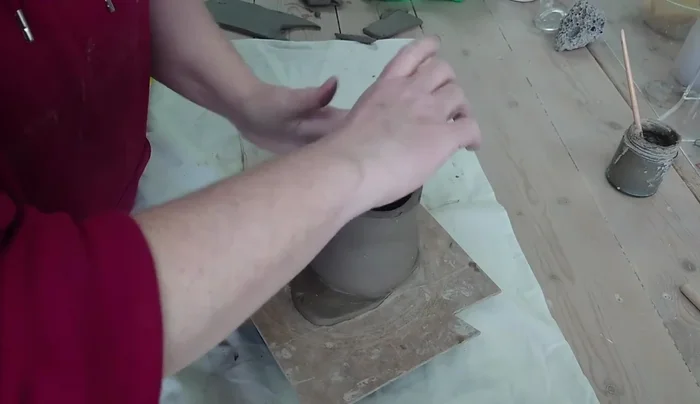
- Gently shape and blend the base of the mushroom to create a slightly wider, bulbous look. Be careful not to overstretch the join.
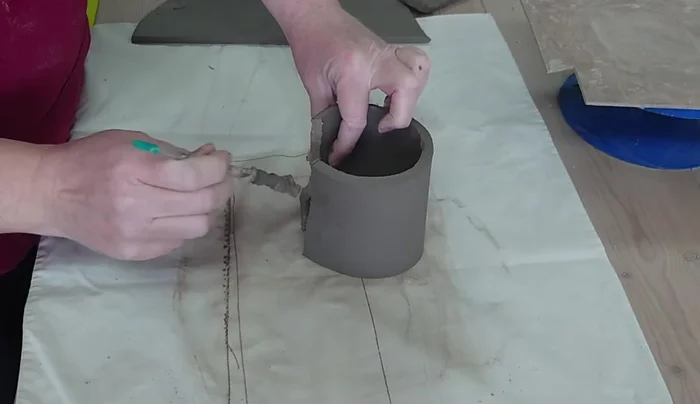
- Add small clay pieces around the base to reinforce the join and add texture.
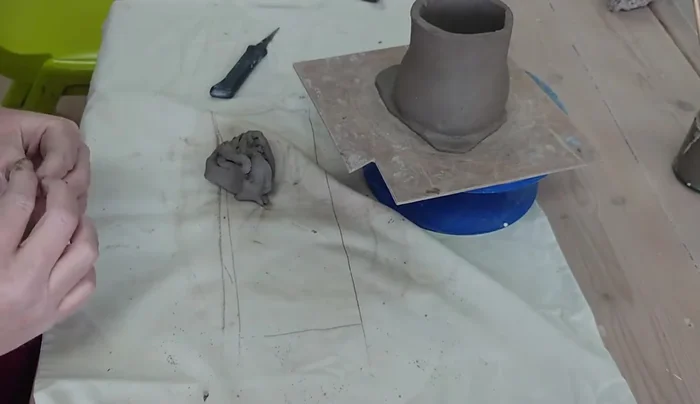
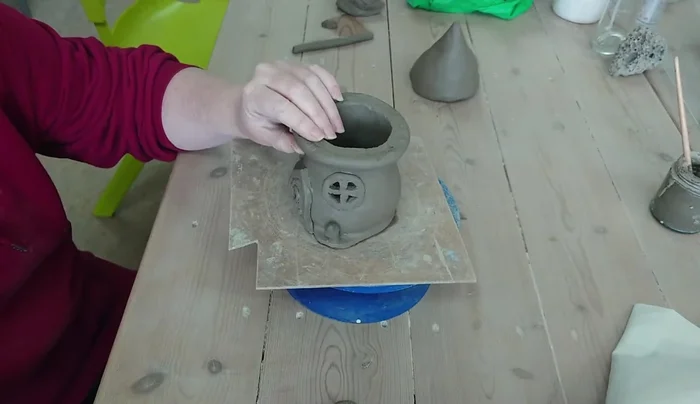
Assemble the Mushroom Base Dry and Decorate the Base
- Allow the base to dry slightly before adding details.
- Create and attach small decorative elements, such as baby mushrooms and a doorway.
Dry and Decorate the Base Create the Mushroom Cap
- Create the mushroom cap using slightly drier clay. Shape it into a slightly convex shape.
- Hollow out the mushroom cap and pinch the edges to create the desired shape and thickness.
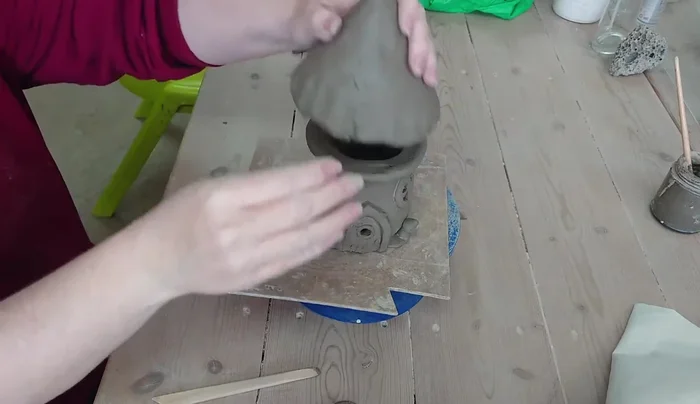
Create the Mushroom Cap Assemble and Finish the Mushroom
- Attach the mushroom cap to the base using slip, ensuring good adhesion.
- Add final touches, such as texturing the bottom of the mushroom cap to mimic a real mushroom.
Assemble and Finish the Mushroom Add Details and Finishing Touches
- Add details like windows using cutting tools. Clean up excess clay as needed.
Add Details and Finishing Touches
Read more: Easy Clay Heart Sculpting: From Charm to Button
Tips
- Flip the clay slab regularly while rolling to ensure even thickness and drying.
- Use slightly wetter clay for joining pieces to prevent cracking.
- Work gently when shaping the clay, especially around joins to avoid breakage.
- Use odd numbers when grouping decorations for aesthetic balance.
- Let the base dry slightly before adding details for better adherence.