Coral reefs, vibrant underwater ecosystems, are a source of endless fascination and inspiration. Their intricate branching structures and delicate textures lend themselves beautifully to artistic interpretation, and in this article, we explore a unique method for sculpting a ceramic coral wreath: the score-and-slip technique. This age-old method allows for the creation of seamlessly joined pieces, perfect for capturing the organic complexity of coral. The result is a stunning and textured piece, far beyond the limitations of single-piece sculpting.
This technique involves carefully preparing individual ceramic pieces representing coral branches, then meticulously joining them using strategically placed scores and slip, a liquid clay adhesive. Let's dive into the detailed, step-by-step process that will guide you through crafting your own exquisite ceramic coral wreath.
Preparation and Safety Guidelines
- canvas cloth
- rolling pin
- needle tool
- cup of water
- clay
- dowel
- Always use a well-ventilated area when working with clay and glazes. Inhaling clay dust can be harmful to your lungs.
- Wear safety glasses to protect your eyes from flying debris during sculpting and trimming.
- Handle ceramic tools with care. Sharp tools can cause cuts, and some tools may be heavy and awkward.
Step-by-Step Instructions
Prepare the Clay
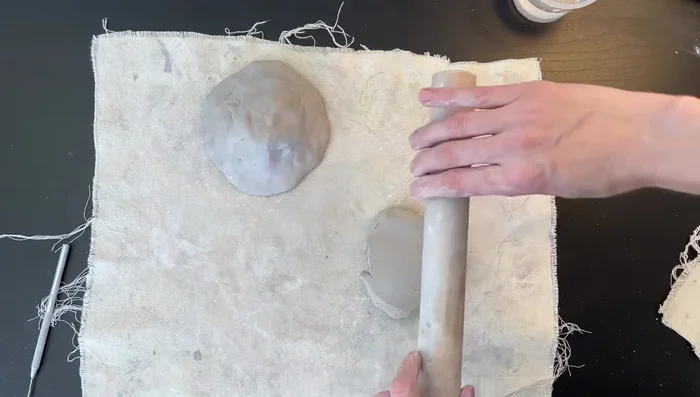
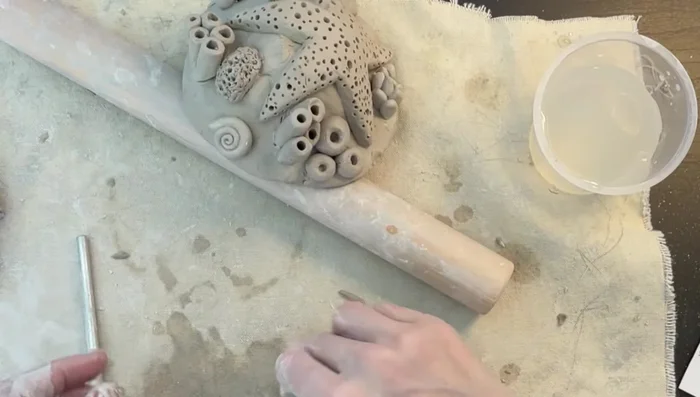
- Press a chunk of clay into a ball, then roll it into a flatter mound using a rolling pin and canvas cloth.
Create the Base
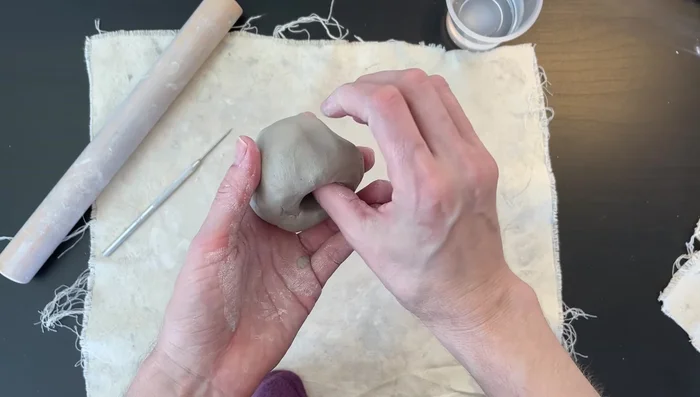
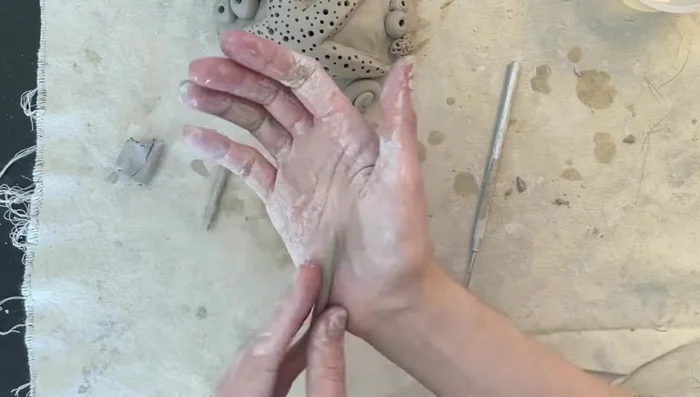
- Using your thumb, create a pinch pot by pinching and rotating the clay ball, keeping fingers flat and straight.
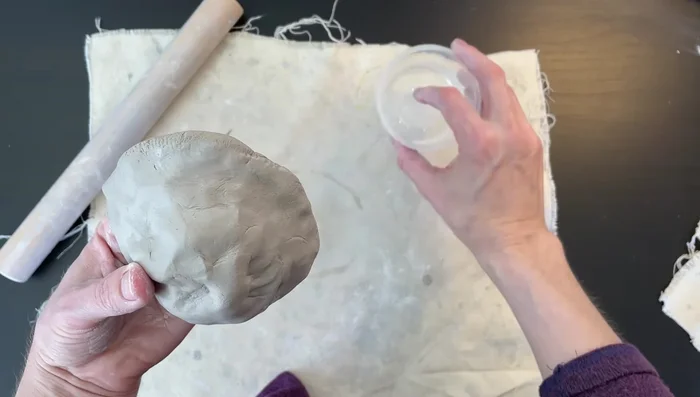
- Widen the pinch pot into a mound with sloping edges, using your palm and fingers to press and rotate.
- Use a wet finger to smooth out any rough areas on the clay.

Create the Base Create and Attach Starfish
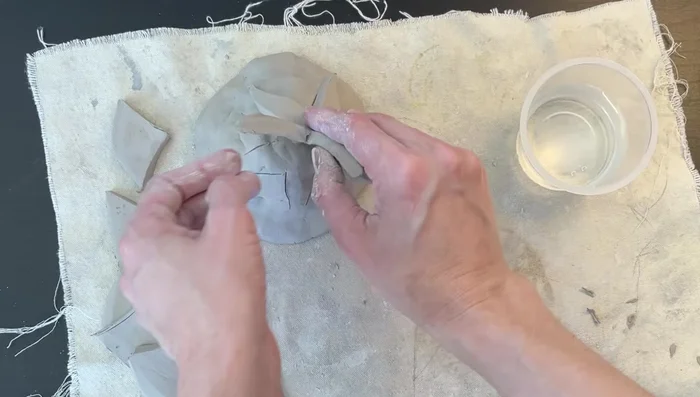
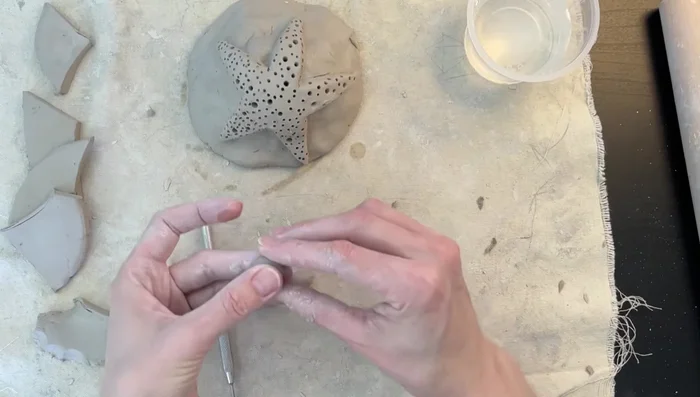
- Roll out a clay slab and lightly draw a starfish shape using a needle tool. Cut out the starfish by pressing the needle tool all the way through.
- Score both the mound and the back of the starfish using cross-hatching. Apply water to both scored surfaces, and firmly press the starfish onto the mound.
Create and Attach Starfish Add Sea Urchins
- Roll small clay balls, flatten slightly, and use a dowel to create a hole in the center. Score and attach the sea urchins to the mound using the score and slip method.
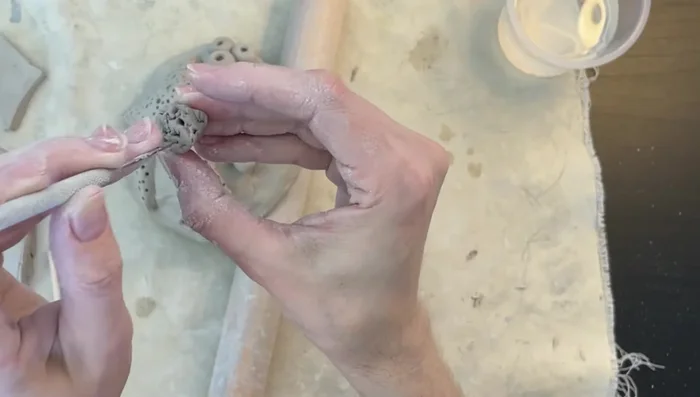
Add Sea Urchins Create and Attach Brain Coral
- Roll small clay balls and use a dowel and needle tool to create holes, resembling brain coral. Attach using the score and slip method.
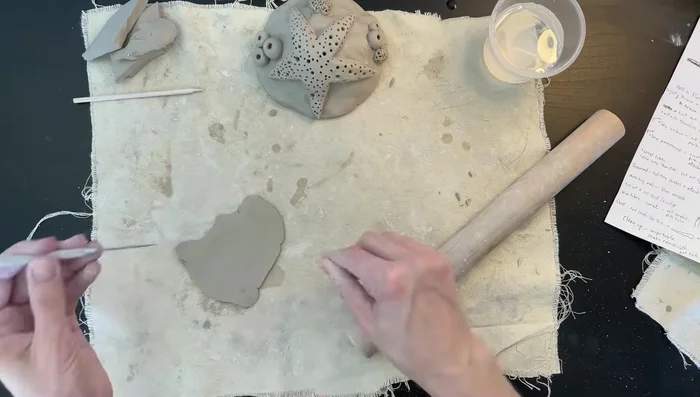
Create and Attach Brain Coral Create and Attach Cylinders
- Roll out thin slabs of clay, cut out squares, and fold them into cylinders. Blend the bases together and attach to the mound.
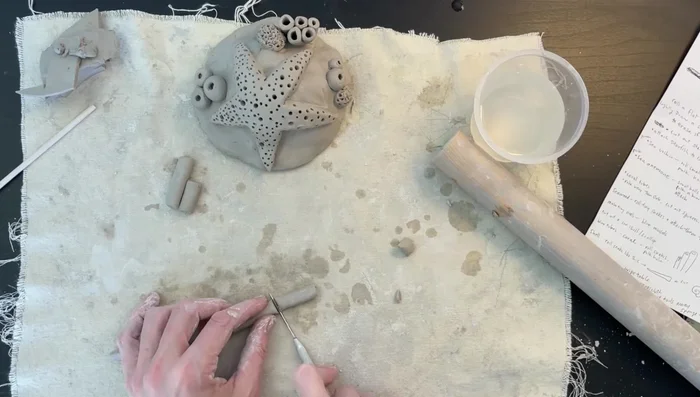
Create and Attach Cylinders Create Alternative Coral
- Roll out thin snakes of clay, chop into cylinders, and attach to create different coral shapes. Remember to use score and slip method.
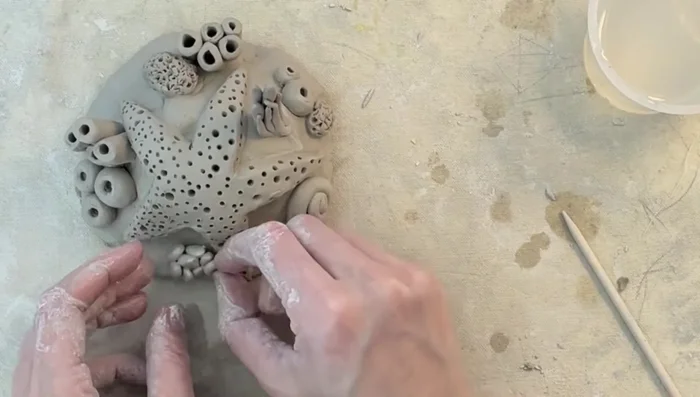
Create Alternative Coral Create and Attach Sea Snail
- Roll out a tapering clay snake, add water, curl the tip, and roll into a coil. Poke a hole and attach to the mound.
Create and Attach Sea Snail Create and Attach Seagrass
- Roll super thin clay snakes and flatten, using the needle tool to slice off the bottom for even attachment to the base.
Create and Attach Seagrass Add Mussel Shells and Rocks
- Shape small clay bits into mussel shells and flat rocks, attach directly to the base.
Add Mussel Shells and Rocks Final Touches
- Add a final sea snail and carve your name into the bottom of the wreath.
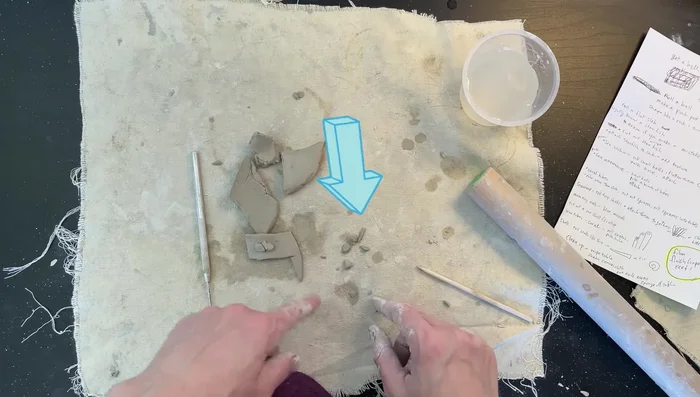
Final Touches Clean Up
- Discard excess clay, rinse your cup, and put tools away. Wipe the table and dispose of clay scraps properly.
Clean Up


Read more: Easy Clay Heart Sculpting: From Charm to Button
Tips
- When rolling clay, roll a few times in one direction, then switch directions to ensure even thickness.
- Don't press the needle tool all the way through the clay when drawing designs; press lightly to avoid mistakes.
- If you make a mistake, use a wet finger to smooth out the clay and redraw.
- Always use the score and slip method when attaching pieces of clay to prevent them from falling off.
- Add water to soften dry clay while working.