Working with air-dry clay can be incredibly rewarding, allowing for the creation of unique and personalized sculptures. However, successfully removing your finished masterpiece from the mold without damage can often feel like a battle against sticky residue and broken pieces. Frustrating, right? That's where our super speedy air-dry clay mold release techniques come in. This guide is designed to equip you with the knowledge and pro tips to ensure clean, effortless releases every time, saving you time, materials, and a whole lot of heartache.
This article will revolutionize your approach to demolding, transforming the process from a stressful ordeal into a swift and satisfying experience. Ready to say goodbye to frustrating stuck projects and hello to perfect releases? Let's dive into our step-by-step guide filled with expert advice and practical tricks to achieve that super speedy mold release you've been dreaming of.
Preparation and Safety Guidelines
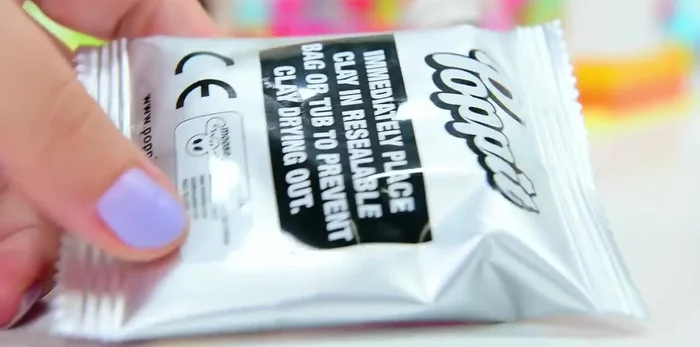
- Poppet Air Drying Clay Set
- 3D Molds (various shapes)
- Clay (pink, white, red)
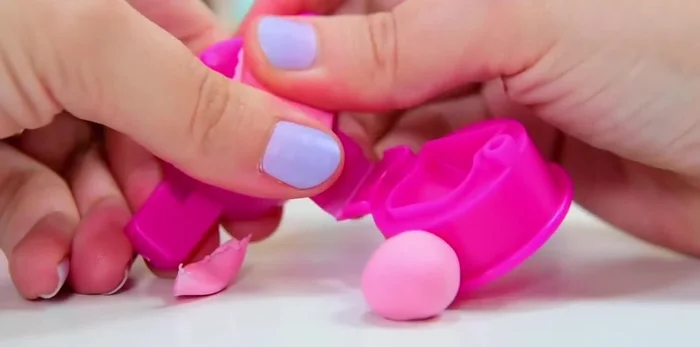
- Poppet Tool
- Always work in a well-ventilated area. Air-dry clay dust can be irritating to the lungs.
- Avoid contact with skin. Some air-dry clays can cause skin irritation. Wear gloves if necessary.
- Properly dispose of clay scraps and used release agents according to local regulations. Some materials may be hazardous to the environment.
Step-by-Step Instructions
Clay Preparation
- Roll pink clay into balls for the milkshake base and strawberry pieces. Create small white clay balls for the cream.

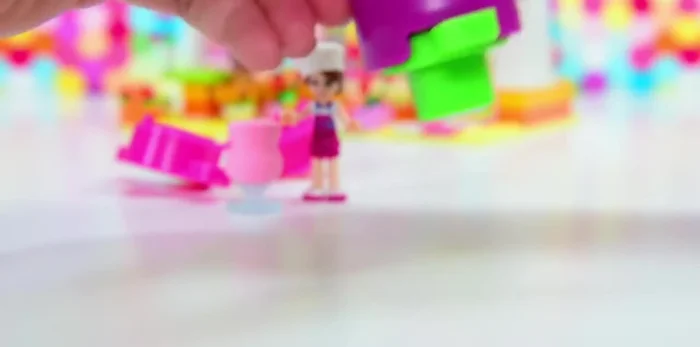
Clay Preparation Mold Filling
- Gently press the clay balls into the designated 3D molds. Ensure a smooth surface for best results.
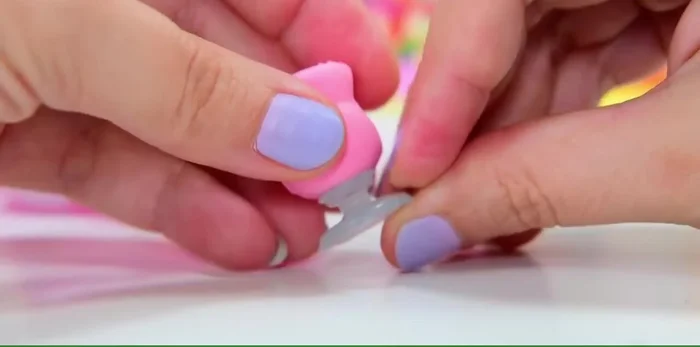
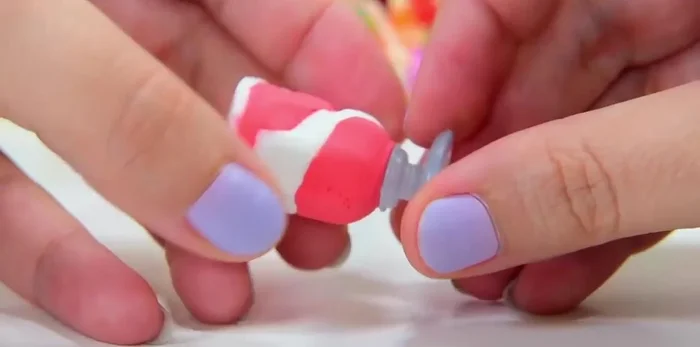
Mold Filling Clay Removal (Gentle Method)
- Gently ease the clay creation out of the mold from the sides, using your fingers to carefully peel it away. This is gentler than forceful removal and prevents damage.
Clay Removal (Gentle Method) Assembly
- Combine the clay pieces to create the desired milkshake or smoothie design.
Assembly Detailing
- Use extra clay to create additional elements like a strawberry slice, whipped cream, or straws.
Finishing and Presentation
- Add finishing touches and arrange the completed clay creations on stands or in other decorative settings.
Finishing and Presentation
Read more: Easy Clay Heart Sculpting: From Charm to Button
Tips
- Smooth clay balls create a cleaner final product.
- If the clay doesn't easily release from the mold, use your fingers to gently ease it out from the sides. Avoid forceful removal, which can damage the creation.
- For stubborn molds, add more clay to the mold instead of forcing it out.