Transform your fabric scraps into charming, star-shaped ornaments with this delightful zero-waste sewing project! Tired of overflowing fabric bins and the guilt of textile waste? This tutorial offers a creative and eco-friendly solution, turning unwanted remnants into beautiful decorations perfect for adding a touch of handmade charm to your holiday season or any time of year. Imagine adorning your Christmas tree, gifting these delightful stars to loved ones, or even using them to embellish wreaths and other craft projects. The possibilities are as endless as your fabric stash.
These adorable star ornaments are surprisingly easy to make, requiring minimal sewing skills and materials you likely already have on hand. By utilizing small pieces of fabric, you’ll be contributing to a more sustainable crafting practice, reducing textile waste, and creating something beautiful in the process. Ready to get started on crafting these festive stars? Let's dive into the step-by-step instructions below.
Preparation and Safety Guidelines
- Scraps of fabric
- Cotton batting
- Ribbon or bias tape
- Star pattern
- Sewing machine
- Iron
- Pins
- Chopstick or pencil
- Always use sharp, well-maintained scissors or rotary cutter to prevent injury when cutting fabric.
- Adult supervision is required, especially when using needles and pins, to prevent accidents, particularly with children.
- Handle your sewing machine with care, following all safety instructions provided in your machine's manual. Never reach into the machine while it's running.
Step-by-Step Instructions
Prepare Star Fabric
- Piece together scraps of fabric to create one side of the star ornament. Sew with a 1/4 inch seam allowance. Press seams open.

Prepare Star Fabric Cut Out Star Shape
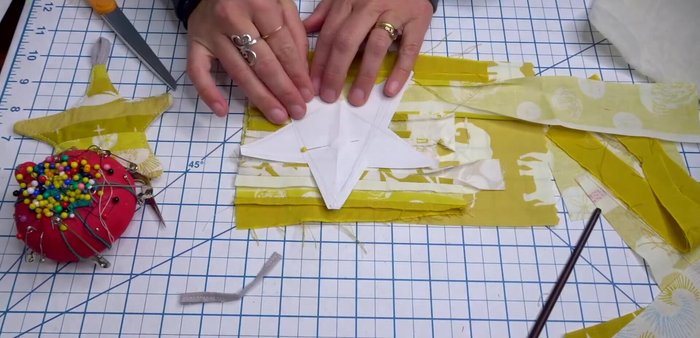
- Place the right side of the scrappy fabric onto the right side of the backing fabric. Place the star pattern on top and pin.
- Cut out the star shape from both layers of fabric.
Cut Out Star Shape Prepare for Sewing
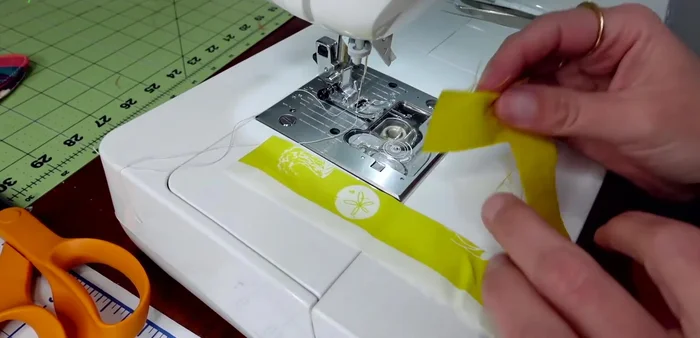
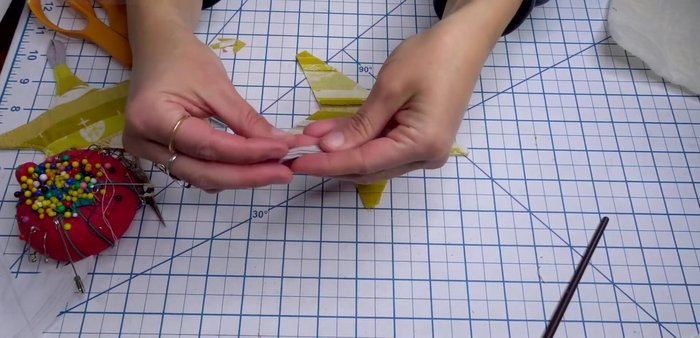
- Place the folded ribbon at the top point between the fabric layers. Pin in place.
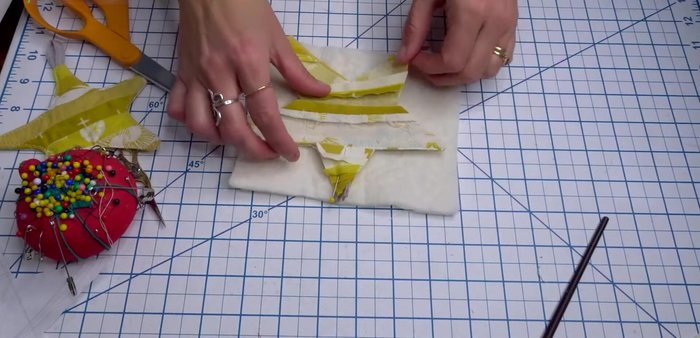
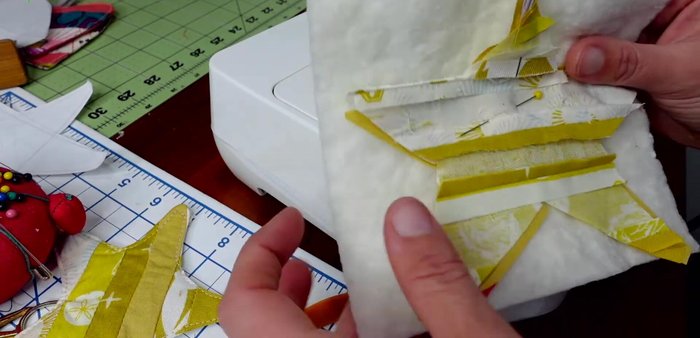
- Position the star fabric on top of the batting and pin.
Prepare for Sewing Sew and Turn
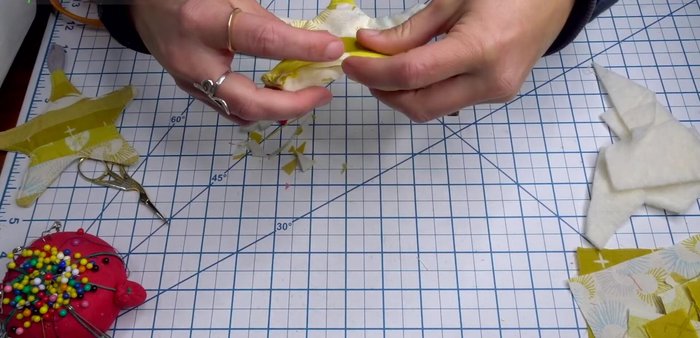
- Sew around the star, leaving the bottom open to turn it right side out. Reinforce the loop stitches at the top.
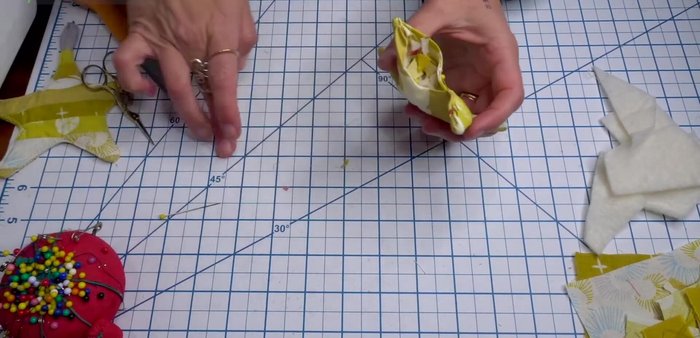
- Cut out the star from the batting, making small snips in the curves to help it lay flat. Turn the star right side out using a chopstick or pencil.
Sew and Turn Close and Finish
- Iron the opening flat. Pin and sew the bottom opening closed with a top stitch.
- Add small fabric scraps as stuffing (optional).
Close and Finish

Read more: DIY Picture Frame from Oat Cartons and Fabric: A Simple & Unique Craft
Tips
- Draw your star pattern on paper, then fold it in half to cut, creating a more symmetrical star.
- If using a smaller star pattern, it might be harder to turn right side out.
- Don't stress too much about perfectly aligning the fabrics when placing the ribbon. Adjust it later if needed.
- Use batting for a softer, cozier look (optional).
- Take your time turning the star right side out; use a tool to help push out the points.