Spending quality time with your kids while fostering creativity and practical skills? Look no further! This simple DIY project is perfect for a fun-filled afternoon crafting session, resulting in a charming little purse your child will adore. Forget expensive, mass-produced toys; creating something together strengthens your bond and teaches valuable hand-eye coordination and basic sewing techniques. The satisfaction of making something from scratch, seeing your creation come to life, is a priceless experience for both parent and child. This project uses readily available materials and requires minimal sewing expertise, making it ideal for even the most inexperienced beginner.
This adorable purse project requires only a few simple supplies and straightforward steps, making it a perfect introduction to the world of sewing for both you and your children. Let's dive into the step-by-step instructions and create a cute, personalized accessory that your child will be proud to carry!
Preparation and Safety Guidelines
- Half a yard of cotton fabric
- Hard ruler
- Scissors
- Sewing machine
- Needle and thread
- Button or gem embellishment
- Glue gun
- Measuring tape or ribbon
- Knitting needle (optional)
- Adult supervision is crucial at all times. Children should not use needles or scissors unsupervised.
- Choose fabrics with minimal fraying and avoid sharp objects. Pre-cut fabric pieces can minimize risks.
- Keep needles and pins in a designated pincushion and away from children's reach when not in use.
Step-by-Step Instructions
Prepare the Fabric
- Measure and cut four 9in x 7in rectangles. Use a hard ruler and pen for accuracy. A quick method is to fold the fabric and use the first cut piece as a guide for the others.
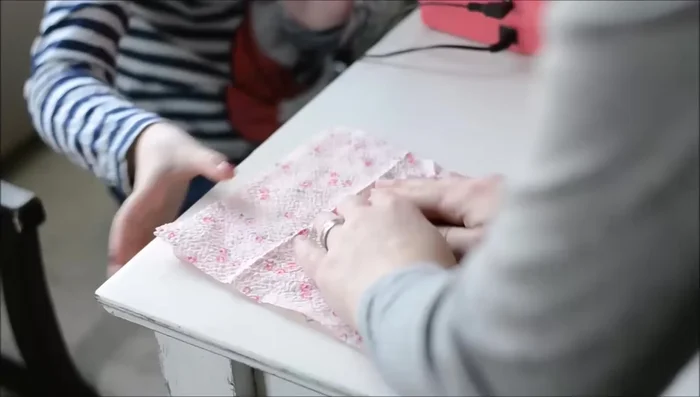
- Use a measuring tape or ribbon to determine the desired strap length (measure over your child's shoulder for a good fit). Cut three strips of fabric to that length and 2 1/2 inches wide.

Prepare the Fabric Construct the Purse Body
- Place two large rectangles right sides together and pin. Sew around three sides, leaving one long side open. Use a 1/4-inch seam allowance. Guide your child's hands and let them stop and start the machine as needed.
Construct the Purse Body Construct the Lining
- Repeat step 3 with the other two large rectangles to create the lining.
Construct the Lining Create the Straps
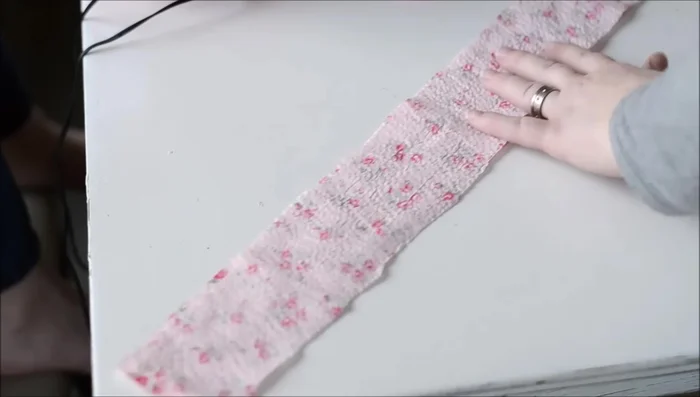
- Place the two handle pieces right sides together and pin. Sew along both long sides with a 1/2-inch seam allowance. Turn right side out, using a knitting needle if needed.
Create the Straps Make the Flower
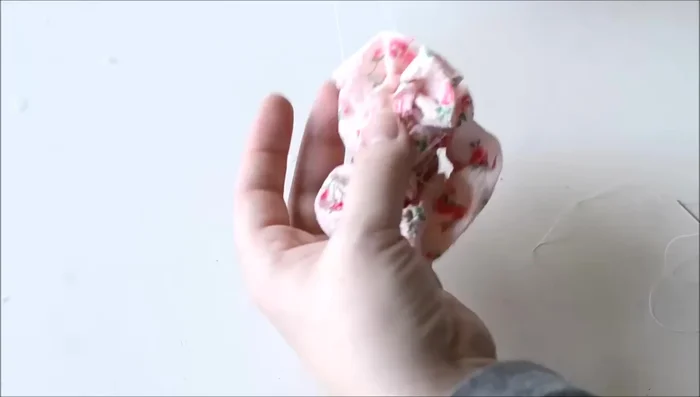
- Fold the third long strip in half lengthwise. Sew a long stitch about 1/4 inch from the raw edge. Pull on one thread to gather the strip.
Make the Flower Assemble and Finish the Purse
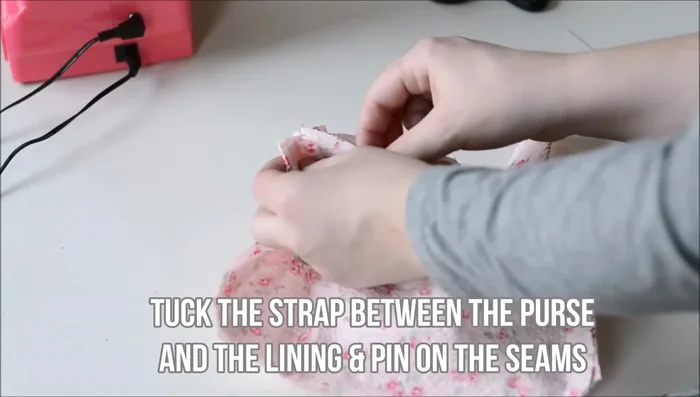
- Place the straps between the purse and lining, pinning to the side seams. Sew along the top edge, leaving a 4-inch opening. Turn right side out through the opening. Tuck the lining in, iron the top edge flat, and sew the opening closed.
- Wrap the gathered flower fabric into a spiral and sew to secure. Hand-sew the flower onto the purse. Add a bead or gem to the center using hot glue (optional).
Assemble and Finish the Purse


Read more: DIY Picture Frame from Oat Cartons and Fabric: A Simple & Unique Craft
Tips
- Help guide the fabric with your own hands at first. Show your child how to thread the machine and let them help thread it again.
- Teach seam allowances and straight stitching. This project is perfect for beginners because it involves straight lines and pivoting.
- Place the petal on a box or stool to help your child reach it better. Clip all corners of the bag pieces.
- Talk about the importance of back stitching at the beginning and end of each seam.
- Hand sewing the flower is a great project for children who want to try hand sewing.