Tired of generic store-bought picture frames? Ready to unleash your creativity and craft something truly unique? Then you've come to the right place! This guide will show you how to transform humble oat cartons and scraps of fabric into beautiful, personalized picture frames. It's a surprisingly simple project, perfect for beginners and seasoned crafters alike, offering a sustainable and affordable alternative to mass-produced frames. The beauty of this craft lies in its adaptability – you can tailor the design and fabric choice to perfectly complement your chosen photograph or artwork, creating a truly bespoke piece.
This eco-friendly project utilizes readily available materials, minimizing waste and maximizing your creative potential. From choosing your fabric and prepping the oat cartons to assembling and finishing your masterpiece, the process is straightforward and rewarding. Let's dive into the step-by-step instructions to create your own stunning DIY picture frame from oat cartons and fabric!
Preparation and Safety Guidelines
- Oat cartons
- Fabric
- Glue
- Scissors
- Ruler
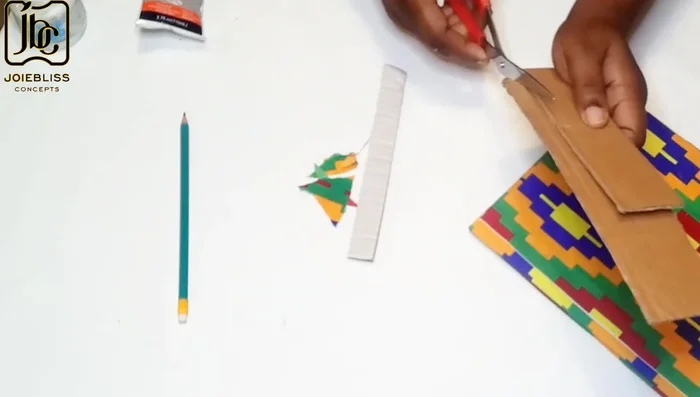
- Pencil
- Picture
- Always supervise children when using sharp objects like scissors or craft knives. Adult assistance is crucial for cutting and assembling the frame.
- Ensure the fabric you choose is firmly attached to the cardboard to prevent it from peeling off and creating a hazard, especially if the frame is hung.
- Be mindful of any allergies to the materials used. Some fabrics or glues might cause skin irritation. Consider using hypoallergenic alternatives if necessary.
Step-by-Step Instructions
Prepare Materials
- Cut cotton fabric to 7x9 inches (add 1.5 inches to each side of your picture for the frame).

Prepare Materials Prepare Carton Pieces
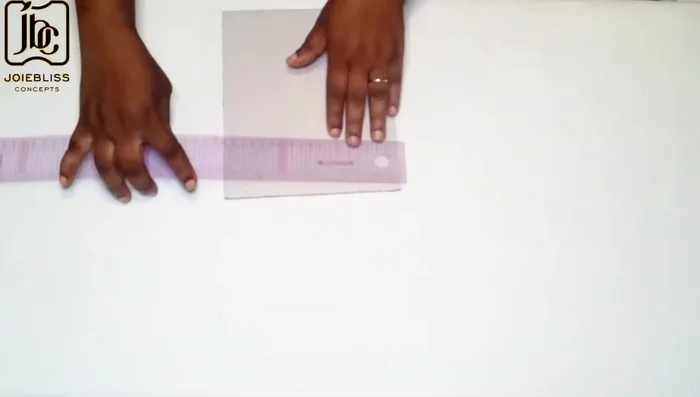
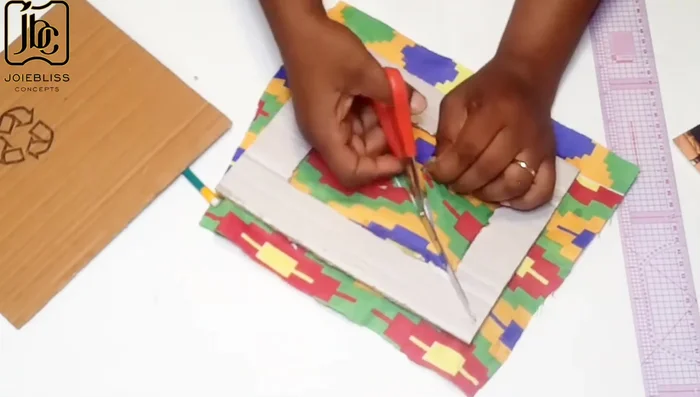
- Transfer picture dimensions (4x6 inches in this example) onto two carton pieces, cut along the lines.
Prepare Carton Pieces Glue and Fabric Cover (First Piece)
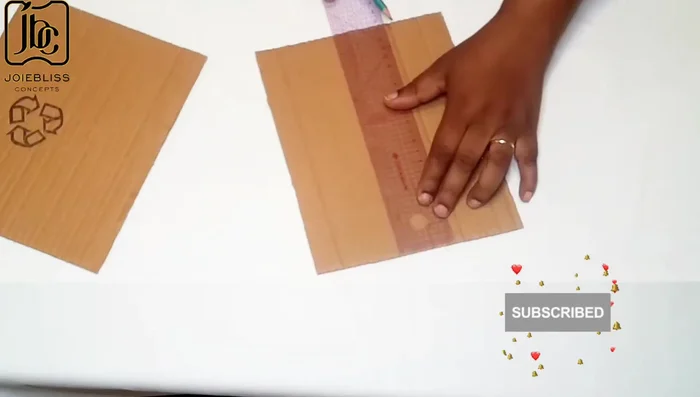
- Apply glue to cartons and evenly distribute it.
- Cover cartons with fabric, trim excess fabric.
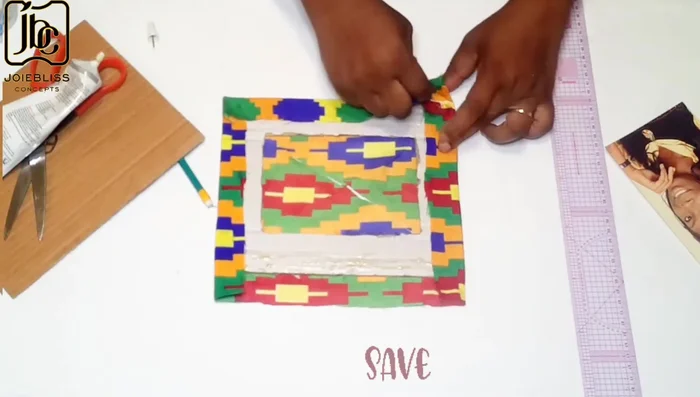
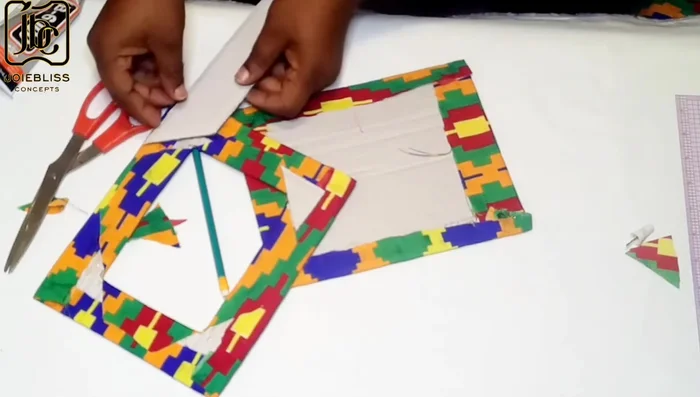
Glue and Fabric Cover (First Piece) Fabric Corner Slits and Wrapping (First Piece)
- Cut diagonal slits in fabric corners to make wrapping easier.
- Wrap the fabric neatly around the cartons, ensuring it's firm and applying extra glue to the corners.
- Trim excess fabric after wrapping.
Fabric Corner Slits and Wrapping (First Piece) Glue and Fabric Cover (Second Piece)
- Repeat steps 6 and 7 for the second carton piece.
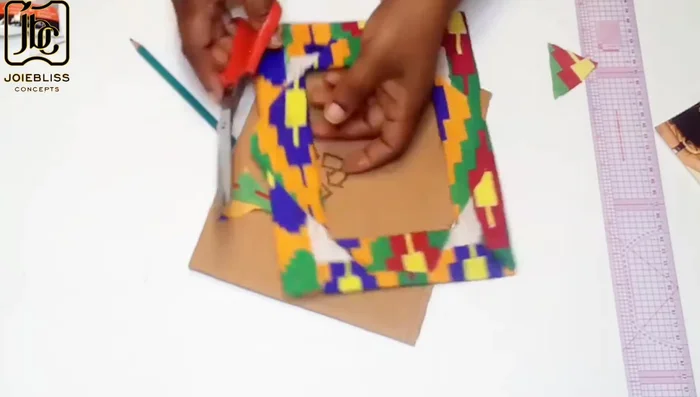
Glue and Fabric Cover (Second Piece) Create Picture Openings
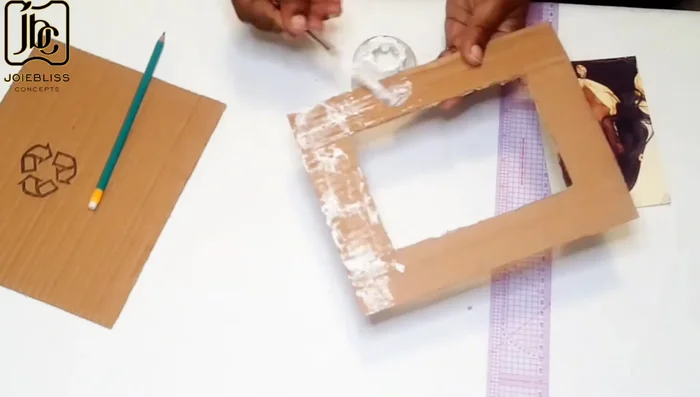
- Cut out small triangle shapes to create openings for the picture to fit in.
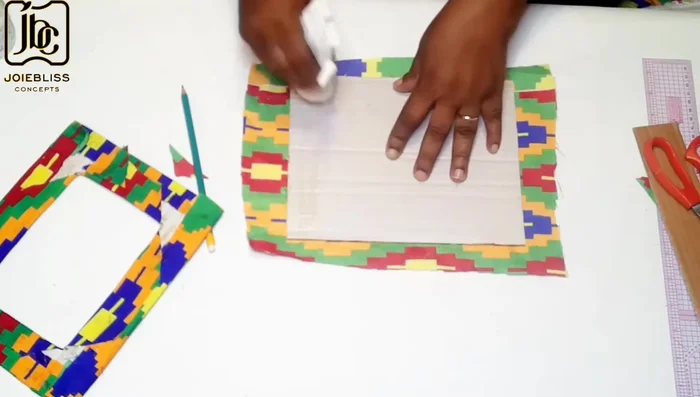
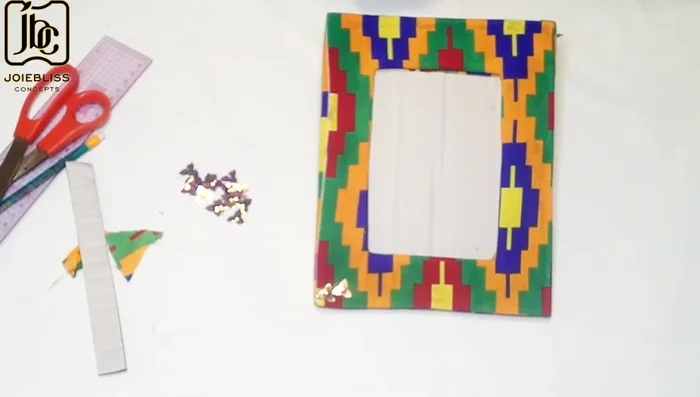
Create Picture Openings Assemble the Frame
- Apply glue and assemble the two carton pieces, ensuring proper alignment and firm pressure.
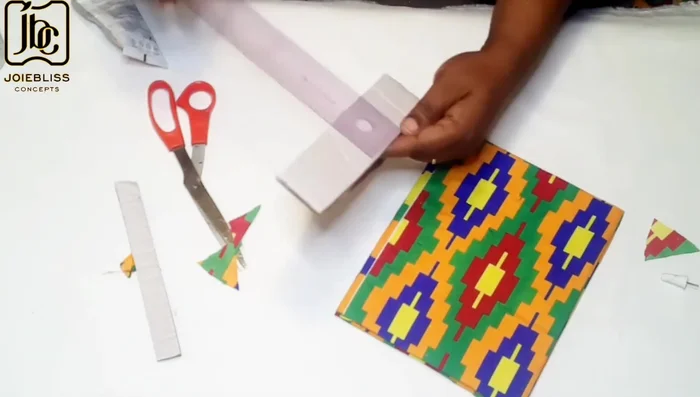
Assemble the Frame Make the Stand
- Cut two pieces of fabric (7x10 inches and about 2 inches wide). Fold the longer piece and glue it.
Make the Stand Attach the Stand
- Attach the stand to the midpoint of the back of the frame.
Attach the Stand Embellish (Optional)
- Embellish the frame corners (optional).
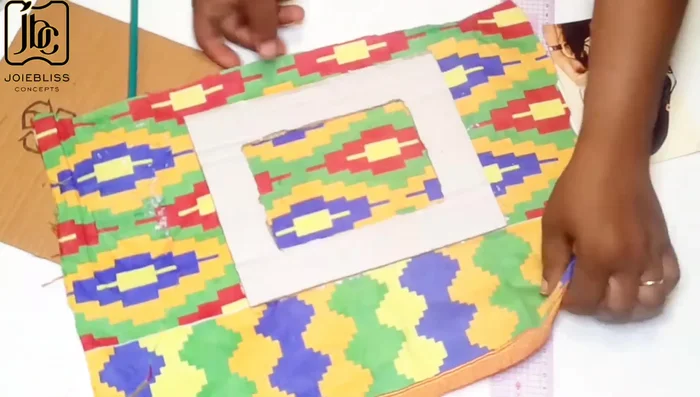
Embellish (Optional) Insert Picture
- Insert picture.
Insert Picture


Tips
- Apply glue evenly to ensure a smooth finish.
- Pull fabric firmly when wrapping to achieve a neat look. Apply more glue at the corners to prevent opening.
- Press firmly to ensure the frame pieces are securely joined.